
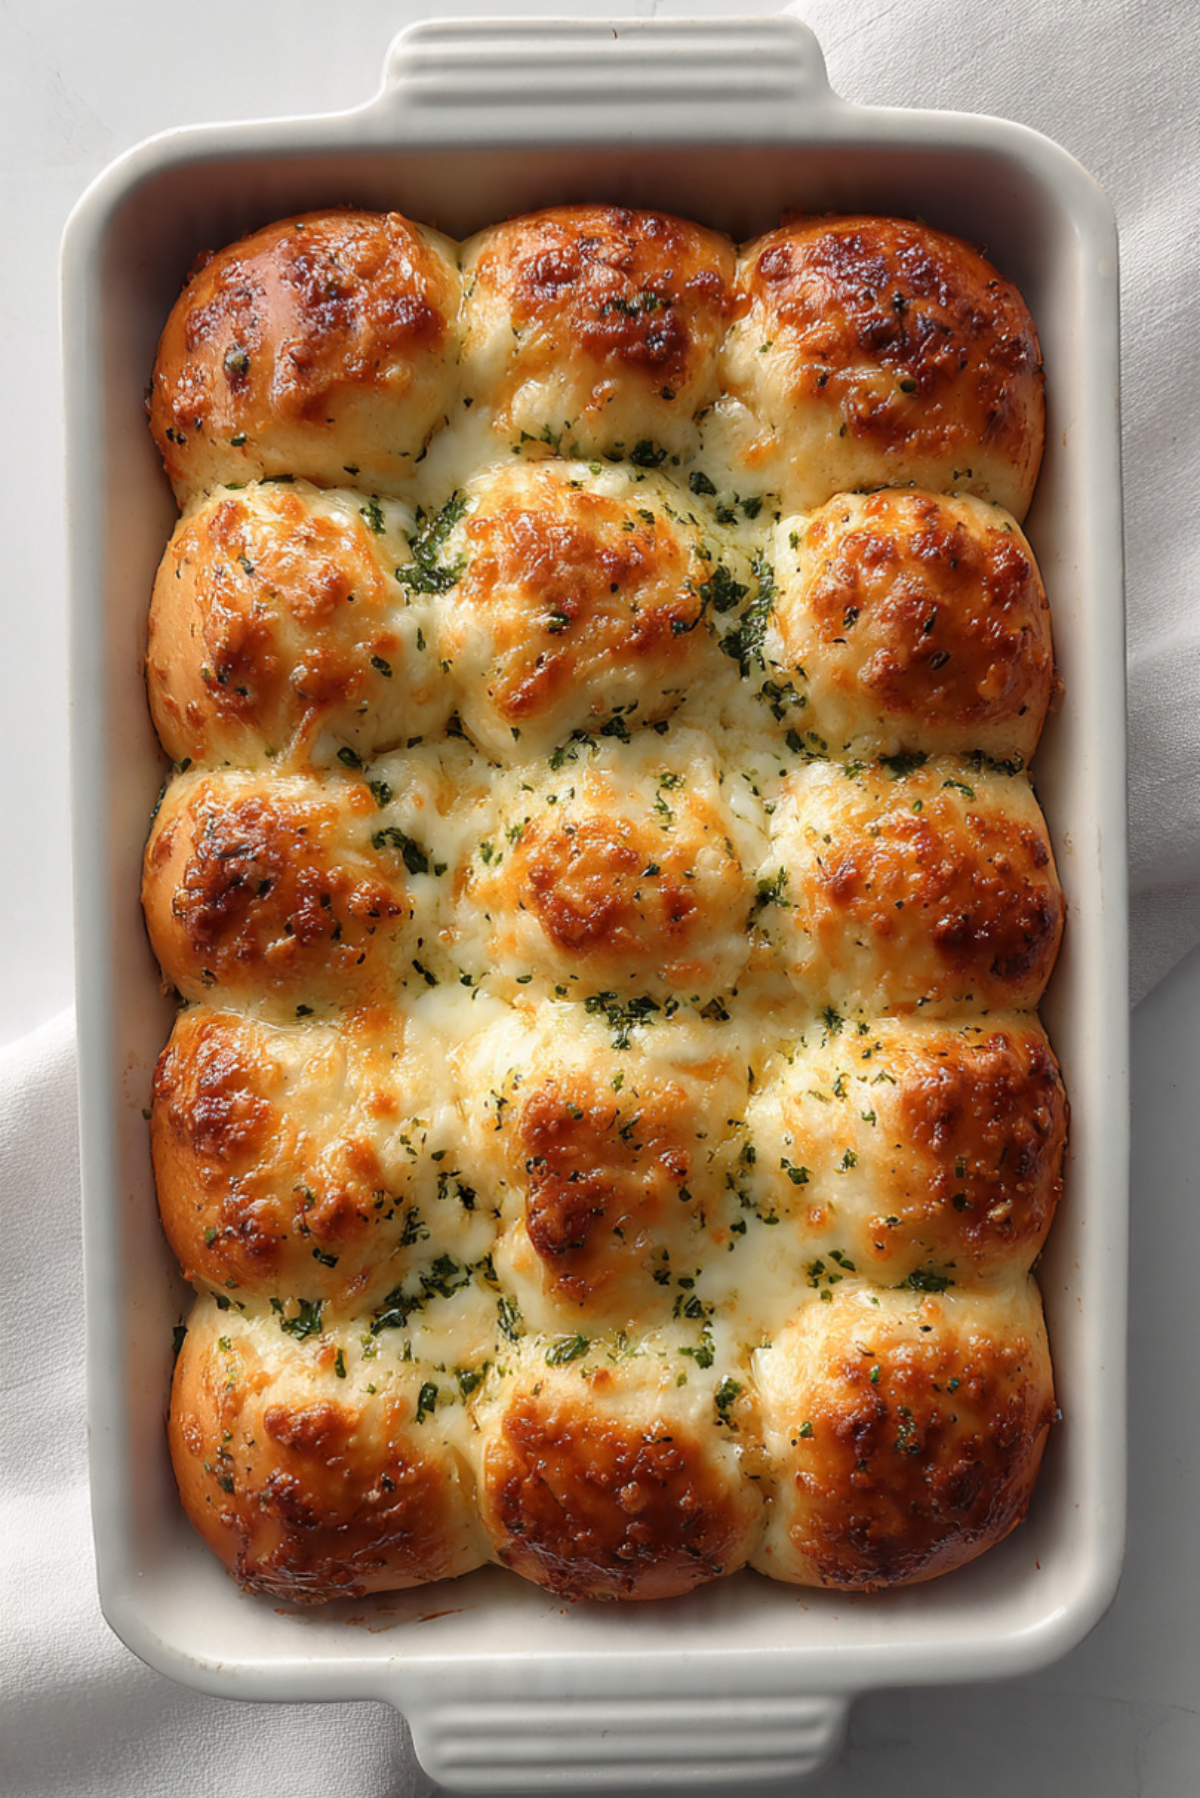
There is something irresistible about pulling apart a warm, soft roll and watching melted cheese stretch between the layers. Add to that the rich aroma of garlic butter soaking into every bite, and you have a recipe that feels comforting from the very first moment. These rolls come out golden, fluffy, and packed with flavor, the kind of thing that disappears quickly from the table. Trust me, you’re going to love this.
The Kind of Bread That Steals the Spotlight
Some side dishes quietly sit on the plate, but this one takes center stage. Each roll is soft on the inside, lightly crisp on the outside, and filled with cheesy goodness that makes every bite satisfying.
And now that you can almost smell that garlic butter, let’s talk about where this style of bread comes from.
A Little Background on Garlic Bread Creations
Garlic bread has long been a favorite in many cuisines, especially in Italian inspired dishes. Over time, bakers began transforming simple garlic bread into softer, richer rolls filled with cheese and brushed with butter.
These rolls combine that tradition with a homemade touch, making them perfect for any meal or gathering.
And now, let’s explore why this recipe works so well every time.
Why These Rolls Are Always a Hit
Versatile: Perfect as a side, snack, or party appetizer.
Budget-Friendly: Uses simple ingredients you likely already have.
Quick and Easy: Straightforward steps with delicious results.
Customizable: You can change the cheese or add herbs.
Crowd-Pleasing: Everyone loves warm, cheesy bread.
Make-Ahead Friendly: Dough can be prepared in advance.
Great for Leftovers: They reheat beautifully and stay soft.
And now, let’s move into some expert tips.
Pro Tips for Soft and Fluffy Rolls
A few simple tricks make all the difference.
- Use warm milk to activate the yeast properly
- Knead until the dough is smooth and elastic
- Let the dough rise fully for a light texture
- Brush generously with garlic butter after baking
And with those tips in mind, let’s gather your tools.
Kitchen Tools You Will Need
Mixing Bowl: For preparing the dough.
Stand Mixer or Hands: Helps knead the dough properly.
Baking Dish: Keeps the rolls together while baking.
Brush: For spreading garlic butter evenly.
And now comes the heart of the recipe.
Ingredients You Will Need For These Cheesy Rolls
Each ingredient contributes to that perfect flavor and texture.
- All Purpose Flour: 3 cups, forms the base of the dough
- Warm Milk: 1 cup, helps activate the yeast and soften the dough
- Active Dry Yeast: 2 1/4 teaspoons, allows the dough to rise
- Sugar: 1 tablespoon, feeds the yeast and adds slight sweetness
- Butter: 3 tablespoons melted, adds richness
- Egg: 1 large, helps with structure
- Salt: 1 teaspoon, balances the flavors
- Mozzarella Cheese: 1 1/2 cups shredded, creates the gooey filling
- Garlic: 3 cloves minced, adds bold flavor
- Parsley: 2 tablespoons chopped, adds freshness
And if you want to switch things up, here are some ideas.
Easy Ingredient Substitutions
Mozzarella Cheese: Use cheddar or a mixed cheese blend
Milk: Substitute with plant based milk
Parsley: Replace with dried herbs if needed
Now let’s highlight what really makes these rolls shine.
The Key Ingredients That Make Them Special
Mozzarella Cheese: This gives that classic stretch and creamy melt inside each roll.
Garlic: Infuses the butter and brings bold, savory depth.

And now, let’s bring everything together.
Let’s Make These Step by Step
This is where the magic happens.
- Preheat Your Equipment: Set oven to 375°F when ready to bake.
- Combine Ingredients: Mix warm milk, yeast, and sugar, then add flour, egg, butter, and salt to form a dough.
- Prepare Your Cooking Vessel: Grease your baking dish lightly.
- Assemble the Dish: Shape dough into balls, fill with cheese, and place in dish.
- Cook to Perfection: Bake for 18 to 22 minutes until golden.
- Finishing Touches: Brush with garlic butter mixed with parsley.
- Serve and Enjoy: Serve warm and enjoy the cheesy pull.
And now, let’s talk about that texture.
The Texture and Flavor You Will Love
The outside is lightly golden and slightly crisp, while the inside stays soft and airy. The melted cheese creates a rich, stretchy center, and the garlic butter adds a savory finish that ties everything together.
And if you want even better results, here are some helpful tips.
Helpful Tips for Best Results
- Do not overfill with cheese
- Let rolls cool slightly before serving
- Use fresh garlic for stronger flavor
And just as important, here is what to avoid.
Common Mistakes to Avoid
- Overbaking can dry them out
- Skipping proofing affects softness
- Too much flour can make them dense
Now let’s take a quick look at nutrition.
Nutrition Facts
Servings: 12 rolls
Calories per serving: 190
Note: These are approximate values.
And here is your time breakdown.
Preparation Time
Prep Time: 20 minutes
Cook Time: 20 minutes
Total Time: 40 minutes plus rising time
Now let’s talk storage.
Make-Ahead and Storage Tips
You can prepare the dough ahead and refrigerate it overnight. Once baked, store in an airtight container for up to 3 days. Reheat in the oven to bring back that fresh texture.
And when it comes to serving, here are some ideas.
How to Serve
Serve alongside soups, pasta, or as a snack on their own. They are also perfect for sharing at gatherings.
And if you have leftovers, here is how to use them.
Creative Leftover Transformations
Slice and toast them for a crispy snack or turn them into mini sandwiches.
And here are a few final tips.
Additional Tips
Use high quality cheese for the best melt and flavor, and always let the dough rise fully.
If you want to impress, try this.
Make It a Showstopper
Brush extra garlic butter on top and sprinkle fresh herbs before serving for a beautiful finish.
And if you want to experiment, here are variations.
Variations to Try
Add chili flakes for heat, mix in herbs into the dough, or use stuffed cheese centers for extra indulgence.
FAQ’s
Q1: Can I make these without eggs?
Yes, but texture may be slightly different.
Q2: Can I freeze them?
Yes, freeze after baking.
Q3: Why are my rolls dense?
They may not have risen enough.
Q4: Can I use instant yeast?
Yes, adjust slightly.
Q5: Can I add other fillings?
Yes, try herbs or different cheeses.
Q6: How do I reheat them?
Use oven for best results.
Q7: Can I use whole wheat flour?
Partially, but it changes texture.
Q8: How long do they stay fresh?
Up to 3 days.
Q9: Can I make them smaller?
Yes, adjust baking time.
Q10: Can I brush butter before baking?
Yes, for extra flavor.
Conclusion
These rolls are everything you want in a homemade bread, soft, cheesy, and packed with flavor. They are simple enough for everyday baking yet special enough to impress. Let me tell you, it’s worth every bite.
Print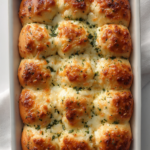
Cheese Garlic Rolls
Description
Soft and fluffy cheese garlic rolls filled with melted mozzarella and brushed with rich garlic butter, perfect as a side or snack.
Ingredients
- 3 cups all purpose flour
- 1 cup warm milk
- 2 1/4 teaspoons active dry yeast
- 1 tablespoon sugar
- 3 tablespoons melted butter
- 1 large egg
- 1 teaspoon salt
- 1 1/2 cups shredded mozzarella cheese
- 3 garlic cloves minced
- 2 tablespoons chopped parsley
Instructions
- Preheat oven to 375°F.
- Mix warm milk, yeast, and sugar.
- Add flour, egg, butter, and salt to form dough.
- Knead and let rise until doubled.
- Shape dough, fill with cheese, and place in greased dish.
- Bake for 18 to 22 minutes until golden.
- Brush with garlic butter mixed with parsley and serve.
Notes
- Do not overbake to keep rolls soft
- Let dough rise fully
- Use fresh garlic for best flavor