
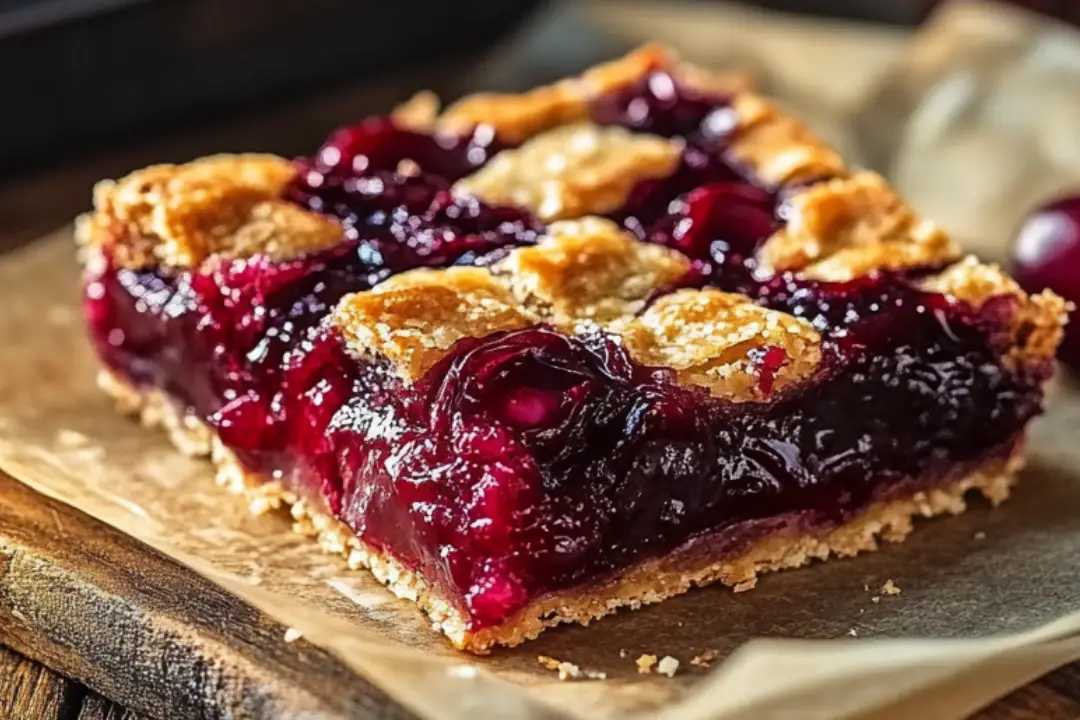
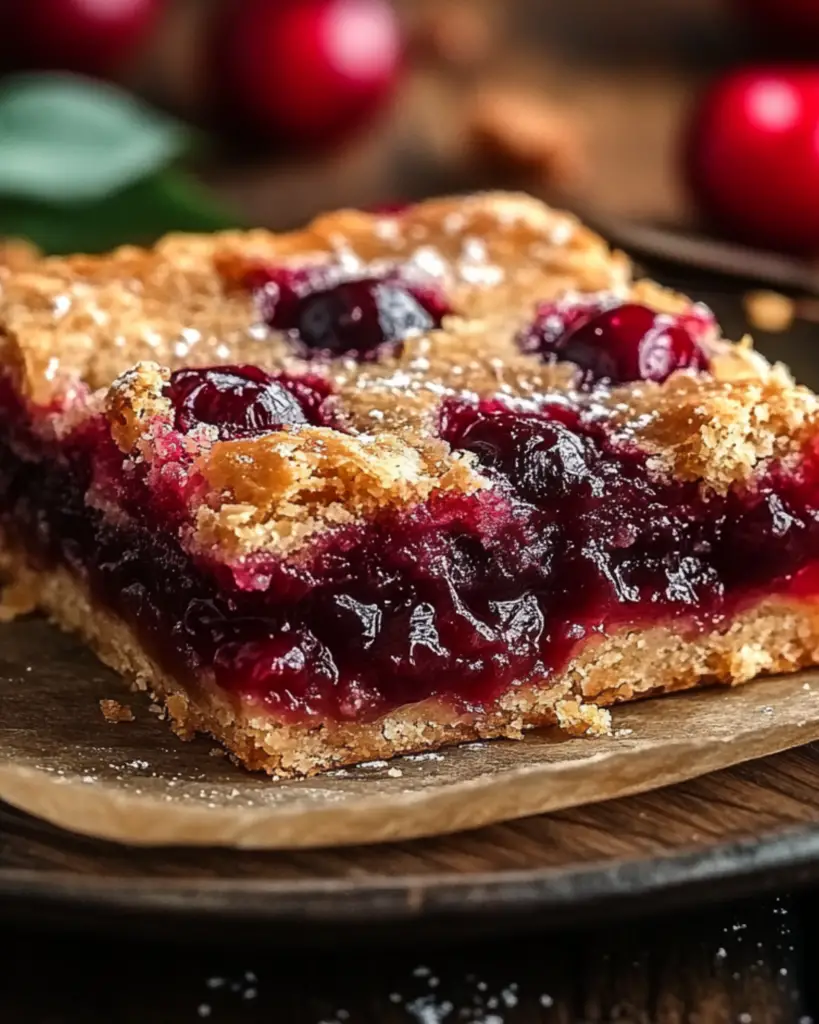
These Cherry Pie Bars are like a slice of summer in a handheld treat! Imagine a buttery, flaky crust packed with a sweet and tangy cherry filling, all wrapped up in an easy-to-make bar. They’re perfect for a quick dessert, picnics, or whenever you’re craving something delicious without the fuss of making a whole pie. The best part? They’re just as comforting as a classic cherry pie but way easier to share and serve. Trust me, these bars are a crowd-pleaser that’s sure to impress anyone lucky enough to try them!
Why You’ll Love Cherry Pie Bars
These Cherry Pie Bars aren’t just any dessert—they’re the kind of treat that makes you feel all warm and cozy. Here’s why they’ll become your new favorite:
No Pie Crust Hassles: Unlike traditional pie, these bars have an easy-to-make crust that’s simple to prepare but still super buttery and delicious.
Perfectly Sweet & Tart: The cherry filling hits that perfect balance between sweet and tart, making every bite a burst of flavor.
Easily Shareable: Bars are perfect for sharing with friends and family. No messy slicing or pie-cutting, just grab and go!
Quick & Easy: With only a handful of ingredients, you can whip these up in no time. No need to spend hours in the kitchen to enjoy a homemade dessert.
Crowd-Pleasing: Whether you’re serving them for a family dinner or taking them to a party, these Cherry Pie Bars are always a hit. They’re just the right combination of sweet and satisfying.
Ingredients
Here’s what you’ll need to make these delicious Cherry Pie Bars:
Butter: For that rich, buttery flavor and soft, melt-in-your-mouth crust.
Sugar: A little sugar for sweetness in the crust and to balance the tartness of the cherries.
Flour: This is the base for the crust and will give it that light, tender texture.
Baking Powder: Helps the crust rise a bit and gives it that perfect soft, chewy bite.
Salt: A pinch to bring out all the other flavors.
Egg: To bind everything together and give the crust its structure.
Vanilla Extract: For a hint of warmth and sweetness that complements the cherries.
Cherry Pie Filling: This is where the magic happens. You’ll use canned cherry pie filling for convenience, but feel free to make your own if you’re up for it!
Powdered Sugar: For a sweet dusting on top to finish off the bars.
(Note: the full ingredients list, including measurements, is provided in the recipe card directly below.)
Instructions
Let’s get to making these irresistible Cherry Pie Bars!
Preheat the Oven:
Start by preheating your oven to 350°F (175°C). Grease a 9×13-inch baking dish or line it with parchment paper for easy removal.
Make the Crust:
In a large bowl, cream together the softened butter and sugar until light and fluffy. Beat in the egg and vanilla extract. Gradually add the flour, baking powder, and salt, mixing until it forms a soft dough.
Press the Dough:
Press about 2/3 of the dough into the prepared baking dish, spreading it out evenly to form the base layer.
Add the Cherry Filling:
Spoon the cherry pie filling over the dough, spreading it evenly across the surface.
Top with Remaining Dough:
Crumble the remaining dough on top of the cherry filling. It doesn’t have to be perfect—just scatter it over the top for a rustic, crumbly finish.
Bake the Bars:
Place the baking dish in the oven and bake for about 40-45 minutes, or until the top is golden brown and the cherry filling is bubbling.
Cool and Slice:
Let the bars cool completely in the pan before cutting them into squares. This ensures they’ll hold their shape and be easier to serve.
Finish with Powdered Sugar:
Dust the cooled bars with a light coating of powdered sugar for a sweet finishing touch.
Nutrition Facts
Servings: 12
Calories per serving: 250
Preparation Time
Prep Time: 15 minutes
Cook Time: 45 minutes
Total Time: 1 hour
How to Serve Cherry Pie Bars
These Cherry Pie Bars are delicious all on their own, but here are a few serving suggestions to make them even more amazing:
With Ice Cream: A scoop of vanilla ice cream on top of a warm Cherry Pie Bar is an indulgent treat that’s impossible to resist.
Whipped Cream: Top them with a dollop of freshly whipped cream for extra sweetness and creaminess.
Coffee or Tea: Serve these bars with a cup of coffee or tea for a cozy afternoon treat or dessert.
At Parties: Bring these to your next gathering or picnic. They’re portable, easy to serve, and loved by everyone.
A Dusting of Cinnamon: For a little extra warmth and spice, try adding a light sprinkle of cinnamon on top along with the powdered sugar.
Additional Tips
Here are some tips to help you make the best Cherry Pie Bars:
Chill the Dough: If the dough feels too soft or sticky to work with, pop it in the fridge for about 10-15 minutes to firm up. It’ll make it easier to press into the pan and handle.
Homemade Cherry Filling: If you’re feeling adventurous, you can make your own cherry filling using fresh or frozen cherries, sugar, and a bit of cornstarch to thicken it up.
Use Different Fruit: While cherry is classic, feel free to try these bars with other fruit pie fillings like blueberry, peach, or strawberry for a fun twist.
Storage: Store any leftovers in an airtight container at room temperature for up to 3-4 days. You can also refrigerate them for longer shelf life.
Freeze for Later: These bars freeze well! Just wrap them tightly in plastic wrap or foil and freeze for up to 3 months. Thaw them at room temperature before serving.
FAQ Section
Q1: Can I use fresh cherries instead of canned pie filling?
A1: Absolutely! Just cook down fresh cherries with sugar and cornstarch to make your own filling. It’s a great way to use fresh fruit when in season.
Q2: Can I make the dough ahead of time?
A2: Yes! You can make the dough in advance and store it in the fridge for up to 2 days. Just let it come to room temperature before working with it.
Q3: Can I substitute butter with margarine or a dairy-free option?
A3: Yes, margarine or a dairy-free butter substitute will work in this recipe. Just make sure it’s softened before mixing.
Q4: How do I store leftover Cherry Pie Bars?
A4: Store leftover bars in an airtight container at room temperature for up to 3-4 days. For longer storage, you can refrigerate them.
Q5: Can I freeze Cherry Pie Bars?
A5: Yes, they freeze beautifully! Just wrap them tightly in plastic wrap or foil and store them in a freezer-safe container for up to 3 months. Thaw at room temperature before serving.
Q6: Can I use a different fruit pie filling?
A6: Definitely! You can use other fruit fillings like blueberry, peach, or strawberry to mix things up and make different variations of this bar.
Q7: What can I serve with Cherry Pie Bars?
A7: These bars are great on their own but pair beautifully with ice cream, whipped cream, or even a cup of coffee or tea for a cozy treat.
Q8: Can I double the recipe for a larger batch?
A8: Yes, you can double the recipe and bake in a larger pan. Just make sure to adjust the baking time accordingly.
Q9: Why are my bars falling apart when I cut them?
A9: Let the bars cool completely before slicing them. This will help them set up properly and hold their shape.
Q10: Can I add nuts to these bars?
A10: Absolutely! Chopped nuts like walnuts or pecans would be a great addition. Just sprinkle them on top before baking.
Conclusion
These Cherry Pie Bars are everything you want in a dessert—simple, delicious, and totally shareable. They’re the perfect way to satisfy your sweet tooth with minimal effort. Whether you’re serving them at a get-together or enjoying them with a cup of coffee on a lazy afternoon, they’re sure to be a hit. So, grab your ingredients and make these bars today—you won’t regret it!
Print
Cherry Pie Bars
- Prep Time: 15 minutes
- Cook Time: 30-35 minutes
- Total Time: 40-45 minutes
- Yield: 24 bars 1x
- Category: Dessert
- Method: baking
- Cuisine: American
- Diet: Vegetarian
Description
These Cherry Pie Bars are a delicious, easy-to-make dessert that combines the sweetness of cherry pie filling with a soft, buttery crust. Topped with a sweet glaze, these bars are perfect for any occasion, from family gatherings to potlucks. They’re a crowd-pleaser that’s sure to satisfy your sweet tooth!
Ingredients
1 cup butter, softened
• 4 eggs
• 1 tsp vanilla extract
• ¼ tsp almond extract
• 3 cups all-purpose flour
• 1 tsp salt
• 2 cans (21 oz each) cherry pie filling
• 1 cup powdered sugar
• ½ tsp vanilla extract (for glaze)
• ½ tsp almond extract (for glaze)
• 2 tbsp milk
Instructions
-
Preheat the Oven:
- Preheat the oven to 350°F (175°C). Spray a 15x10x1-inch pan with non-stick spray.
-
Cream Butter & Sugar:
- In a large mixing bowl, cream together the softened butter and sugar until light and fluffy.
-
Add Eggs & Extracts:
- Beat in the eggs one at a time, ensuring each one is fully incorporated before adding the next. Stir in the vanilla and almond extracts.
-
Combine Dry Ingredients:
- In a separate bowl, whisk together the flour and salt. Gradually add this dry mixture to the creamed butter and sugar, mixing until well combined.
-
Assemble the Bars:
- Spread 3 cups of the batter evenly over the bottom of the prepared pan. Top with the cherry pie filling, spreading it evenly. Drop spoonfuls of the remaining batter over the cherry filling.
-
Bake:
- Bake for 30-35 minutes, or until a toothpick inserted into the center comes out clean. If using a 9×13-inch pan, adjust the baking time (may take longer).
-
Cool:
- Let the bars cool completely on a wire rack.
-
Prepare the Glaze:
- In a small bowl, whisk together the powdered sugar, vanilla extract, almond extract, and milk until smooth.
-
Drizzle & Serve:
- Once the bars are cooled, drizzle the glaze over the top. Let the glaze set, then cut into squares and serve.
Notes
- For a twist, you can use other pie fillings like blueberry or apple in place of the cherry.
- These bars are great for meal prep—store them in an airtight container at room temperature for up to 4-5 days.
Nutrition
- Serving Size: 1 bar
- Calories: 210kcal
- Sugar: 26g
- Sodium: 100mg
- Fat: 9g
- Saturated Fat: 5g
- Unsaturated Fat: 3g
- Trans Fat: 0g
- Carbohydrates: 32g
- Fiber: 1g
- Protein: 2g
- Cholesterol: 40mg