
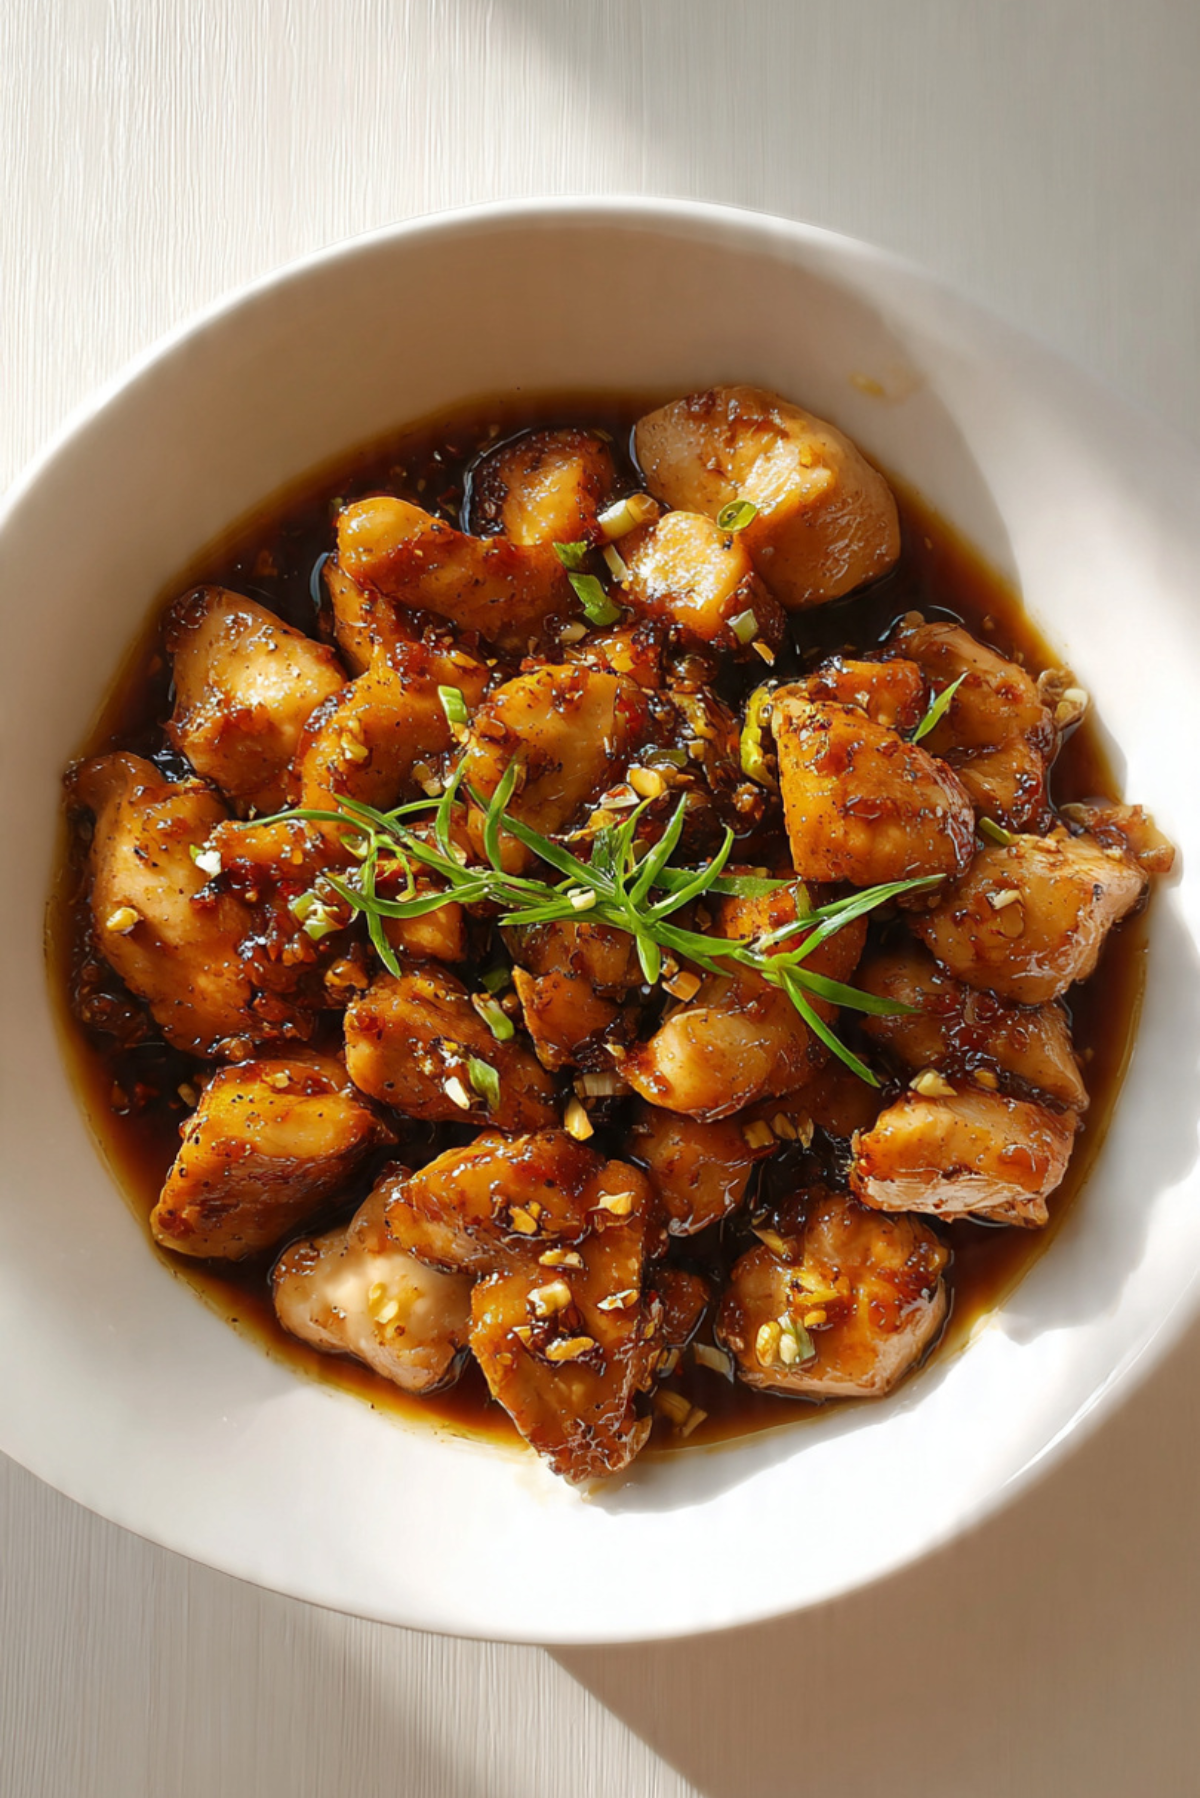
There is something about the aroma of garlic sizzling in oil that instantly makes a kitchen feel alive, and when you add tender chicken pieces coated in a rich, savory sauce, it becomes something truly irresistible. This dish is simple, bold, and deeply satisfying. Trust me, you’re going to love this. Every bite is juicy, garlicky, and packed with flavor that lingers just enough to make you reach for another piece.
Why This Dish Feels Like Pure Comfort
It starts with simplicity. A handful of ingredients come together to create something that feels both homey and special. The garlic brings warmth, the sauce adds depth, and the chicken absorbs it all beautifully. It is one of those meals that feels effortless but tastes like you put in much more work.
A Quick Look at Its Origins
Salpicao is a dish that has roots in Spanish influence but has been embraced and transformed in Filipino kitchens. Traditionally made with beef, the chicken version offers a lighter twist while keeping that signature garlic-forward flavor. Over time, it has become a staple in many homes because of how easy and flavorful it is.
Why This Recipe Works Every Time
Versatile: Perfect as a main dish, a rice topping, or even a quick protein option.
Budget-Friendly: Uses simple ingredients that are easy to find.
Quick and Easy: Comes together in under 30 minutes.
Customizable: You can adjust the garlic level or sauce intensity.
Crowd-Pleasing: Bold, savory flavors that appeal to everyone.
Make-Ahead Friendly: You can marinate the chicken ahead for deeper flavor.
Great for Leftovers: Tastes even better the next day as flavors deepen.
Pro Tips for the Best Flavor
A few small details can take this dish to the next level.
- Use fresh garlic for the strongest flavor
- Do not overcrowd the pan so the chicken browns properly
- Let the chicken sear before stirring to build flavor
- Taste and adjust seasoning before serving
Tools That Make Cooking Easier
Before starting, having the right tools helps everything flow smoothly.
Skillet or Pan: For searing and cooking the chicken evenly.
Knife: For cutting chicken into uniform pieces.
Mixing Bowl: For marinating the chicken.
Wooden Spoon: For stirring without breaking the chicken.
Measuring Spoons: To keep the seasoning balanced.
Ingredients That Build the Flavor
Let’s take a closer look at what makes this dish shine.
- Chicken Thighs: 1 pound, cut into cubes, juicy and flavorful base
- Garlic: 6 cloves minced, the heart of the dish
- Soy Sauce: 3 tablespoons, adds savory depth
- Oyster Sauce: 2 tablespoons, brings richness and umami
- Butter: 2 tablespoons, creates a smooth finish
- Olive Oil: 1 tablespoon, helps cook the chicken
- Black Pepper: 1 teaspoon, adds bold warmth
- Sugar: 1 teaspoon, balances the savory flavors
- Parsley: 2 tablespoons chopped, adds freshness
Easy Ingredient Swaps You Can Try
You can easily adjust the recipe based on what you have.
Chicken Thighs: Chicken breast for a leaner option
Oyster Sauce: Soy sauce with a touch of sugar
Butter: Margarine or extra oil
Parsley: Green onions for a different finish
The Key Ingredients That Shine
Some elements truly define this dish.
Garlic: It infuses every bite with bold aroma and flavor.
Soy Sauce: Brings that deep, savory backbone that ties everything together.

Let’s Cook This Flavorful Dish Together
Now comes the exciting part, and now let’s dive into the process step by step.
- Preheat Your Equipment: Heat a skillet over medium heat.
- Combine Ingredients: Mix chicken with soy sauce, oyster sauce, sugar, and black pepper.
- Prepare Your Cooking Vessel: Add olive oil to the hot pan.
- Assemble the Dish: Add chicken in a single layer and let it sear.
- Cook to Perfection: Cook until browned and fully cooked, then add garlic and stir until fragrant.
- Finishing Touches: Stir in butter until melted and coating the chicken.
- Serve and Enjoy: Garnish with parsley and serve warm.
The Texture and Flavor Experience
Each bite is juicy and tender, with a slight caramelization on the outside. The sauce clings to the chicken, delivering a rich, savory taste balanced by a hint of sweetness. The garlic adds a punch that makes the dish unforgettable.
Helpful Tips for Better Results
A few small tweaks can elevate your cooking.
- Cook on medium heat to avoid burning garlic
- Let the chicken rest briefly before serving
- Use a heavy pan for even cooking
What to Avoid When Making This Dish
Avoid these common mistakes for the best outcome.
- Adding garlic too early, which can burn it
- Overcrowding the pan, which prevents browning
- Overcooking chicken, which makes it dry
Nutrition Overview
Servings: 4
Calories per serving: 350
Note: These are approximate values.
Time You Will Need
Prep Time: 10 minutes
Cook Time: 15 minutes
Total Time: 25 minutes
Make-Ahead and Storage Tips
You can marinate the chicken ahead of time for deeper flavor. Store leftovers in an airtight container for up to three days. Reheat gently in a pan to maintain texture and flavor.
How to Serve It Best
Serve this dish over warm rice to soak up the sauce. You can also pair it with simple vegetables for balance.
Creative Ways to Use Leftovers
Turn leftovers into wraps, rice bowls, or even add to salads for a quick meal.
Extra Tips for Success
Always taste your sauce before finishing. Small adjustments can make a big difference in flavor.
Make It Look Stunning
Serve in a clean bowl, sprinkle fresh herbs, and let the glossy sauce shine. Simple presentation makes it even more appetizing.
Variations to Try
Add mushrooms for extra texture, increase garlic for bold flavor, or add chili flakes for a bit of heat.
FAQ’s
Q1: Can I use chicken breast instead?
Yes, but be careful not to overcook it.
Q2: Is this dish very garlicky?
Yes, but you can reduce the amount if needed.
Q3: Can I make it ahead?
Yes, it stores well and reheats easily.
Q4: What can I serve with it?
Rice or vegetables work best.
Q5: Can I add vegetables?
Yes, mushrooms or bell peppers are great additions.
Q6: How do I store leftovers?
In an airtight container in the refrigerator.
Q7: Can I freeze it?
Yes, though texture may slightly change.
Q8: How do I reheat it?
Use a pan for best results.
Q9: Can I make it spicy?
Add chili flakes or fresh chili.
Q10: How long does it last?
Up to 3 days in the fridge.
Conclusion
Chicken salpicao is simple, bold, and packed with flavor in every bite. It is quick to make, deeply satisfying, and perfect for almost any occasion. Let me tell you, it’s worth every bite, and once you try it, it will easily become part of your regular meal rotation.
Print
Chicken Salpicao
Description
A savory and garlicky chicken dish cooked in a rich soy-based sauce with tender, juicy bites and bold flavor.
Ingredients
- 1 pound chicken thighs, cubed
- 6 garlic cloves, minced
- 3 tablespoons soy sauce
- 2 tablespoons oyster sauce
- 2 tablespoons butter
- 1 tablespoon olive oil
- 1 teaspoon black pepper
- 1 teaspoon sugar
- 2 tablespoons chopped parsley
Instructions
- Heat a skillet over medium heat.
- Mix chicken with soy sauce, oyster sauce, sugar, and black pepper.
- Add olive oil to the pan.
- Cook chicken in a single layer until browned and cooked through.
- Add garlic and cook until fragrant.
- Stir in butter until melted and coating the chicken.
- Garnish with parsley and serve warm.
Notes
- Use fresh garlic for best flavor
- Do not overcrowd the pan
- Add garlic later to prevent burning