
If you’re craving something sweet, creamy, and irresistibly peanut buttery, but don’t want to spend hours in the kitchen—this is the treat for you. The Easiest Peanut Butter Fudge is exactly what it sounds like. Simple ingredients, no fancy equipment, and it all comes together in just minutes. This is the kind of recipe you make once and keep making forever.
Behind the Recipe
This fudge has a little story behind it—one that involves a cold winter day, a nearly empty pantry, and a serious sweet tooth. With just sugar, milk, and a jar of peanut butter left in the kitchen, this recipe came to life out of pure craving and necessity. And it turned out to be the best kind of happy accident. Ever since, it’s been my go-to for bake sales, gifts, and just-because moments.
Recipe Origin or Trivia
Peanut butter fudge has its roots in classic American candy-making traditions, especially popular throughout the Midwest and the South. It became a staple in the 1950s when families looked for easy, stovetop treats to satisfy their sweet cravings. With no need for candy thermometers or long cook times, this version has remained a beloved shortcut that brings back that old-fashioned fudge-shop flavor.
Why You’ll Love Easiest Peanut Butter Fudge
Let me tell you why this one’s going to become your new dessert obsession:
Versatile: You can jazz it up with chocolate chips, sea salt, or chopped nuts.
Budget-Friendly: Just four ingredients, all of which are pantry staples.
Quick and Easy: Done in under 10 minutes—yes, really.
Customizable: Adjust the sweetness or use chunky peanut butter for extra texture.
Crowd-Pleasing: Creamy, rich, and universally adored by kids and adults alike.
Make-Ahead Friendly: It sets beautifully in the fridge, making it perfect for prepping ahead.
Great for Leftovers: Stores for days without losing its magic.
Chef’s Pro Tips for Perfect Results
Getting that dreamy fudge texture isn’t hard—but here’s how to make it flawless every time:
- Use a heavy-bottom saucepan to prevent burning during the boiling phase.
- Boil the sugar and milk for exactly one minute after it starts to bubble, stirring constantly.
- Use smooth, shelf-stable peanut butter for the creamiest texture. Natural peanut butter can separate.
- Add the vanilla off the heat to keep the flavor fresh and bold.
- Work quickly once mixing because the fudge begins to set fast as it cools.
Kitchen Tools You’ll Need
You don’t need much to pull off this peanut butter perfection.
Medium Saucepan: For boiling the sugar and milk.
Whisk or Spoon: To stir the mixture until smooth.
Spatula: Great for spreading the fudge into your pan evenly.
8×8-inch Baking Dish: Ideal size for the perfect fudge thickness.
Parchment Paper: Makes removing and cutting the fudge a breeze.
Ingredients in Easiest Peanut Butter Fudge
This recipe is pure magic with just four pantry staples working in harmony. Here’s the rundown:
- Sugar: 2 cups – The sweet base that gives structure and classic fudge texture.
- Milk: ½ cup – Helps dissolve the sugar and gives the base a smooth consistency.
- Peanut Butter: ¾ cup – The star of the show, giving richness and that irresistible nutty flavor.
- Vanilla Extract: 1 teaspoon – Adds depth and rounds out the sweetness beautifully.
Ingredient Substitutions
Need to swap something? No problem:
Milk: Evaporated milk or half-and-half can work in a pinch.
Peanut Butter: Almond or sunflower seed butter if avoiding peanuts.
Vanilla Extract: Maple syrup for a slightly different sweetness.
Sugar: Brown sugar gives a slightly deeper, caramel-like flavor.
Ingredient Spotlight
Peanut Butter: This is where the fudge gets its signature richness. Using a creamy, no-stir variety gives the best melt and set.
Vanilla Extract: A small touch, but mighty. It brings out the nuttiness and sweetness in the most delicious way.

Instructions for Making Easiest Peanut Butter Fudge
This is one of those blink-and-it’s-done recipes. You’ll be amazed how simple it really is.
-
Preheat Your Equipment:
Line an 8×8-inch dish with parchment paper. Set aside. -
Combine Ingredients:
In a medium saucepan, combine sugar and milk. Stir constantly over medium heat until mixture begins to boil. -
Prepare Your Cooking Vessel:
Have your peanut butter and vanilla measured out and ready to go—things move fast from here. -
Assemble the Dish:
Boil the sugar and milk for exactly 1 minute while stirring. Remove from heat. Quickly stir in peanut butter and vanilla until smooth and glossy. -
Cook to Perfection:
Immediately pour the mixture into the prepared dish, smoothing the top with a spatula. -
Finishing Touches:
Let it cool at room temperature for about 10 minutes, then refrigerate until firm (about 1 hour). -
Serve and Enjoy:
Lift out using parchment, cut into squares, and share—or stash away for yourself!
Texture & Flavor Secrets
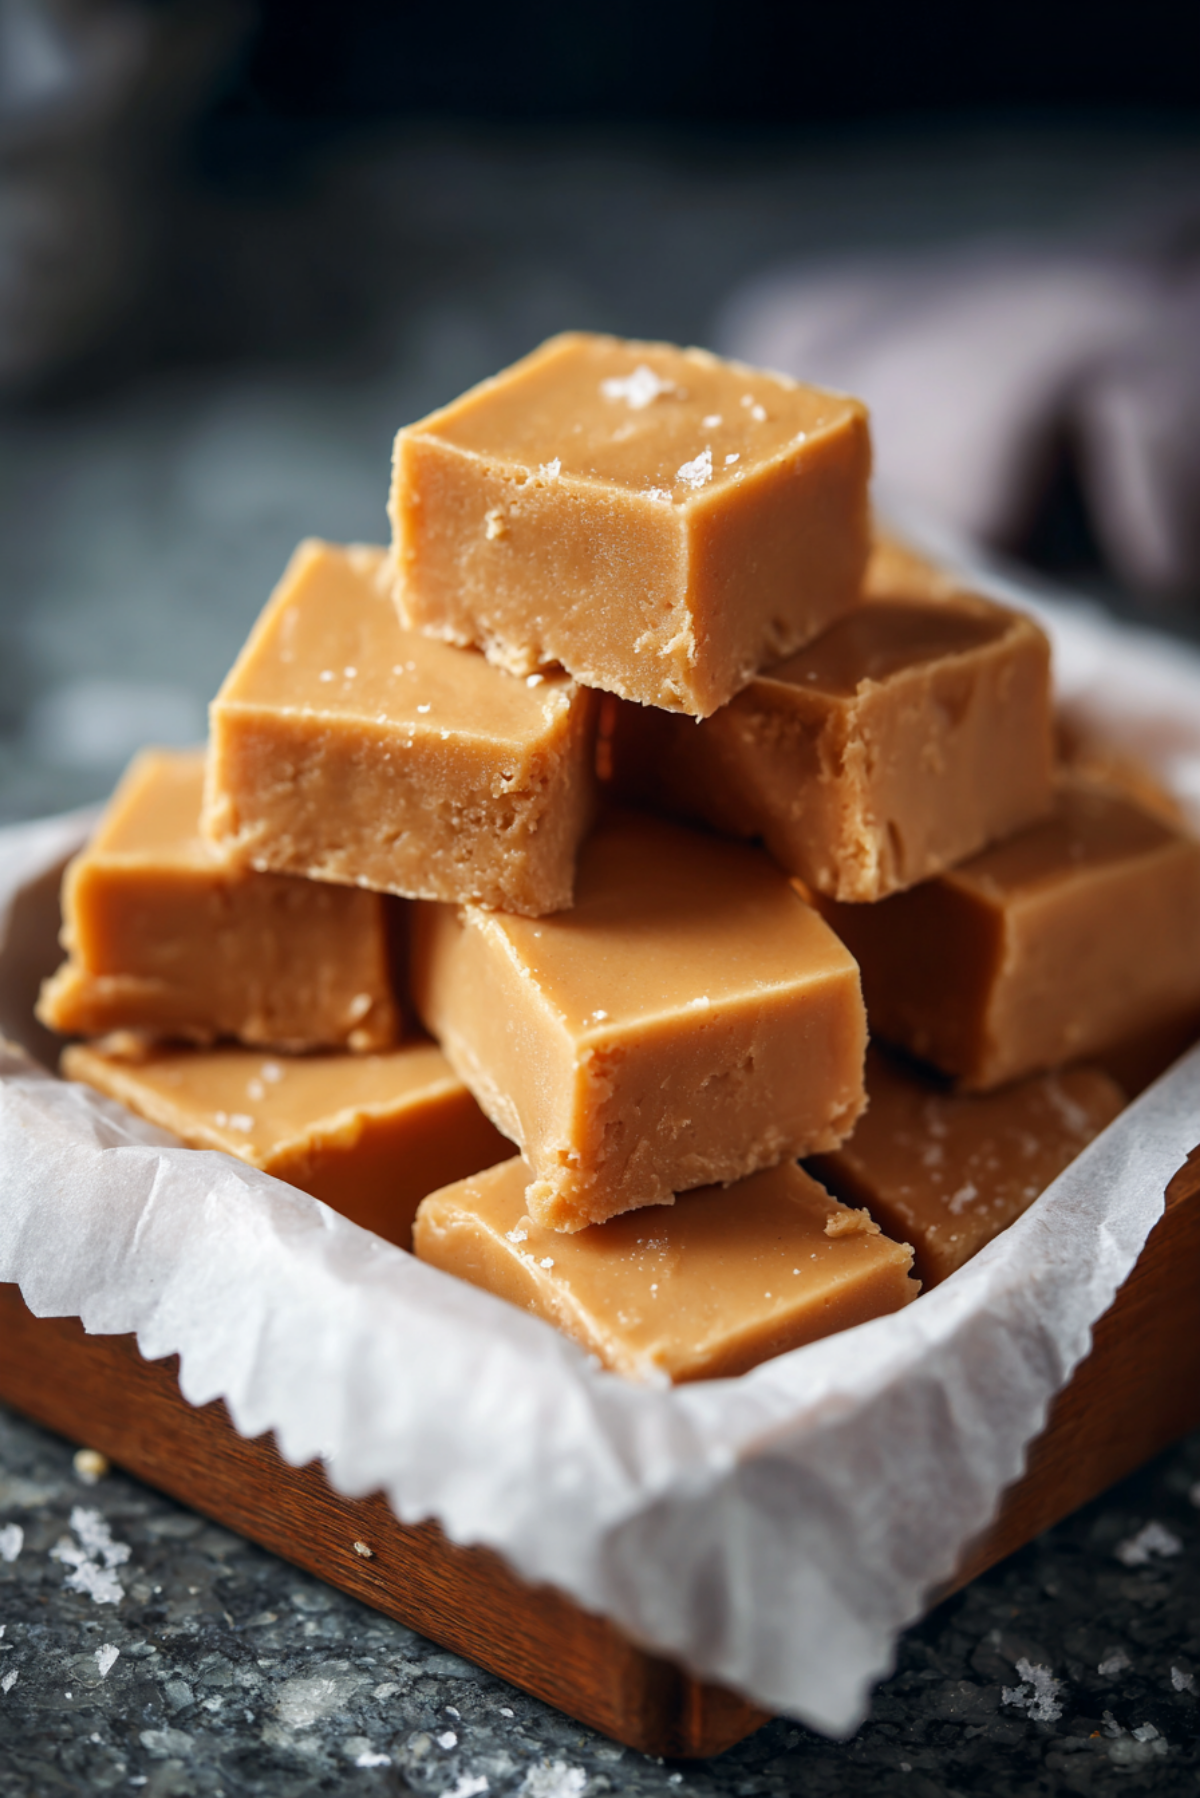
The fudge sets up with a dreamy creaminess, slightly firm on the outside with a melt-in-your-mouth interior. Each bite brings the smooth, rich taste of peanut butter with a hint of vanilla warmth, balanced perfectly by the sweetness of the sugar.
Cooking Tips & Tricks
Want to make it even better? Try these:
- Use a silicone spatula for easy stirring and smoothing.
- Cut with a warm knife for clean edges.
- Store it in layers separated by wax paper to keep the pieces neat.
- Chill in the fridge if your kitchen is warm to help it set faster.
What to Avoid
Keep things smooth by avoiding these common hiccups:
- Don’t overboil the sugar—it can turn grainy.
- Don’t use natural peanut butter—it may not set properly.
- Avoid stirring after it starts to set—it can ruin the texture.
- Don’t skip parchment paper—it makes removal way easier.
Nutrition Facts
Servings: 16
Calories per serving: 160
Note: These are approximate values.
Preparation Time
Prep Time: 5 minutes
Cook Time: 5 minutes
Total Time: 10 minutes (plus cooling)
Make-Ahead and Storage Tips
This fudge is a dream to make ahead. Just refrigerate it in an airtight container for up to 1 week. You can also freeze it, wrapped tightly, for up to 3 months. Thaw in the fridge overnight for best results.
How to Serve Easiest Peanut Butter Fudge
Serve it chilled with a tall glass of milk or a warm cup of coffee. Stack it on a holiday cookie platter or gift it in cute boxes for birthdays and holidays.
Creative Leftover Transformations
If you happen to have extras, here’s how to switch things up:
- Fudge Brownie Swirl: Chop and swirl into brownie batter.
- Fudge Milkshake: Blend into vanilla ice cream and milk.
- Fudge Topping: Melt slightly and drizzle over pancakes or waffles.
Additional Tips
- Add chopped peanuts for crunch.
- Sprinkle with sea salt for a sweet-savory twist.
- Layer with chocolate chips before it sets for a swirl effect.
Make It a Showstopper
Top with a drizzle of melted chocolate, dust with powdered sugar, or place in decorative paper liners. Cut into mini bites and serve on a tiered tray for extra wow.
Variations to Try
- Chocolate-Peanut Butter Fudge: Layer chocolate and peanut butter mixtures.
- Nutty Crunch Fudge: Add chopped almonds or walnuts before pouring into the pan.
- Maple Fudge: Replace vanilla with maple extract for a fall-inspired flavor.
- Coconut Twist: Mix in shredded coconut for texture.
- Marbled Fudge: Swirl with marshmallow cream before setting.
FAQ’s
Q1: Can I double the recipe?
Yes, just use a 9×13-inch dish instead of 8×8.
Q2: Can I use natural peanut butter?
It’s not recommended. It may not set properly.
Q3: How long does it last?
Up to 1 week in the fridge or 3 months in the freezer.
Q4: Can I make it dairy-free?
Try using almond or oat milk, but results may vary.
Q5: Why is my fudge grainy?
You likely overcooked the sugar or didn’t stir enough.
Q6: Can I microwave this recipe?
Not this version—it needs stovetop boiling to set right.
Q7: Is it gluten-free?
Yes, all ingredients are naturally gluten-free.
Q8: Can I use a different nut butter?
Absolutely—almond, cashew, or sunflower butter work.
Q9: Can I add toppings?
Of course! Try sprinkles, mini marshmallows, or chopped nuts.
Q10: How do I get clean cuts?
Use a hot knife and wipe clean between slices.
Conclusion
There’s nothing quite like a treat that comes together in minutes and delivers full-on peanut butter bliss. This fudge is the kind of recipe that earns a permanent spot in your kitchen playbook. Whether you’re making it for a party or just because, trust me, it’s worth every creamy, dreamy bite.
Print
Easiest Peanut Butter Fudge
Description
This incredibly simple peanut butter fudge comes together in minutes using just four pantry staples. Sweet, creamy, and totally irresistible, it’s a no-bake treat everyone will love.
Ingredients
- 2 cups sugar
- 1/2 cup milk
- 3/4 cup peanut butter
- 1 teaspoon vanilla extract
Instructions
- Line an 8×8-inch baking dish with parchment paper.
- In a medium saucepan over medium heat, combine sugar and milk. Stir constantly until it begins to boil.
- Boil for exactly 1 minute while continuing to stir, then remove from heat.
- Immediately stir in peanut butter and vanilla extract until smooth.
- Quickly pour the mixture into the prepared dish and smooth the top with a spatula.
- Let it cool for 10 minutes at room temperature, then refrigerate until set (about 1 hour).
- Cut into squares and enjoy.
Notes
- Use shelf-stable creamy peanut butter for best texture.
- For clean slices, use a hot knife wiped clean between cuts.
- Add sea salt, chocolate chips, or chopped nuts for variation.