
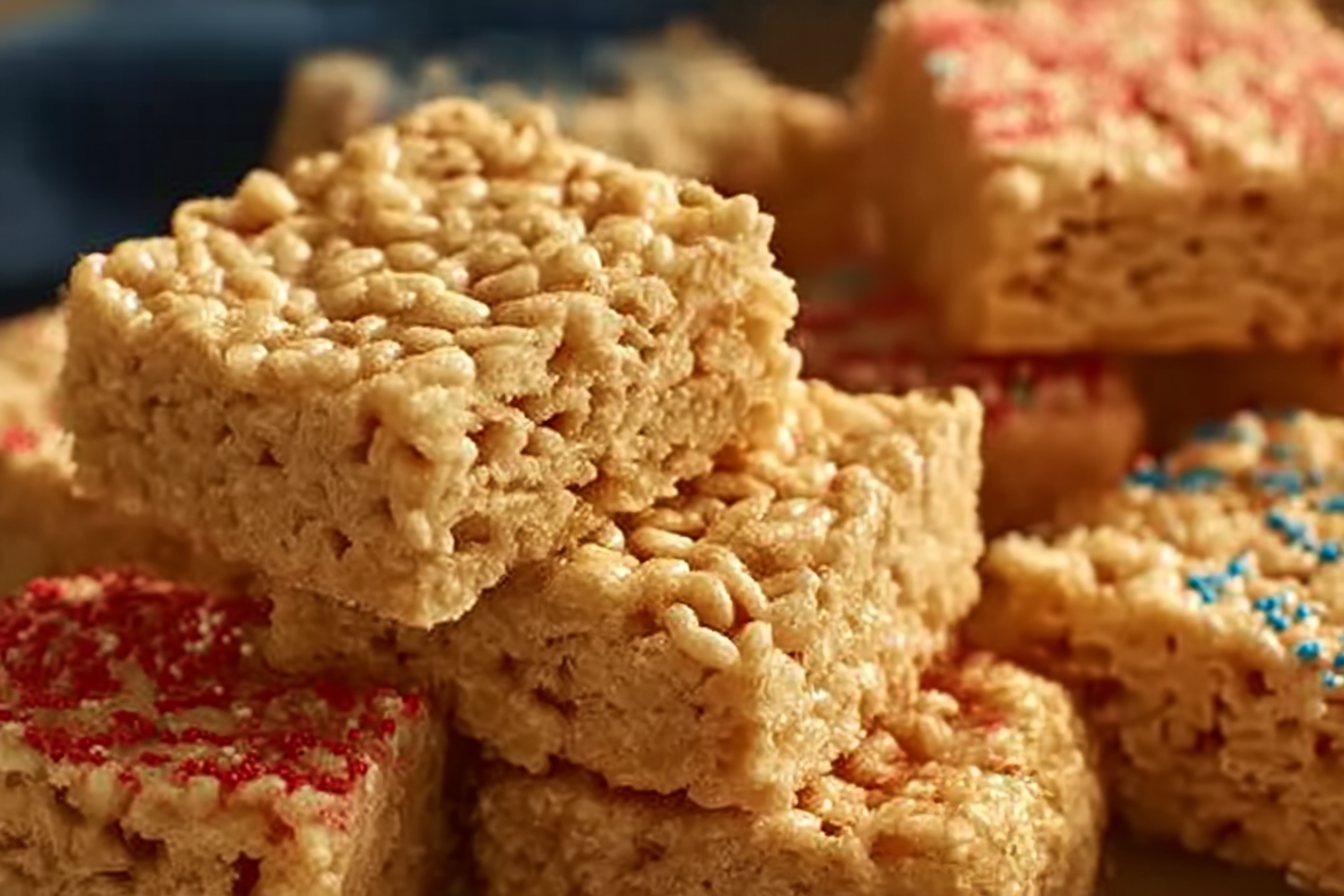
Gooey, golden, and loaded with nostalgic crunch—these Easy One Pan Baked Rice Krispy Treats are everything you remember from childhood but with a cozy, upgraded twist. They’re made entirely in one pan, with no fuss, no stovetop, and absolutely no mess. Trust me, they’re a total game-changer for your sweet tooth and your schedule.
Behind the Recipe
This recipe was born on a lazy afternoon when I craved something sweet but refused to do dishes. The traditional stovetop method was out, so I grabbed a baking dish, tossed everything in, and crossed my fingers. What came out of the oven was a little miracle—slightly toasty, perfectly gooey treats that needed zero stovetop stirring. Ever since then, it’s become my go-to dessert when time is short but cravings are real.
Recipe Origin or Trivia
Rice Krispy Treats were first created by Kellogg’s in 1939 as a fundraiser idea, quickly becoming a staple in American kitchens. Traditionally made on the stovetop, this baked twist lets the oven do the heavy lifting—melting, mixing, and setting everything in one pan. The bonus? A faintly caramelized flavor from the toasted marshmallows and butter that you didn’t know you were missing.
Why You’ll Love Easy One Pan Baked Rice Krispy Treats
This dessert checks all the right boxes—quick, fun, and downright addictive:
Versatile: Add chocolate, sprinkles, or crushed candy for endless variations.
Budget-Friendly: Uses just a few inexpensive pantry staples.
Quick and Easy: No stovetop, no saucepan—just one pan and one oven.
Customizable: Swap cereals or add nut butters for your own twist.
Crowd-Pleasing: Perfect for potlucks, parties, or a late-night snack.
Make-Ahead Friendly: Stays fresh and chewy for days.
Great for Leftovers: If there are any—they’re that good!
Chef’s Pro Tips for Perfect Results
Maximize your gooey, crispy potential with these tips:
- Use mini marshmallows—they melt faster and more evenly.
- Don’t press the mixture too hard or it’ll be dense instead of chewy.
- Spray your spatula or hands with oil before pressing.
- Bake just long enough to melt everything—don’t overdo it.
- Add a pinch of salt to balance the sweetness.
Kitchen Tools You’ll Need
Minimal tools, maximum reward:
8×8 or 9×9 Baking Dish: The perfect size for thick, square treats.
Rubber Spatula: For stirring and spreading without sticking.
Cooking Spray or Butter: To coat the pan and your hands/spatula.
Oven: Yes, your oven makes it even easier.
Ingredients in Easy One Pan Baked Rice Krispy Treats
Just a few ingredients come together to make magic happen:
- Rice Krispies Cereal: 6 cups. The crunchy base that holds it all together.
- Mini Marshmallows: 10 ounces (about 5 1/2 cups). Melts into gooey, sticky goodness.
- Unsalted Butter: 1/2 cup (1 stick). Adds richness and helps with binding.
- Vanilla Extract: 1 teaspoon. Rounds out the flavor with warmth.
- Salt: 1/4 teaspoon. Balances the sweetness perfectly.
- Cooking Spray or Oil: For greasing the pan and tools.
Ingredient Substitutions
Flex your creativity with these easy swaps:
Rice Krispies Cereal: Use cocoa cereal, cornflakes, or puffed rice.
Mini Marshmallows: Use large ones, just chop them up.
Butter: Try coconut oil or vegan butter.
Vanilla Extract: Swap with almond extract or skip it.
Salt: Add sea salt flakes on top instead for crunch.
Ingredient Spotlight
Mini Marshmallows: These melt quicker than their jumbo cousins, ensuring smooth mixing and a consistent texture throughout the treats.
Butter: When baked, it toasts slightly in the oven, giving a subtle caramelized richness that sets these apart from the stovetop version.
Instructions for Making Easy One Pan Baked Rice Krispy Treats
Let’s bake the easiest batch of gooey magic. Here are the steps you’re going to follow:
-
Preheat Your Equipment:
Preheat your oven to 350°F (175°C). Lightly grease your 8×8 or 9×9-inch baking dish with butter or cooking spray. -
Combine Ingredients:
In the prepared baking dish, add the butter and mini marshmallows. Place in the oven for 8–10 minutes until the butter is melted and marshmallows are puffed and slightly golden. -
Prepare Your Cooking Vessel:
Carefully remove the hot pan from the oven and stir the marshmallow-butter mixture with a greased spatula until smooth. -
Assemble the Dish:
Add vanilla extract and salt. Immediately stir in the cereal until fully coated and combined. -
Cook to Perfection:
Gently press the mixture evenly into the pan using a greased spatula or your hands. Don’t compact it too tightly. -
Finishing Touches:
Let cool at room temperature for 30–45 minutes until set. -
Serve and Enjoy:
Cut into squares and devour. Store extras in an airtight container for up to 3 days.
Texture & Flavor Secrets
The trick is all in the oven heat. It melts the marshmallows into a silky pool while gently toasting the butter, giving the treats a golden, slightly crisp edge with a chewy, gooey center. The vanilla and salt create depth that makes every bite more satisfying.
Cooking Tips & Tricks
Here’s how to elevate your treat game:
- Toss in sprinkles or mini chocolate chips just before pressing into the pan.
- Add 1/2 cup peanut butter with the marshmallows for a nutty twist.
- Don’t let the marshmallows bake too long—they’ll harden and get chewy.
- Line the pan with parchment for easier removal and cleaner cuts.
What to Avoid
Avoid these common treat fails:
- Overbaking: Leads to hard, dry treats.
- Pressing Too Firmly: Makes the final result dense and tough.
- Skipping the Grease: Everything will stick—grease is your best friend.
- Too Much Cereal: Measure carefully—too much ruins the gooey balance.
Nutrition Facts
Servings: 12
Calories per serving: 180
Note: These are approximate values.
Preparation Time
Prep Time: 5 minutes
Cook Time: 10 minutes
Total Time: 45 minutes (including cooling)
Make-Ahead and Storage Tips
These bars are perfect for making ahead. Store them in an airtight container at room temperature for up to 3 days. For longer storage, wrap tightly and freeze for up to 1 month. Let them thaw at room temp before serving.
How to Serve Easy One Pan Baked Rice Krispy Treats
Serve at room temperature on a cute dessert tray or individually wrapped for lunchbox surprises. Drizzle with melted chocolate or dip one side in sprinkles for a party-ready upgrade.
Creative Leftover Transformations
If you manage to have extras, here’s how to give them a second life:
- Ice Cream Sandwiches: Use as chewy “bread” around a scoop of ice cream.
- Dessert Pops: Insert sticks and dip in chocolate for fun treat pops.
- S’mores Base: Use instead of graham crackers for a gooey twist.
- Crumbled Topping: Chop and sprinkle over yogurt or pudding.
Additional Tips
- Let them cool fully before cutting for clean edges.
- Use flavored marshmallows for a twist (try strawberry or caramel).
- Toasted nuts or dried fruit can add texture and contrast.
Make It a Showstopper
Cut the treats with cookie cutters for fun shapes. Dip half in white chocolate and top with crushed candy or edible glitter. Serve on a tiered tray with mini napkins for a sweet buffet hit.
Variations to Try
- Birthday Cake: Add sprinkles and cake batter extract.
- Salted Caramel: Drizzle with caramel and sea salt.
- Chocolate Lovers: Mix in cocoa cereal and mini chocolate chips.
- S’mores: Add graham cracker pieces and drizzle with chocolate.
- Pumpkin Spice: Stir in cinnamon, nutmeg, and a pinch of clove.
FAQ’s
Q1. Can I use regular marshmallows?
Yes, just chop them into smaller pieces for faster melting.
Q2. Can I use different cereal?
Absolutely! Try cornflakes, Chex, or cocoa cereal.
Q3. Are these gluten-free?
Use certified gluten-free cereal and marshmallows to ensure it.
Q4. Can I add peanut butter?
Yes! Stir in 1/2 cup with the melted marshmallows.
Q5. Can I double the recipe?
Yes, use a 9×13-inch pan and adjust baking time slightly.
Q6. Can I make them in the microwave?
Yes! Melt butter and marshmallows in a large microwave-safe bowl in 30-second bursts.
Q7. Can I use margarine instead of butter?
Yes, but it may slightly change the flavor and texture.
Q8. How long do they last?
Up to 3 days at room temp or 1 month frozen.
Q9. Can I add food coloring?
Definitely—stir in with the melted marshmallows.
Q10. Why bake instead of stovetop?
It’s easier, cleaner, and gives a slightly toasted flavor!
Conclusion
These Easy One Pan Baked Rice Krispy Treats are the ultimate solution for when you want something sweet, fast, and satisfying with zero cleanup drama. Gooey, crispy, and full of nostalgia, they bring smiles with every bite. Let me tell you, it’s worth every bite.
Print
Easy One Pan Baked Rice Krispy Treats
Description
Super gooey, golden, and made entirely in one pan, these baked Rice Krispy treats are a simple, mess-free twist on the nostalgic favorite—perfect for parties, lunchboxes, or a quick dessert fix.
Ingredients
- Rice Krispies Cereal: 6 cups
- Mini Marshmallows: 10 ounces (about 5 1/2 cups)
- Unsalted Butter: 1/2 cup (1 stick)
- Vanilla Extract: 1 teaspoon
- Salt: 1/4 teaspoon
- Cooking Spray or Oil: as needed for greasing
Instructions
- Preheat Your Equipment: Preheat oven to 350°F (175°C) and lightly grease an 8×8 or 9×9 baking dish.
- Combine Ingredients: Add butter and marshmallows to the greased dish and bake for 8–10 minutes until melted and puffed.
- Prepare Your Cooking Vessel: Remove from oven and stir the marshmallow mixture until smooth.
- Assemble the Dish: Stir in vanilla and salt, then immediately mix in the cereal until evenly coated.
- Cook to Perfection: Press mixture gently into the pan with greased hands or spatula.
- Finishing Touches: Let cool for 30–45 minutes at room temperature until set.
- Serve and Enjoy: Cut into squares and store in an airtight container.
Notes
- Don’t press too firmly—keep them light and chewy.
- Line pan with parchment for easy removal and cleaner cuts.
- Add chocolate chips, sprinkles, or crushed candy for variety.