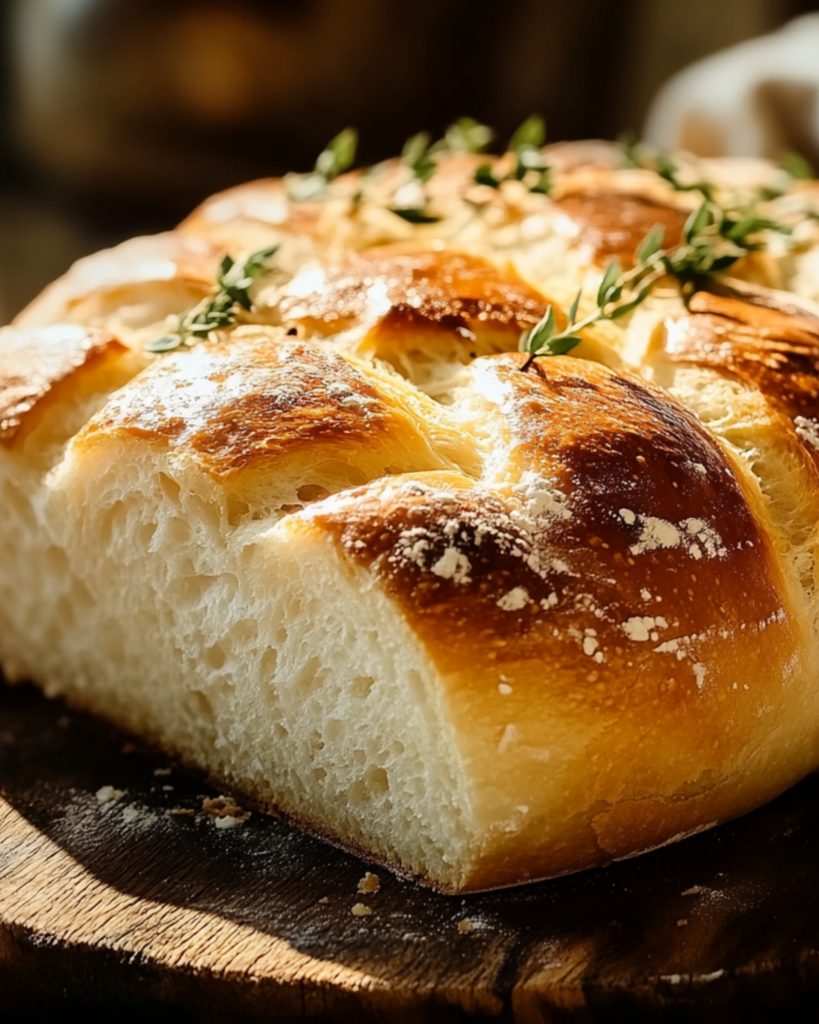
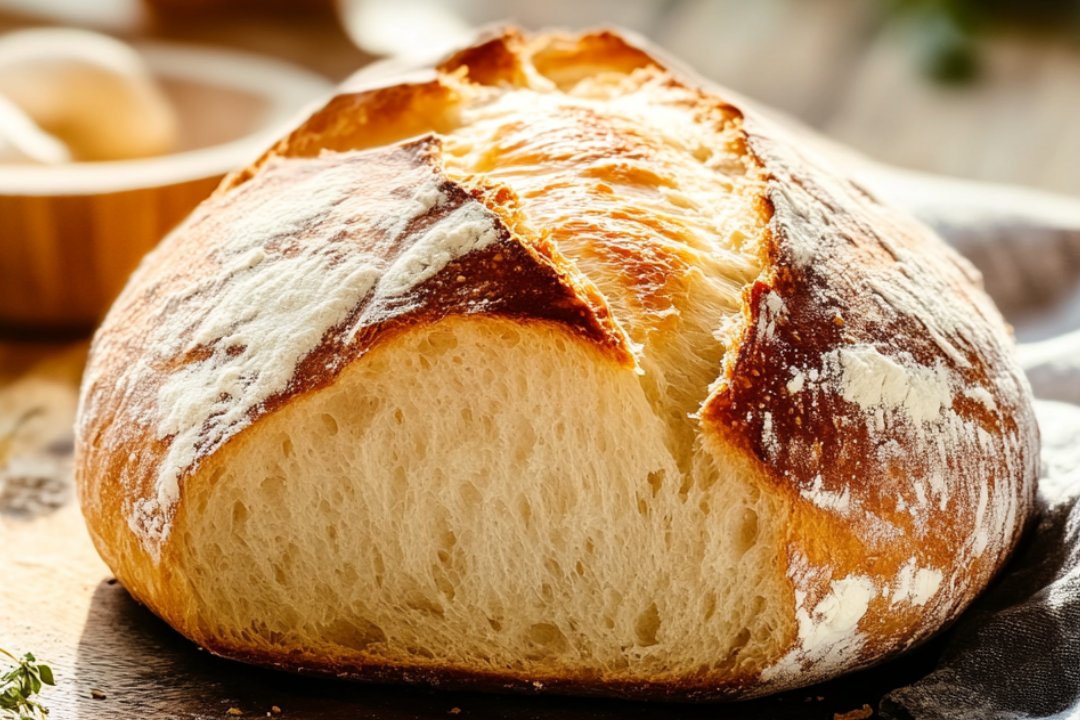
There’s something magical about homemade bread, and trust me, when you take that first warm, buttery bite, you’ll feel like you’re right at Grandma’s kitchen table. This bread is soft, pillowy, and perfectly golden on the outside, just like the kind that fills your home with an irresistible aroma. If you’re craving a comforting, simple recipe that never disappoints, this is it. Let’s just say it’s one of those classic recipes that make you feel all warm and fuzzy inside, and it’s going to become a new staple in your kitchen. So, grab your apron and get ready to bake this heavenly loaf of bread!
Why You’ll Love Grandma’s Perfect Homemade Bread
This recipe isn’t just about baking—it’s about creating memories. There’s nothing like the joy of pulling a freshly baked loaf from the oven and watching everyone’s face light up. Here’s why this bread is a favorite:
- Versatile: Whether you’re serving it with soup, making sandwiches, or simply enjoying a slice with butter, this bread fits the bill for any meal. It’s perfect for cozy family dinners, or even as a thoughtful gift for friends.
- Budget-Friendly: Made with simple pantry ingredients, this recipe doesn’t require anything fancy. It’s the kind of bread you can make anytime, without a special trip to the store.
- Quick and Easy: No need to be intimidated by the idea of baking bread! This recipe is straightforward and doesn’t require any fancy techniques. If you’ve never baked before, this is a great starting point to learn the magic of homemade bread.
- Crowd-Pleasing: There’s just something about the smell of homemade bread that draws people in. It’s a guaranteed hit with family, friends, or anyone lucky enough to get a slice.

Ingredients in Grandma’s Perfect Homemade Bread
Let’s break down the ingredients that make this bread so irresistible:
- Flour: The foundation of this bread. All-purpose flour helps create that soft, chewy texture we all love.
- Yeast: This is what brings the bread to life. It’s responsible for making the dough rise, giving the bread that perfect fluffiness.
- Sugar: A touch of sweetness to feed the yeast and help the bread rise beautifully.
- Salt: A small amount of salt adds balance and enhances the flavors in the bread.
- Warm Water: This is what activates the yeast. Make sure it’s warm, not hot, so it helps the yeast bloom without killing it.
- Butter: For that rich, delicious flavor. Butter helps keep the bread soft and gives it a golden crust when baked.
(Note: the full ingredients list, including measurements, is provided in the recipe card directly below.)
Instructions
Let’s dive into the steps that will lead to that warm, golden loaf:
- Activate the Yeast: In a small bowl, combine the warm water and sugar. Stir to dissolve the sugar, then sprinkle the yeast over the top. Let it sit for about 5 minutes, until the mixture becomes frothy. This means the yeast is alive and ready to work its magic.
- Mix the Dough: In a large mixing bowl, combine the flour and salt. Make a well in the center and pour in the yeast mixture. Add the melted butter. Stir everything together until it starts to form a dough.
- Knead the Dough: Turn the dough out onto a floured surface and knead for about 8-10 minutes. You want the dough to be smooth and elastic, not sticky. If it’s too sticky, add a little more flour, but don’t overdo it.
- Let the Dough Rise: Place the dough in a lightly greased bowl, cover it with a clean kitchen towel, and let it rise in a warm place for about 1 hour, or until it has doubled in size. You’ll know it’s ready when you press a finger into the dough, and it leaves a small indent.
- Shape and Second Rise: Punch down the dough to release the air. Shape it into a loaf by folding the edges towards the center and rolling it up. Place the dough in a greased loaf pan, cover it, and let it rise again for about 30 minutes, or until it’s puffed up.
- Bake: Preheat your oven to 375°F (190°C). Once the dough has risen, pop it in the oven and bake for 30-35 minutes, or until the top is golden brown and the loaf sounds hollow when tapped on the bottom.
- Cool and Enjoy: Let the bread cool in the pan for 10 minutes, then remove it and transfer it to a wire rack to cool completely. Slice, slather with butter, and enjoy the deliciousness!
Nutrition Facts
Servings: 12
Calories per serving: 150
Preparation Time
Prep Time: 20 minutes
Cook Time: 35 minutes
Total Time: 2 hours
How to Serve Grandma’s Perfect Homemade Bread
This bread is incredibly versatile and pairs beautifully with so many things! Here are a few ideas to get you started:
- With Soup: Serve it alongside a steaming bowl of your favorite soup for a cozy meal. This bread is perfect for dipping!
- For Sandwiches: Make classic sandwiches like PB&J or turkey with fresh slices of this homemade bread.
- With Butter: Spread a generous amount of butter on a warm slice of bread for the ultimate comfort food experience.
- As a Side: Serve it alongside roasted vegetables or a hearty main course like pot roast or grilled chicken.
Presentation matters, so serve it warm and sliced beautifully on a platter for the perfect finishing touch to any meal.
Additional Tips
- Prep Ahead: If you’re short on time, you can prepare the dough the night before, let it rise overnight in the fridge, and bake it the next day.
- Spice It Up: Try adding some herbs like rosemary or garlic powder to the dough for extra flavor. You could also fold in some shredded cheese for a cheesy twist.
- Storage Tips: Store the bread in a cool, dry place in an airtight container. It’ll stay fresh for about 2-3 days. You can also freeze it for up to 3 months.
- Make It Gluten-Free: If you need a gluten-free option, substitute the all-purpose flour with a gluten-free flour blend.
- Double the Batch: This recipe makes a single loaf, but you can easily double the ingredients to make two loaves!
FAQ Section
Q1: Can I substitute the yeast with something else?
A1: Unfortunately, yeast is essential for this recipe to rise properly, so it’s best to use active dry yeast. However, you could experiment with a sourdough starter for a different flavor profile!
Q2: Can I make this bread without butter?
A2: Yes! You can use olive oil or another fat, but butter adds a lovely richness to the flavor and texture.
Q3: Can I use a stand mixer instead of kneading by hand?
A3: Absolutely! A stand mixer with a dough hook will make the kneading process much quicker and easier.
Q4: How do I know when the bread is done baking?
A4: The top should be golden brown, and the loaf should sound hollow when tapped on the bottom. You can also check with a thermometer—aim for 190°F (88°C) inside the loaf.
Q5: Can I freeze the dough?
A5: Yes, you can freeze the dough before the second rise. Just shape it into a loaf, wrap it well, and freeze. Let it thaw in the fridge overnight and then let it rise before baking.
Q6: Can I bake this bread in a different pan?
A6: Yes, you can use any type of loaf pan or even shape it into a round boule. Just keep an eye on the baking time as it may vary.
Q7: Can I make mini loaves?
A7: Absolutely! Divide the dough into smaller portions and bake for about 20-25 minutes, or until golden brown.
Q8: How do I store the bread?
A8: Store it in a sealed bag or container at room temperature for up to 3 days. For longer storage, slice and freeze it!
Q9: Can I use whole wheat flour?
A9: Yes, you can substitute part of the all-purpose flour with whole wheat flour for a heartier, nuttier flavor.
Q10: Can I add other ingredients like nuts or dried fruits?
A10: You can definitely add a mix of dried fruits like raisins or cranberries, or even nuts like walnuts, for extra texture and flavor.
Conclusion
There you have it—Grandma’s perfect homemade bread! It’s easy to make, wonderfully fragrant, and guaranteed to bring smiles to everyone who takes a bite. Whether you’re serving it with a hearty soup, enjoying it on its own, or gifting it to a loved one, this bread is a true crowd-pleaser. So go ahead, roll up your sleeves, and get baking—your kitchen is about to smell like heaven!
Print
Grandma’s Perfect Homemade Bread
- Prep Time: 15 minutes
- Cook Time: 35 minutes
- Total Time: 2 hours 15 minutes
- Yield: 2 loaves 1x
- Category: bread
- Method: baking
- Cuisine: American
- Diet: Vegetarian
Description
A simple and comforting homemade bread recipe that’s perfect for any occasion. This soft, fluffy bread has a slightly sweet flavor and golden brown crust. Made with basic ingredients like warm water, flour, and yeast, it’s the perfect recipe for beginners and experienced bakers alike.
Ingredients
- 2 ½ cups warm water
- ¼ cup sugar
- 1 ¼ teaspoons salt
- 1 tablespoon yeast
- 5 cups all-purpose flour
- 2 tablespoons oil (olive oil recommended)
Instructions
- In a stand mixer, combine the warm water, sugar, salt, and yeast. Let the yeast proof until it bubbles, about 5 minutes.
- Using the dough hook, start adding the flour one cup at a time until the dough comes together and forms a soft dough.
- Transfer the dough to a floured surface and knead until smooth and elastic. Form the dough into a ball.
- Coat a large bowl with oil and place the dough inside. Cover the bowl and let the dough rise until it has doubled in size, about 1 to 1 ½ hours.
- Grease and flour two 9×5-inch loaf pans. Punch the dough down to release the air. Turn the dough out onto a flat surface and divide it into two equal parts.
- Roll each section of dough into a loaf and place them into the prepared pans. Let the dough rise again until doubled, about 1 to 1 ½ hours.
- Preheat the oven to 350°F (175°C). Bake the loaves for 30-35 minutes, or until the tops are golden brown.
- Remove the bread from the oven and allow it to cool for 10 minutes before slicing.
Notes
- Be sure the water is warm but not hot, as very hot water can kill the yeast.
- You can substitute olive oil with other oils like vegetable or canola oil.
- For an extra soft crust, you can brush the tops of the loaves with butter after baking.
Nutrition
- Serving Size: 1 slice
- Calories: 120kcal
- Sugar: 2g
- Sodium: 150mg
- Fat: 3g
- Saturated Fat: 0.5g
- Unsaturated Fat: 2g
- Trans Fat: 0g
- Carbohydrates: 22g
- Fiber: 1g
- Protein: 3g
- Cholesterol: 0mg

