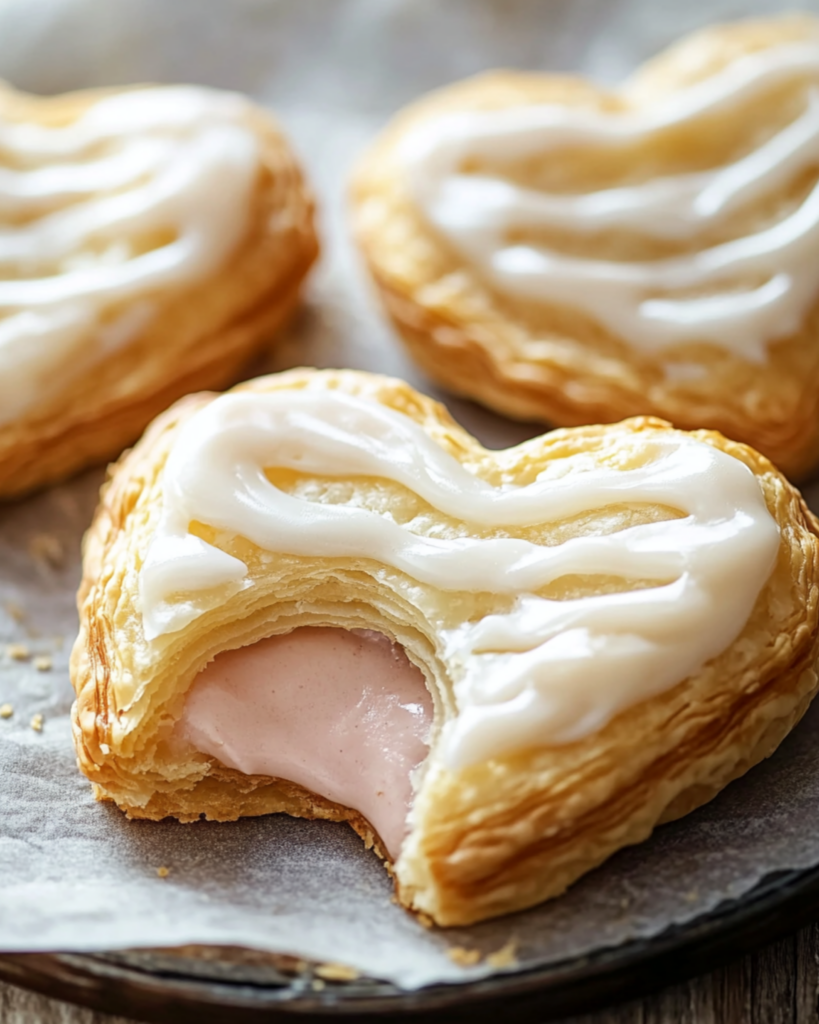
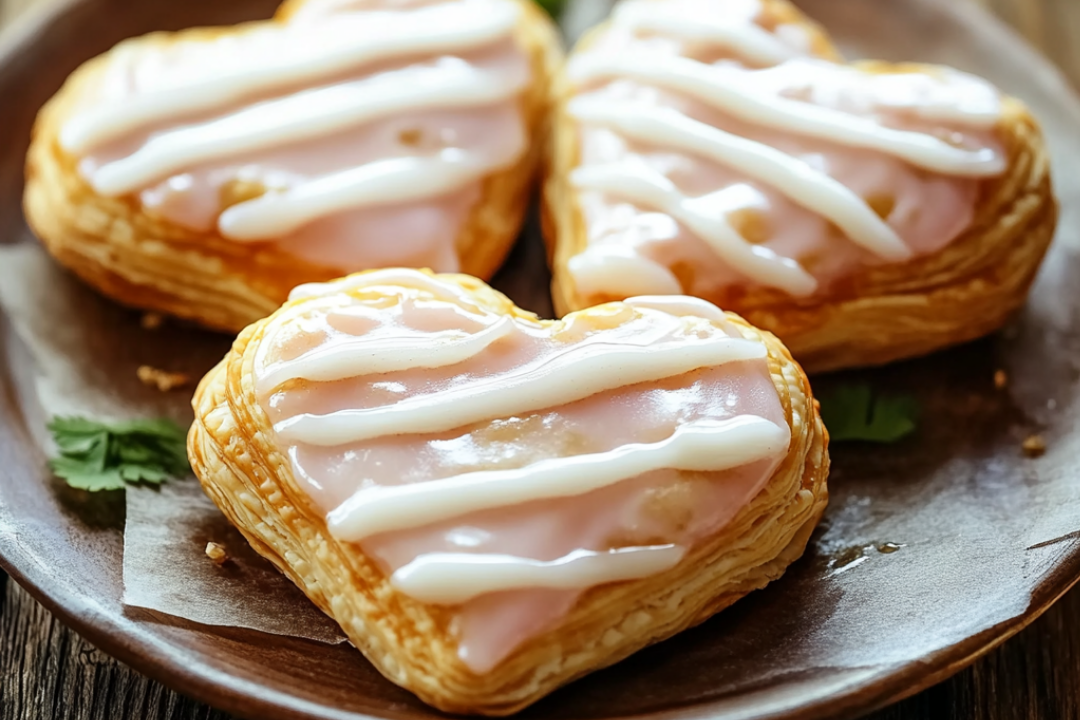
Looking for a sweet, delicate treat that’s as beautiful as it is delicious? These Puff Pastry Hearts with Icing are the perfect go-to dessert for any occasion. Think crispy, golden puff pastry with just the right amount of flaky layers, topped with a sweet, creamy icing. They’re easy to make but so impressive, whether you’re treating yourself or sharing them with loved ones. Trust me, once you try these, you’ll be hooked!
Why You’ll Love Puff Pastry Hearts with Icing
This recipe is not just about satisfying your sweet tooth—it’s about creating a little moment of joy. Here’s why these Puff Pastry Hearts will quickly become your new favorite treat:
Versatile: Perfect for any occasion, from breakfast or brunch to dessert at a dinner party. Whether it’s Valentine’s Day, a birthday, or just a Tuesday, these heart-shaped pastries will steal the show.
Budget-Friendly: Using just a few simple ingredients like puff pastry and icing, this recipe proves that you don’t need to spend a lot to make something spectacular. You probably already have most of the ingredients on hand!
Quick and Easy: No complicated steps here! This recipe is designed to be easy, even for beginners. Just roll out the puff pastry, cut, bake, and drizzle with icing—simple, right?
Customizable: You can make these as simple or as fancy as you like. Feel free to add a little flavor to the icing (like vanilla or almond extract), or top them with sprinkles, berries, or even a dusting of powdered sugar.
Crowd-Pleasing: Whether it’s for kids, friends, or a special someone, everyone will love these sweet little pastries. They’re cute, they’re tasty, and they’re sure to bring smiles all around.

Ingredients
Here’s what you’ll need to create these delightful Puff Pastry Hearts:
Puff Pastry: The star of the show! You want a good-quality puff pastry that will puff up beautifully in the oven, creating those crispy, flaky layers we all love. It’s easy to work with, and it gives you that buttery, melt-in-your-mouth texture.
Sugar: A little sprinkle of sugar on top of the puff pastry gives it that lovely golden finish and just the right amount of sweetness. It helps the edges caramelize and become crisp, adding extra flavor.
Egg Wash: Made from a beaten egg and a splash of water, the egg wash creates that perfect golden-brown color on your pastries. It also helps the sugar stick to the pastry.
Powdered Sugar: The base for your icing! It dissolves easily and creates a smooth, sweet glaze that’ll drizzle perfectly over your pastries.
Milk: To create the perfect icing, milk adds creaminess and the right consistency for easy drizzling.
Vanilla Extract: Adds that subtle, warm flavor to the icing, making every bite just a little more delicious.
(Note: The full ingredients list, including measurements, is provided in the recipe card directly below.)
Instructions
Now, let’s dive into making these flaky, sweet pastries:
Preheat the Oven: Start by preheating your oven to 400°F (200°C). This ensures that your puff pastry will bake evenly and puff up beautifully.
Prepare the Puff Pastry: Roll out your puff pastry on a lightly floured surface. If you’re using store-bought puff pastry, it should already be ready to go. Just unfold it and roll it out a bit more to smooth out the creases.
Cut into Hearts: Use a heart-shaped cookie cutter or a sharp knife to cut the puff pastry into heart shapes. You can make them any size you like, but remember they’ll puff up in the oven, so leave enough space for them to grow!
Add the Sugar: Lightly sprinkle sugar over each heart shape. This will give your pastries that gorgeous golden-brown color when they bake and just the right amount of sweetness on top.
Brush with Egg Wash: Whisk together the egg and water, then brush the mixture over the pastries. This step will give them that beautiful, glossy finish and help the sugar stick.
Bake to Perfection: Place the heart-shaped pastries on a baking sheet lined with parchment paper and bake them in the preheated oven for 12-15 minutes or until they’re golden brown and puffed up. Keep an eye on them—they should be crispy and flaky!
Prepare the Icing: While the pastries are cooling, make the icing by whisking together the powdered sugar, milk, and vanilla extract. Adjust the consistency by adding a little more milk if it’s too thick.
Drizzle the Icing: Once the pastries are cool enough to handle, drizzle the icing over them generously. You can get creative here—drizzle in zigzags, or dip half of each pastry into the icing for a more rustic look!
Serve and Enjoy: These little pastries are best enjoyed fresh, but they’re delicious any time. Serve them with a cup of coffee or tea, or enjoy them as a sweet treat after dinner. You’ll have everyone coming back for more!
Nutrition Facts
Servings: 6
Calories per serving: 180
Preparation Time
Prep Time: 10 minutes
Cook Time: 15 minutes
Total Time: 25 minutes
How to Serve Puff Pastry Hearts with Icing
These Puff Pastry Hearts with Icing are perfect for just about any occasion! Here are a few ways to serve them:
With a Hot Beverage: Pair them with a cup of coffee, tea, or hot chocolate. The crisp, buttery pastry and sweet icing are the perfect match for your favorite hot drink.
At a Party: These little hearts are a showstopper at any gathering. Serve them as an elegant dessert for birthdays, holidays, or just because. They’re perfect for a sweet snack or treat on a dessert table.
For Breakfast or Brunch: Why not enjoy them with your morning coffee or a glass of fresh orange juice? They’re a fun and sweet way to start your day.
As a Gift: These pastries would make a wonderful homemade gift for friends or loved ones. Wrap them up in a cute box or bag for a thoughtful and delicious surprise.
As an Afternoon Snack: If you’re feeling like a mid-day pick-me-up, these puff pastry hearts are just the thing to satisfy that sweet craving.
Additional Tips
Here are a few extra tips to make sure your Puff Pastry Hearts are perfection every time:
Use Cold Puff Pastry: If your puff pastry is too warm, it might not puff up properly. Keep it chilled until you’re ready to bake for the best results.
Experiment with Fillings: You can make these hearts extra special by adding a little fruit jam, chocolate chips, or even a sprinkle of cinnamon before baking.
Make Ahead: If you want to prep ahead, you can cut the shapes and freeze them before baking. When you’re ready to bake, just pop them in the oven straight from the freezer and bake as usual.
Store Leftovers: If you have leftovers (though I doubt you will!), store them in an airtight container at room temperature for up to 2 days. They’re best eaten fresh, but they’re still tasty on the second day.
Go Nuts: For a little extra crunch, sprinkle chopped nuts like almonds, pistachios, or hazelnuts on top of the icing before it sets.
FAQ Section
Q1: Can I use a different type of icing?
A1: Absolutely! You can try chocolate icing, strawberry glaze, or even a lemon glaze for a fun twist. Get creative with flavors!
Q2: Can I make these ahead of time?
A2: Yes! You can prepare the puff pastry hearts and store them in an airtight container. Bake them just before serving for the freshest, crispiest result.
Q3: Can I freeze the puff pastry before baking?
A3: Yes, you can freeze the heart-shaped pastries before baking. Just place them on a baking sheet and freeze them until firm, then transfer them to a freezer bag. Bake them directly from the freezer—just add a couple of extra minutes to the baking time.
Q4: Can I make these without the icing?
A4: Of course! The puff pastry hearts are delicious on their own, so you can skip the icing if you prefer a simpler treat. They’re still flaky and sweet with just the sugar.
Q5: How do I get my pastries to be extra crispy?
A5: Make sure your oven is preheated to the right temperature and that the pastries are spaced out on the baking sheet. The puff pastry needs room to expand and crisp up perfectly.
Q6: Can I use homemade puff pastry?
A6: Yes! If you’re feeling extra ambitious, homemade puff pastry works just as well. Store-bought is a quick shortcut, but homemade will add a nice personal touch.
Q7: Can I top these with fruit?
A7: Absolutely! Fresh berries, sliced strawberries, or even a drizzle of fruit syrup can add a lovely burst of flavor and color to your pastries.
Q8: What if I don’t have a heart-shaped cookie cutter?
A8: No problem! You can use any shape you like—squares, circles, or triangles would all work. You could even use a regular knife to cut out heart shapes.
Q9: How long will these stay fresh?
A9: These pastries are best enjoyed fresh, but they will stay good for up to 2 days when stored in an airtight container at room temperature.
Q10: Can I double the recipe?
A10: Absolutely! If you’re serving a crowd, just double the recipe and enjoy a bigger batch of these sweet treats.
Conclusion
Puff Pastry Hearts with Icing are a fun, delicious, and easy way to create a special moment—whether you’re treating yourself or sharing with friends and family. They’re flaky, sweet, and oh-so-pretty, making them the perfect dessert or snack for any occasion. Give this recipe a try, and get ready to fall in love with the crispy layers and dreamy icing. Enjoy!
PrintHeart-Shaped French Toast
Celebrate love and sweetness with these adorable Puff Pastry Hearts! Filled with fruity jam and topped with pink icing, these flaky pastries are perfect for a sweet treat any time.
- Prep Time: 10 minutes
- Cook Time: 15 minutes
- Total Time: 25 minutes
- Yield: 2–3 servings 1x
- Category: breakfast
- Method: Pan-Frying
- Cuisine: American
- Diet: Vegetarian
Ingredients
For the Hand Pie Pastries:
- 1 package store-bought pie crust (or homemade)
- 1/2 cup strawberry or cherry jam
- 1 egg white, lightly beaten
For the Icing:
- 1 cup confectioners’ sugar
- 2–3 tbsp heavy cream
- A few drops of pink food coloring
Instructions
- Prepare the Pastries:
Preheat your oven to 375°F (190°C). Line a baking sheet with parchment paper. - Cut Heart Shapes:
Roll out the pie crust on a lightly floured surface. Use a heart-shaped cookie cutter to cut out an even number of hearts (you’ll need two for each hand pie). - Fill the Pastries:
Place half the heart cutouts on the prepared baking sheet. Spoon a small amount of jam (about 1 teaspoon) into the center of each heart, leaving a small border around the edges. - Seal the Pastries:
Brush the edges of the hearts with egg white. Place another heart cutout on top and press the edges together gently to seal. Use a fork to crimp the edges for a decorative touch. - Bake:
Brush the tops of the pastries with egg white. Bake for 12-15 minutes, or until golden brown. Remove from the oven and allow to cool completely on a wire rack.
Notes
- These pastries can be made ahead of time and stored in an airtight container.
- Use any jam you prefer—blueberry, raspberry, or apricot would all work beautifully.
Nutrition
- Serving Size: 1 serving
- Calories: 300 kcal
- Sugar: 18g
- Sodium: 160mg
- Fat: 10g
- Saturated Fat: 5g
- Unsaturated Fat: 4g
- Trans Fat: 0g
- Carbohydrates: 38g
- Fiber: 2g
- Protein: 6g
- Cholesterol: 90mg


