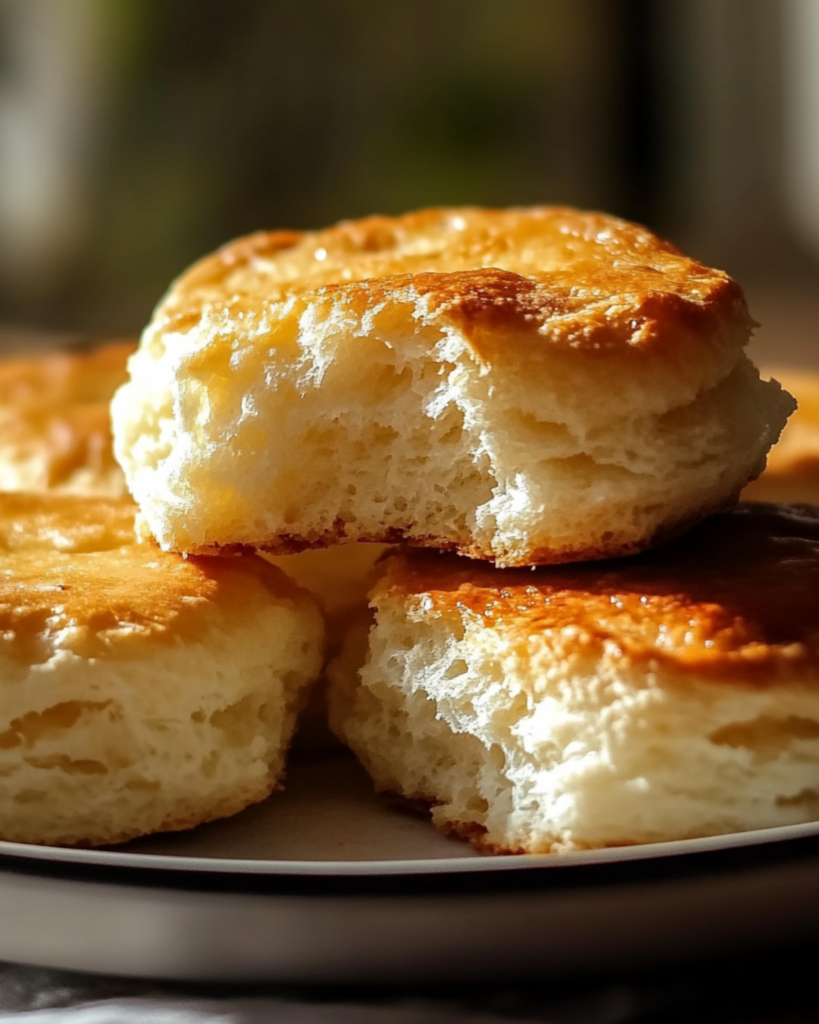
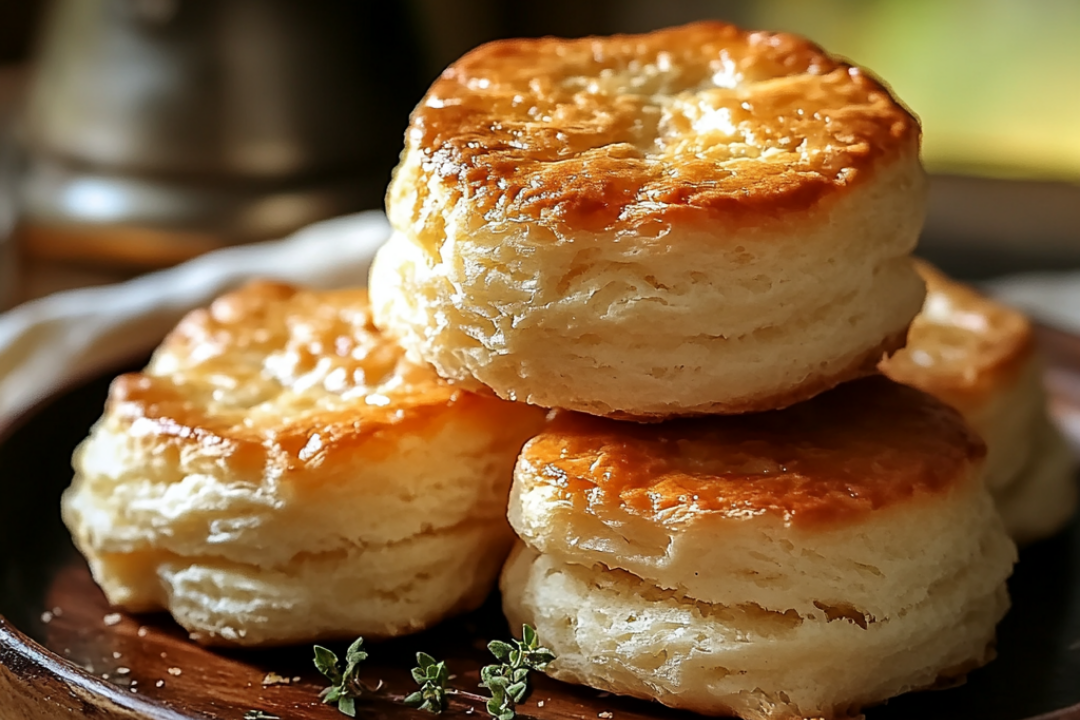
There’s something magical about the fluffy, buttery layers of angel biscuits, right? Picture this: warm, golden-brown biscuits fresh out of the oven, with just the right amount of crisp on the outside and a soft, pillowy inside that practically melts in your mouth. Whether you’re pairing them with a hearty bowl of soup, enjoying them at a holiday dinner, or just savoring them with a pat of butter and honey, these biscuits are always a crowd-pleaser. Trust me, you’re going to love this one!
Why You’ll Love Homemade Angel Biscuits
This recipe isn’t just about making biscuits—it’s about creating a moment of pure joy. If you’ve ever had that perfect biscuit with a cup of tea or coffee, you know exactly what I’m talking about. Here’s why these angel biscuits will become your new favorite:
- Versatile: Perfect for breakfast, dinner, or as a snack. You can serve them with jam in the morning, or alongside fried chicken for dinner—the possibilities are endless!
- Budget-Friendly: Made with simple, everyday ingredients you probably already have in your pantry. No need for fancy stuff; just good, honest cooking.
- Quick and Easy: These biscuits come together in no time and don’t require any special skills. If you’re new to baking, you’ll feel like a pro with this one.
- Buttery and Flaky: The combination of shortening and buttermilk creates that buttery, flaky texture that makes angel biscuits irresistible.
- Crowd-Pleasing: Whether you’re serving them at a family meal or at a party, these biscuits are sure to be a hit with everyone!

Ingredients
Here’s the magic of these biscuits: a few humble ingredients that, when combined, create the ultimate comfort food. Let’s break it down:
Self-Rising Flour: The base of these biscuits. It helps give them that light and fluffy texture, without the need for additional leavening agents.
Baking Powder: For an extra boost of fluffiness. It helps those biscuits rise just right.
Sugar: Just a pinch to bring out the flavor and balance the savory elements of the biscuits.
Salt: To bring all the flavors together and make them sing.
Shortening: This gives the biscuits that delicious, flaky texture. It melts perfectly as the biscuits bake, making each bite a little slice of heaven.
Buttermilk: The secret ingredient! Buttermilk gives these biscuits a tangy flavor and helps create that melt-in-your-mouth softness.
Butter: For a rich, golden finish that brings a little extra flavor and shine to the tops of the biscuits.
(Note: the full ingredients list, including measurements, is provided in the recipe card directly below.)
Instructions
Let’s dive into the steps to create these fluffy, golden biscuits:
Preheat Your Oven:
Start by preheating your oven to 450°F (230°C). This ensures your biscuits bake perfectly, with a nice, crisp crust and soft inside.
Mix Dry Ingredients:
In a large bowl, combine your self-rising flour, sugar, salt, and baking powder. Stir to combine—this helps distribute the dry ingredients evenly.
Cut in the Shortening:
Add the shortening into your dry ingredients. Using a pastry cutter or your fingers, work it into the flour mixture until it resembles coarse crumbs. This is where the flakiness starts to form!
Add Buttermilk:
Slowly pour in the buttermilk, stirring gently to form a dough. You want the dough to come together, but don’t overwork it. The less you handle it, the fluffier the biscuits will be!
Roll Out the Dough:
Turn the dough onto a floured surface and roll it out to about 1/2-inch thickness. If you don’t have a rolling pin, no worries—just press it out gently with your hands.
Cut the Biscuits:
Using a biscuit cutter (or a glass), cut out rounds of dough. Don’t twist the cutter as you press down—this can prevent the biscuits from rising properly. Simply press straight down, then lift up.
Bake:
Place the biscuits on a baking sheet, making sure they’re close together for soft sides, or spaced apart for a crispier edge. Pop them into the oven and bake for 10-12 minutes, or until they’re golden and delicious.
Butter Them Up:
Once the biscuits are out of the oven, brush the tops with melted butter for that perfect, golden finish. Trust me, this makes all the difference!
Serve and Enjoy:
Serve warm, straight from the oven. You’ll find they’re perfect on their own, or with a dab of honey or your favorite jam. Enjoy every flaky, buttery bite!
Nutrition Facts
Servings: 12 biscuits
Calories per serving: 200
Preparation Time
Prep Time: 15 minutes
Cook Time: 10-12 minutes
Total Time: 25 minutes
How to Serve Homemade Angel Biscuits
These angel biscuits are as versatile as they are delicious. Here are a few ways to serve them:
- With Soup or Stew: Pair them with your favorite soup, like chicken noodle or creamy tomato. The biscuits are perfect for dunking.
- Breakfast Style: Serve them with a side of scrambled eggs and crispy bacon for a delightful breakfast.
- With Jam or Honey: Slather on some homemade strawberry jam or a drizzle of honey for a sweet treat.
- As a Side to Roast Chicken: They’re a classic side dish to a hearty, roasted chicken. The biscuits soak up all those delicious juices!
Additional Tips
Here are some extra tips to help you get the most out of this recipe:
- Chill Your Ingredients: For even flakier biscuits, chill your shortening and buttermilk before using. Cold ingredients help create a better texture.
- Use Cold Butter: If you want extra flaky layers, try cutting in cold butter with the shortening for a beautiful, layered biscuit.
- Don’t Overmix: As tempting as it is to knead the dough, resist! Overworking the dough can make the biscuits dense instead of light and fluffy.
- Make Ahead: You can make the dough ahead of time, shape it into biscuits, and freeze them. Bake from frozen when you’re ready, adding a few extra minutes to the cook time.
FAQ Section
Q1: Can I substitute the shortening with butter?
A1: Yes! You can swap shortening for butter, but the biscuits will have a slightly different texture. Butter will give them a richer flavor, while shortening creates a flakier biscuit.
Q2: Can I make these biscuits ahead of time?
A2: Absolutely! You can make the dough, shape the biscuits, and store them in the fridge for up to 24 hours before baking. Just pop them in the oven when you’re ready.
Q3: How do I store leftovers?
A3: Store leftover biscuits in an airtight container at room temperature for up to 2 days. Reheat in the oven to get that freshly baked taste again!
Q4: Can I freeze these biscuits?
A4: Yes! You can freeze the unbaked biscuits on a baking sheet until firm, then transfer them to a freezer bag. When you’re ready to bake, simply add a few extra minutes to the cook time.
Q5: What’s the best way to reheat these biscuits?
A5: Reheat your biscuits in the oven at 350°F (175°C) for about 5 minutes, or until warmed through. This helps maintain their texture.
Q6: Can I double the recipe?
A6: Yes, you can easily double the recipe to make more biscuits for a crowd. Just be sure to adjust your baking time if necessary.
Q7: Can I use regular milk instead of buttermilk?
A7: If you don’t have buttermilk, you can substitute with regular milk and add 1 tablespoon of lemon juice or vinegar for each cup of milk. Let it sit for a few minutes before adding to the dough.
Q8: Can I use a different type of flour?
A8: Self-rising flour is key for these biscuits, but if you don’t have it, you can make your own by adding 1 1/2 teaspoons of baking powder and 1/4 teaspoon of salt for every cup of all-purpose flour.
Q9: Can I make these biscuits smaller?
A9: Definitely! You can use a smaller biscuit cutter for mini biscuits. Just keep an eye on the baking time, as they may bake faster.
Q10: Why didn’t my biscuits rise?
A10: Make sure your ingredients are fresh—expired baking powder or old buttermilk can prevent the biscuits from rising properly. Also, avoid overmixing the dough, as that can make them dense.
Conclusion
There you have it—homemade angel biscuits that are soft, buttery, and so easy to make! Whether you’re enjoying them with your morning coffee, serving them with a hearty stew, or just snacking on them straight from the oven, these biscuits will bring a little extra joy to your day. So grab those ingredients and get ready to bake up something delicious—your taste buds will thank you!
Print
Homemade Angel Biscuits
- Prep Time: 15 minutes
- Cook Time: 20 minutes
- Total Time: 35-40 minutes
- Yield: About 12 biscuits 1x
- Category: breakfast
- Method: baking
- Cuisine: American
- Diet: Vegetarian
Description
These light, fluffy, and buttery angel biscuits are the perfect addition to any meal. With a mix of yeast and baking powder, they’re tender on the inside with a golden, crisp exterior. Serve them warm with a brush of melted butter for an irresistible treat!
Ingredients
- 1/2 cup hot water (100 to 110 degrees)
- 1 (1/4 ounce) active dry yeast
- 1 teaspoon sugar
- 5 1/2 cups Lilly white yeast flour
- 1/4 cup sugar
- 3/4 tsp salt
- 1/2 cup cold butter, cubed
- 1/2 cup cold shortening, cubed
- 2 cups buttermilk
- 1/4 cup melted butter (for brushing)
Instructions
-
Prepare the Yeast Mixture:
- Combine the warm water, yeast, and 1 teaspoon of sugar in a small bowl. Let it stand for about 5 minutes until it becomes frothy.
-
Mix the Dry Ingredients:
- In a large bowl, combine the flour, 1/4 cup sugar, and salt.
-
Cut in the Butter and Shortening:
- Use a pastry blender or two forks to cut the cold butter and shortening into the flour mixture until it becomes crumbly.
-
Add Wet Ingredients:
- Add the yeast mixture and buttermilk to the flour mixture. Stir until the dry ingredients are moist.
-
Chill the Dough:
- Cover the bowl with plastic wrap and refrigerate the dough for 2 hours to 5 days.
-
Roll and Cut the Biscuits:
- Preheat the oven to 400°F (200°C).
- Turn the dough out onto a floured surface and knead it 3-4 times. If the dough is too sticky, sprinkle a little more flour as you knead.
- Roll the dough into a 3/4-inch thick circle. Fold it in half and roll it out again to about the same thickness.
- Cut out biscuits using a 2 1/2-inch or 3-inch cookie cutter.
-
Arrange and Bake:
- Place the biscuits in a greased 10-inch or 12-inch cast iron skillet, ensuring they are touching each other. Alternatively, you can use a baking sheet lined with parchment paper.
- Brush the tops of the biscuits with half of the melted butter.
-
Bake:
- Bake for 15-20 minutes, or until the biscuits are golden brown.
-
Finish and Serve:
- Brush the biscuits with the remaining melted butter before serving.
Notes
- These biscuits can be stored in an airtight container for a couple of days but are best served warm.
- For an extra touch, serve with jam, honey, or gravy.
- If you refrigerate the dough for several days, it may develop even more flavor.
Nutrition
- Serving Size: 1 biscuit
- Calories: 200kcal
- Sugar: 2g
- Sodium: 180mg
- Fat: 12g
- Saturated Fat: 6g
- Unsaturated Fat: 6g
- Trans Fat: 0g
- Carbohydrates: 23g
- Fiber: 1g
- Protein: 3g
- Cholesterol: 20mg

