
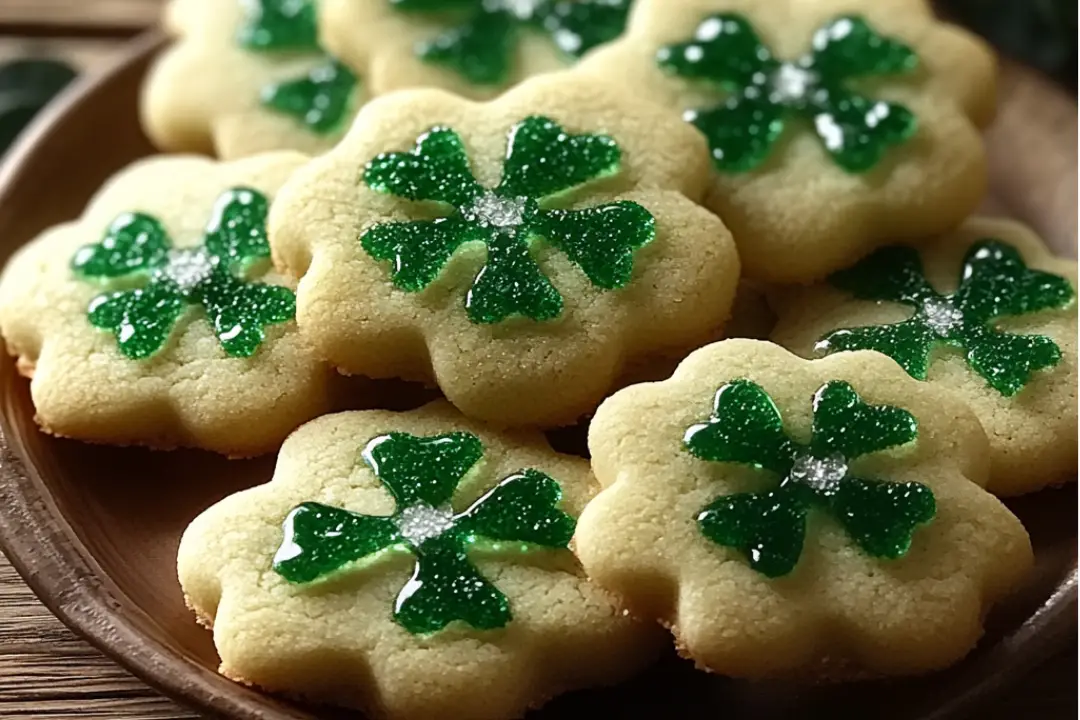
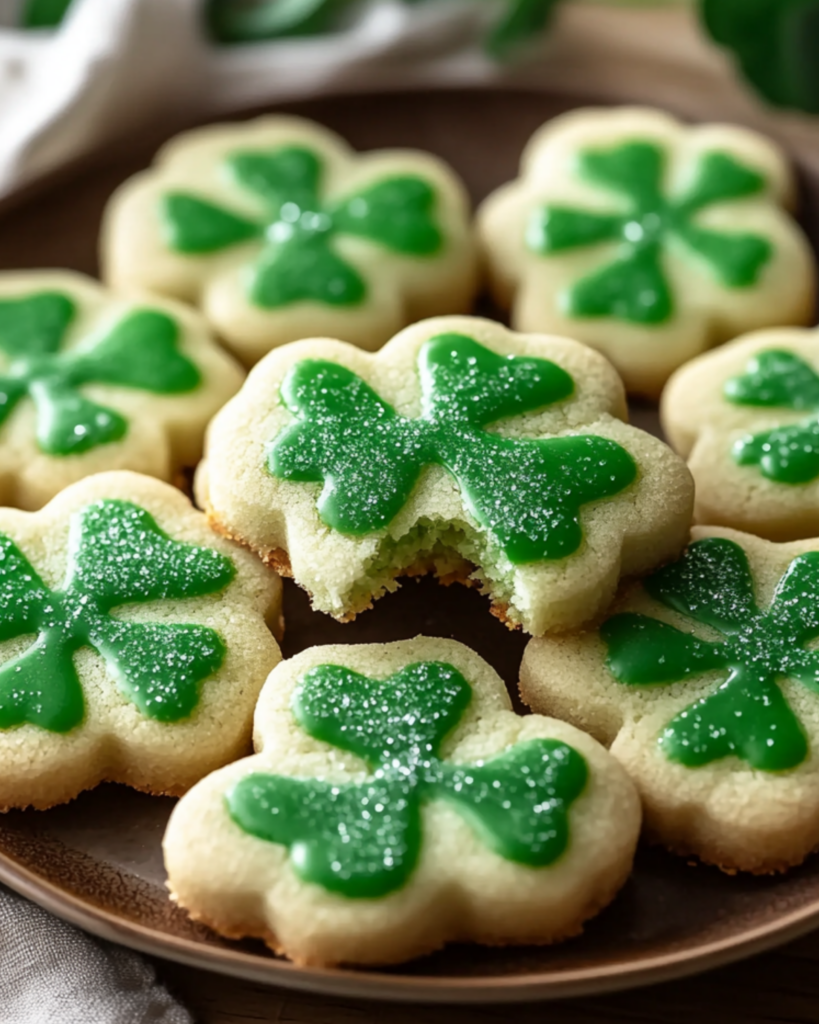
St. Patrick’s Day is just around the corner, and if you’re anything like me, you’re already thinking about all the delicious, festive treats you can make to celebrate. If you’re craving something sweet, buttery, and with just the right pop of color, these Irish Shamrock Cookies are a game-changer. Picture this: soft, melt-in-your-mouth cookies that are as fun to make as they are to eat. With their vibrant green color, they’re perfect for celebrating the holiday or just adding a little bit of joy to your day. Trust me, you’re going to love this treat!
Why You’ll Love Irish Shamrock Cookies
This recipe isn’t just about making a cookie—it’s about creating moments. Whether you’re baking them for a festive St. Patrick’s Day gathering, enjoying them with your kids, or simply treating yourself, these cookies are sure to make your day sweeter. Here’s why they’re a must-try:
Versatile: Not just for St. Patrick’s Day, these cookies can be enjoyed year-round. Switch up the shape or color to match any occasion, or just keep things festive with a little shamrock touch!
Budget-Friendly: All the ingredients are simple and likely in your pantry already. You don’t need to spend big bucks on fancy baking supplies—these cookies prove that deliciousness can come from everyday ingredients.
Quick and Easy: With a few easy steps, you’ll be munching on fresh cookies in no time. This is a recipe that anyone—from beginner bakers to seasoned pros—can make with confidence.
Customizable: Feel free to add in some extra chocolate chips, nuts, or sprinkles if you want to give these cookies your own twist.
Kid-Friendly: Little hands love making these cookies (and eating them too)! They’re perfect for baking with the kids, letting them shape their own shamrocks or just enjoy the festive fun.
Ingredients
Here’s what you need to bring these Irish Shamrock Cookies to life:
Butter: The base of this dough, giving these cookies that melt-in-your-mouth texture. It also helps hold everything together while adding a rich, creamy flavor.
Sugar: Sweet, sweet sugar to balance the richness of the butter and give that classic cookie sweetness.
Eggs: These provide structure and help bind the dough together, creating that perfect soft texture we all love in a cookie.
Flour: All-purpose flour forms the foundation of the dough, giving these cookies structure. You’ll need just the right amount to get that perfect chewy texture.
Baking Powder: A little leavening power to make sure the cookies bake up just right—soft, slightly puffy, and perfectly bite-sized.
Vanilla Extract: The flavor that ties everything together and brings out the sweetness of the sugar and butter.
Green Food Coloring: To get that vibrant shamrock color! It’s a fun, festive touch that’ll make your cookies stand out.
Powdered Sugar (for icing): For drizzling a simple, sweet glaze on top, making the cookies extra special and adding a glossy finish.
Milk (for icing): To make the glaze smooth and easy to drizzle over the cooled cookies.
(Note: The full ingredients list, including measurements, is provided in the recipe card directly below.)
Instructions
Ready to get baking? Let’s dive in:
Preheat Your Oven: Start by preheating your oven to 350°F (175°C). This ensures your cookies bake evenly and come out with that perfect golden edge.
Prepare Your Baking Sheets: Line two baking sheets with parchment paper or a silicone baking mat. This helps your cookies bake perfectly and makes cleanup a breeze!
Make the Dough: In a large bowl, beat together your butter and sugar until light and fluffy. Add the eggs and vanilla extract, mixing until smooth. Then, slowly add in the flour and baking powder. Once combined, fold in a few drops of green food coloring to get that shamrock green.
Shape the Cookies: Roll the dough into small balls and flatten them slightly with your fingers. If you’re feeling fancy, you can use a shamrock cookie cutter to shape them, or keep them as round cookies!
Bake: Place the shaped dough onto the prepared baking sheets, leaving a little space between each cookie. Bake for about 8-10 minutes or until the edges are golden and the centers are set.
Cool and Ice: Let the cookies cool on a wire rack. While they’re cooling, make the glaze by mixing powdered sugar with a tiny bit of milk, just enough to make it smooth. Once the cookies are cool, drizzle the glaze on top.
Serve and Enjoy: Once the glaze has set, you’re ready to serve up these festive, delicious cookies. Enjoy them with a hot cup of tea, or share them with friends and family!
Nutrition Facts
Servings: 12
Calories per serving: 150
Preparation Time
Prep Time: 15 minutes
Cook Time: 10 minutes
Total Time: 25 minutes
How to Serve Irish Shamrock Cookies
These cookies are the perfect treat for any occasion, but here are a few ideas for serving them:
For St. Patrick’s Day: Serve them at a St. Paddy’s Day party for a sweet and festive touch.
On a Cookie Tray: Add these Irish Shamrock Cookies to a cookie platter with other favorites for a fun mix of treats.
With Hot Chocolate or Tea: Perfect for enjoying with a cozy drink on a chilly day.
As Gifts: Pack them in cute boxes or bags to give as homemade gifts for friends or family.
Presentation can make a difference, too! Stack them high and drizzle extra icing on top for a beautiful, Instagram-worthy moment.
Additional Tips
A few tricks to make sure your Irish Shamrock Cookies turn out just perfect:
Chill the Dough: If the dough feels too soft or sticky, pop it in the fridge for about 20-30 minutes to firm it up. This will make it easier to shape and handle.
Add Fun Sprinkles: Want a little extra sparkle? Add some green or gold sprinkles on top before baking to make them even more festive!
Dairy-Free Option: If you’re dairy-free, substitute the butter with a plant-based butter alternative. Just be sure to check the consistency of the dough after mixing.
Storage Tips: Store your cookies in an airtight container at room temperature for up to a week. They’re also freezer-friendly, so you can make them ahead of time and enjoy later!
Get Creative with Shapes: If you don’t have a shamrock cutter, you can use any fun shape or even freehand the design on parchment paper before cutting out with a knife.
FAQ Section
Q1: Can I use a different color for the food coloring?
A1: Absolutely! If you want to go for another holiday or simply prefer a different color, feel free to switch it up. Red or pink for Valentine’s Day, or blue for a different themed party!
Q2: Can I make these cookies ahead of time?
A2: Yes! You can bake the cookies a day or two in advance. Just make sure to store them in an airtight container to keep them fresh.
Q3: Can I freeze the dough?
A3: Yes, you can freeze the dough. Roll it into balls and freeze them on a baking sheet before transferring to an airtight container or bag. When you’re ready to bake, just place them on a baking sheet and bake as usual—no need to thaw.
Q4: Can I skip the glaze?
A4: Of course! The glaze adds a nice touch, but the cookies are still delicious without it. You can even roll the cookies in powdered sugar before baking if you prefer.
Q5: Can I use a mixer to make the dough?
A5: Absolutely! A hand mixer or stand mixer will work great for beating the butter and sugar, just make sure not to overmix the dough.
Q6: How do I make these cookies more crispy?
A6: For crispier cookies, flatten them more before baking and bake a little longer, but keep an eye on them to make sure they don’t burn.
Q7: Can I add chocolate chips to the dough?
A7: Yes! Adding mini chocolate chips would be a great twist. Just fold them into the dough along with the flour.
Q8: Can I use gluten-free flour for these cookies?
A8: Definitely! Just use a 1:1 gluten-free flour blend, and the cookies will turn out just as delicious.
Q9: Do I need to use parchment paper?
A9: Parchment paper isn’t mandatory, but it helps the cookies bake evenly and prevents sticking. You can also use a silicone baking mat.
Q10: How long will these cookies stay fresh?
A10: Stored properly in an airtight container, these cookies will stay fresh for up to a week, and they freeze well for longer storage.
Conclusion
Irish Shamrock Cookies are everything you need for a fun, festive treat that’s simple to make and oh-so-delicious. They’re buttery, soft, and the perfect green color for your St. Patrick’s Day celebrations or just to bring a little luck to your day. Whether you’re baking with the kids, surprising friends with a homemade gift, or just treating yourself to something sweet, these cookies are sure to bring a smile to your face. So, get baking and enjoy these festive delights—you won’t regret it!
Print
- Prep Time: 15 minutes
- Cook Time: 10 minutes
- Total Time: 45 minutes
- Yield: 24–30 cookies (depending on the size of your cookie cutter) 1x
- Category: Dessert
- Method: baked
- Cuisine: Irish-American
- Diet: Vegetarian
Description
These Irish Shamrock Cookies are a festive treat perfect for St. Patrick’s Day! Soft, buttery cookies are rolled in green sanding sugar, giving them a sparkling look while tasting deliciously sweet. Shaped like shamrocks, they’re the ideal addition to your holiday celebrations.
Ingredients
Cookies:
- 1 cup unsalted butter, softened
- 1 cup sugar
- 1 large egg
- 1 tsp vanilla extract
- 2 1/2 cups all-purpose flour
- 1/2 tsp baking powder
- 1/4 tsp salt
Decoration:
- Green sanding sugar (for rolling)
Instructions
-
Make the Dough:
- In a large bowl, cream together the softened butter and sugar until light and fluffy.
- Beat in the egg and vanilla extract until well combined.
- In a separate bowl, whisk together the flour, baking powder, and salt. Gradually add the dry ingredients to the wet ingredients, mixing until a soft dough forms.
- Wrap the dough in plastic wrap and chill in the refrigerator for 30 minutes to 1 hour.
-
Cut Out Shamrocks:
- Preheat your oven to 350°F (175°C) and line baking sheets with parchment paper.
- Roll out the chilled dough on a lightly floured surface to about 1/4-inch thickness.
- Use a small shamrock-shaped cookie cutter to cut out cookies.
-
Roll in Green Sanding Sugar:
- Pour green sanding sugar onto a plate or shallow bowl.
- Gently press the top of each shamrock cookie into the sanding sugar, coating evenly.
-
Bake the Cookies:
- Place the cookies on the prepared baking sheets, about 1 inch apart.
- Bake for 8-10 minutes, or until the edges are just starting to turn golden.
- Allow the cookies to cool on the baking sheet for 5 minutes before transferring to a wire rack to cool completely.
Notes
- Chilling the dough helps keep the cookies from spreading too much while baking.
- Feel free to use any shape of cookie cutter, but shamrock shapes are perfect for St. Patrick’s Day!
- Green sanding sugar can be replaced with colored sugar of your choice.
Nutrition
- Serving Size: 1 cookie (based on 30 servings)
- Calories: 100 kcal
- Sugar: 10g
- Sodium: 40mg
- Fat: 4g
- Saturated Fat: 2g
- Unsaturated Fat: 1g
- Trans Fat: 0g
- Carbohydrates: 14g
- Fiber: 0g
- Protein: 1g
- Cholesterol: 20mg