
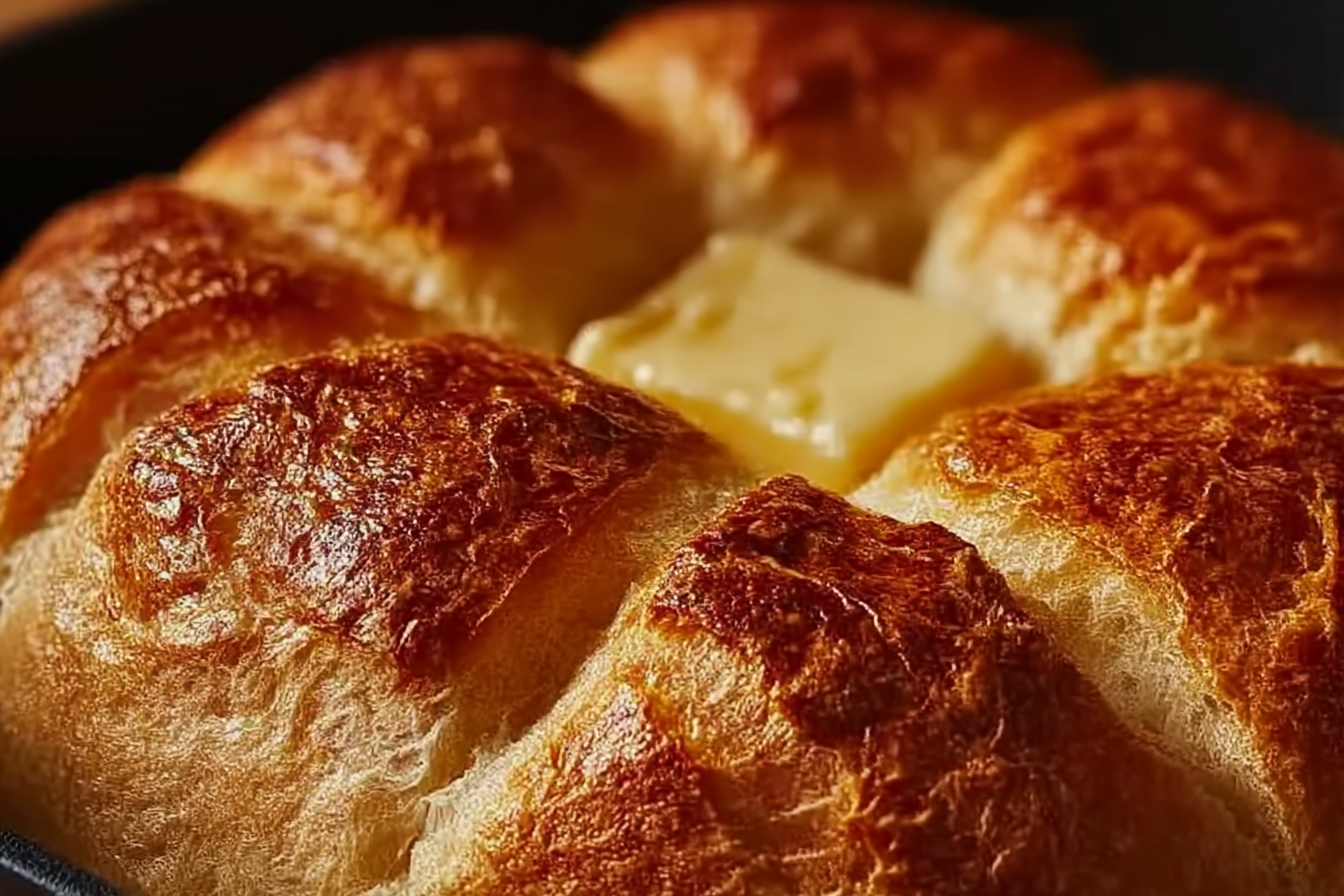
There’s something undeniably comforting about tearing into a warm, pillowy piece of homemade bread — especially when it’s just come off a sizzling stovetop skillet. The aroma of toasted flour and melted butter fills the air as the bread puffs gently, its golden spots crackling with heat. This no-oven stovetop bread is everything you want in a homemade loaf: soft, chewy, satisfying, and ready in a fraction of the time. No oven? No problem. This recipe brings the joy of fresh bread to even the simplest of kitchens.
Behind the Recipe
This one came to life on a rainy day, when I was craving fresh bread but didn’t want to fire up the oven. I remembered how my grandmother used to flip dough rounds on a cast-iron pan until they bubbled and browned — magic in minutes. That memory became this recipe. It’s a nod to age-old traditions and an answer to modern-day convenience, perfect for cozy afternoons or impromptu bread cravings.
Recipe Origin or Trivia
Flatbreads cooked over open flames or hot stones are some of the earliest forms of bread, with roots across countless cultures — from Indian chapatis and Middle Eastern khubz to Central Asian naan and even Mexican tortillas. The technique of cooking bread on a hot surface has stood the test of time for good reason: it’s quick, easy, and requires minimal tools. This stovetop version borrows from those global traditions, offering a soft yet slightly crisp bread that’s as versatile as it is delicious.
Why You’ll Love No-Oven Stovetop Bread
Here’s why this bread will win your heart and become a go-to in your kitchen:
Versatile: Serve it with stews, curries, dips, or even use it as a wrap.
Budget-Friendly: Just a handful of pantry staples make magic.
Quick and Easy: No yeast, no proofing, and ready in under 30 minutes.
Customizable: Add herbs, garlic, or spices for fun twists.
Crowd-Pleasing: Everyone loves fresh bread — especially when warm and soft.
Make-Ahead Friendly: Dough can be prepped and refrigerated.
Great for Leftovers: Reheat in a skillet or wrap around fillings for next-day snacks.
Chef’s Pro Tips for Perfect Results
Stovetop bread might be simple, but a few tricks take it from good to amazing:
- Let the dough rest for at least 10 minutes — it relaxes the gluten for a softer chew.
- Use a heavy-bottom skillet to ensure even heat and no burning.
- Don’t over-flour while rolling — too much makes the bread tough.
- Cook on medium heat — too hot and you’ll scorch the outside while leaving the inside raw.
- Cover the pan briefly if you want slightly puffier results.
Kitchen Tools You’ll Need
Just a few tools stand between you and warm bread heaven:
Mixing Bowl: For combining and resting the dough.
Rolling Pin: Helps achieve even thickness for consistent cooking.
Cast Iron or Non-Stick Skillet: Ensures even browning and prevents sticking.
Spatula or Tongs: For flipping the bread without tearing.
Clean Towel: Keeps cooked bread warm and soft until serving.
Ingredients in No-Oven Stovetop Bread
This dough is soft, simple, and adaptable. Each ingredient plays a key role in texture and flavor:
1. All-Purpose Flour: 2 cups — forms the base of the dough, offering structure and chew.
2. Baking Powder: 2 teaspoons — gives a gentle rise and lightness.
3. Salt: 1 teaspoon — enhances flavor and balances the bread.
4. Yogurt or Milk: 3/4 cup — adds moisture and a slight tang.
5. Water: 2 tablespoons — helps bind the dough and adjust consistency.
6. Olive Oil: 1 tablespoon — softens the dough and aids browning.
7. Butter (optional): For brushing warm bread — adds richness and flavor.
Ingredient Substitutions
No need to stress if you’re missing an ingredient — here’s what you can swap:
All-Purpose Flour: Use whole wheat for a nuttier flavor.
Baking Powder: Substitute with 1/2 teaspoon baking soda plus a teaspoon of lemon juice.
Yogurt or Milk: Use plant-based milk or a mix of water and a splash of vinegar.
Olive Oil: Any neutral oil works, like sunflower or avocado.
Butter: Use vegan butter or skip entirely.
Ingredient Spotlight
Yogurt: The secret to soft, pliable bread. Its acidity tenderizes the dough and adds subtle tanginess.
Baking Powder: Unlike yeast, it provides instant lift and lightness without proofing.
Instructions for Making No-Oven Stovetop Bread
This might be the easiest bread you’ll ever make — no waiting, just mixing, rolling, and flipping. Let’s dive into the process:
1. Preheat Your Equipment:
Place a heavy skillet over medium heat and allow it to warm while you prepare the dough.
2. Combine Ingredients:
In a mixing bowl, whisk together flour, baking powder, and salt. Add yogurt, water, and oil. Mix until a shaggy dough forms, then knead for 2–3 minutes until smooth.
3. Prepare Your Cooking Vessel:
Brush the heated skillet lightly with oil or butter if desired.
4. Assemble the Dish:
Divide dough into 6 equal portions. Roll each into a ball, then flatten into 1/4-inch thick rounds on a lightly floured surface.
5. Cook to Perfection:
Place one round into the skillet. Cook for 1–2 minutes per side until bubbles form and brown spots appear. Flip with a spatula and repeat until all breads are cooked.
6. Finishing Touches:
Brush with melted butter or olive oil, if using. Stack and wrap in a towel to keep warm.
7. Serve and Enjoy:
Serve warm with your favorite dips, spreads, or alongside a hearty main dish.
Texture & Flavor Secrets
The magic lies in the contrast: soft and fluffy interiors with lightly crisp, golden edges. The yogurt creates tenderness, while the pan adds just enough browning to create irresistible flavor depth. Each bite delivers warmth, comfort, and a touch of tang.
Cooking Tips & Tricks
You’re just a few tricks away from stovetop bread perfection:
- Let dough rest before rolling for a softer bite.
- Use medium heat to avoid scorching.
- Keep cooked bread wrapped in a towel to retain warmth and softness.
What to Avoid
These simple mistakes can sneak in — here’s how to keep them out:
- Over-kneading — can make the bread too dense.
- High heat — burns the surface before the center cooks.
- Rolling too thin — leads to cracker-like results instead of soft bread.
Nutrition Facts
Servings: 6
Calories per serving: 180
Note: These are approximate values.
Preparation Time
Prep Time: 10 minutes
Cook Time: 15 minutes
Total Time: 25 minutes
Make-Ahead and Storage Tips
You can prep the dough ahead of time and refrigerate it for up to 24 hours — just bring it to room temperature before rolling. Cooked bread stores well for 2 days in a sealed bag. Reheat on a skillet or directly over a flame for that just-made taste. Freezing? Separate each bread with parchment and freeze for up to a month.
How to Serve No-Oven Stovetop Bread
Serve it warm alongside curries, soups, or salads. Slather it with hummus, wrap it around grilled veggies, or top with labneh and za’atar for a Mediterranean twist. It’s also perfect for breakfast with honey and butter.
Creative Leftover Transformations
Don’t toss your extras — reinvent them:
- Toast and cut into wedges for dippers.
- Use as a base for mini pizzas.
- Wrap around falafel or kebabs for a quick sandwich.
Additional Tips
- Add chopped herbs or minced garlic to the dough for flavor variations.
- A drizzle of honey and sea salt makes a sweet-savory twist.
- For extra puffiness, cover the skillet with a lid for the first minute of cooking.
Make It a Showstopper
Presentation matters — even for stovetop bread:
- Stack the rounds on a wooden board with a dipping bowl in the center.
- Sprinkle with herbs or sesame seeds before serving.
- Serve with a colorful array of dips and spreads for a stunning platter.
Variations to Try
- Garlic Herb Bread: Mix minced garlic and parsley into the dough.
- Cheese-Stuffed: Add a spoonful of grated cheese inside each round before cooking.
- Spicy Flatbread: Stir chili flakes into the flour for a touch of heat.
- Sweet Cinnamon Twist: Add a pinch of cinnamon and sugar to the dough, then brush with butter and honey.
- Seed-Crusted: Press sesame or nigella seeds into the surface before cooking.
FAQ’s
Q1: Can I use whole wheat flour?
Yes, though the bread will be slightly denser — try half-and-half with all-purpose flour.
Q2: Can I make this without yogurt?
Yes, use milk or a mix of water and a splash of vinegar as a substitute.
Q3: How do I store leftovers?
Wrap tightly in foil or a resealable bag and refrigerate for up to 2 days.
Q4: Can I freeze the dough?
Yes, wrap in plastic and freeze for up to 1 month. Thaw overnight before using.
Q5: Why is my bread not puffing?
The pan might be too cold — make sure it’s fully heated before cooking.
Q6: Can I double the recipe?
Absolutely — just divide and roll as needed.
Q7: Do I need to oil the pan?
Only lightly, to prevent sticking — too much oil can make the bread greasy.
Q8: Can I use a tortilla press?
You can, but roll gently afterward to reach proper thickness.
Q9: Is this recipe vegan?
It can be — just use plant-based milk and skip butter.
Q10: What’s the best pan to use?
A cast iron skillet gives the best heat retention and even browning.
Conclusion
This No-Oven Stovetop Bread is the kind of recipe that makes you feel like a kitchen wizard. In under 30 minutes, you’ll have fresh, warm, perfectly golden bread that’s ready to sop up sauces, wrap around fillings, or simply melt in your mouth with a dab of butter. Let me tell you, it’s worth every bite — and you won’t even miss the oven.
Print
No-Oven Stovetop Bread
Description
Soft, chewy, and golden stovetop bread made without an oven. This quick and easy recipe delivers fresh, homemade flatbread in under 30 minutes — perfect for wraps, dips, or any meal.
Ingredients
- All-Purpose Flour: 2 cups
- Baking Powder: 2 teaspoons
- Salt: 1 teaspoon
- Yogurt or Milk: 3/4 cup
- Water: 2 tablespoons
- Olive Oil: 1 tablespoon
- Butter (optional): For brushing warm bread
Instructions
- Preheat Your Equipment: Place a heavy skillet over medium heat and allow it to warm while you prepare the dough.
- Combine Ingredients: In a mixing bowl, whisk together flour, baking powder, and salt. Add yogurt, water, and oil. Mix until a shaggy dough forms, then knead for 2–3 minutes until smooth.
- Prepare Your Cooking Vessel: Brush the heated skillet lightly with oil or butter if desired.
- Assemble the Dish: Divide dough into 6 equal portions. Roll each into a ball, then flatten into 1/4-inch thick rounds on a lightly floured surface.
- Cook to Perfection: Place one round into the skillet. Cook for 1–2 minutes per side until bubbles form and brown spots appear. Flip with a spatula and repeat until all breads are cooked.
- Finishing Touches: Brush with melted butter or olive oil, if using. Stack and wrap in a towel to keep warm.
- Serve and Enjoy: Serve warm with your favorite dips, spreads, or alongside a hearty main dish.
Notes
- Let dough rest for softer texture.
- Use medium heat for even cooking.
- Add herbs or garlic for flavor variations.