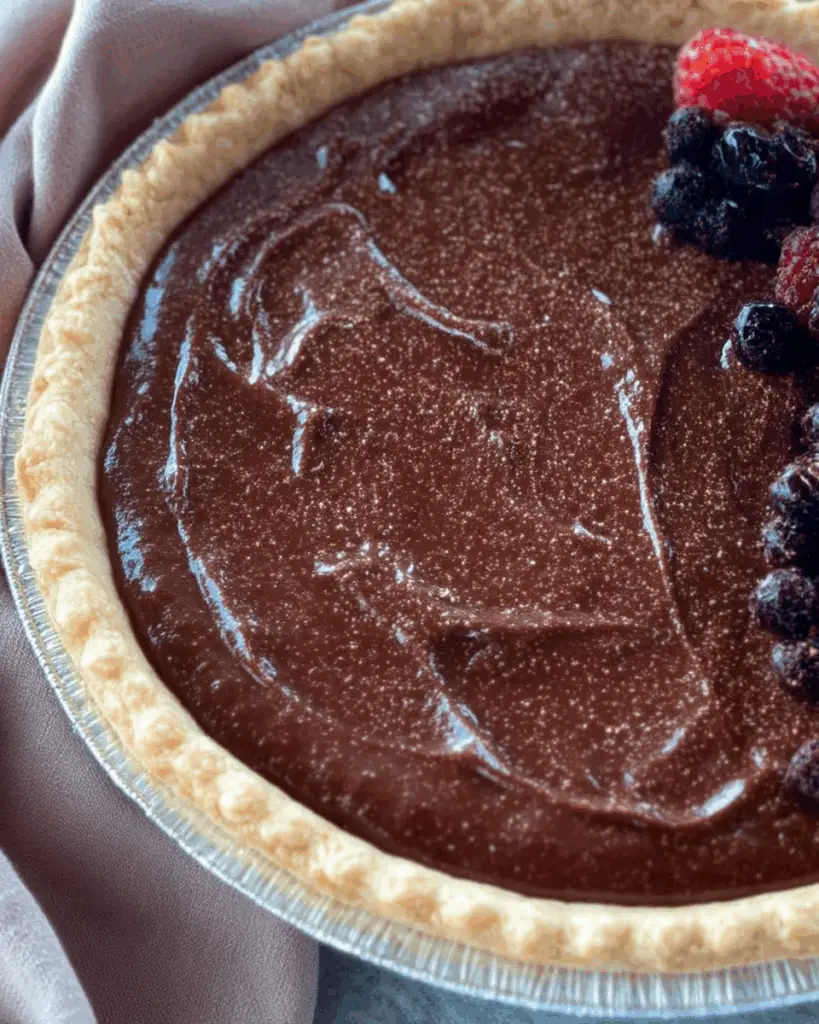
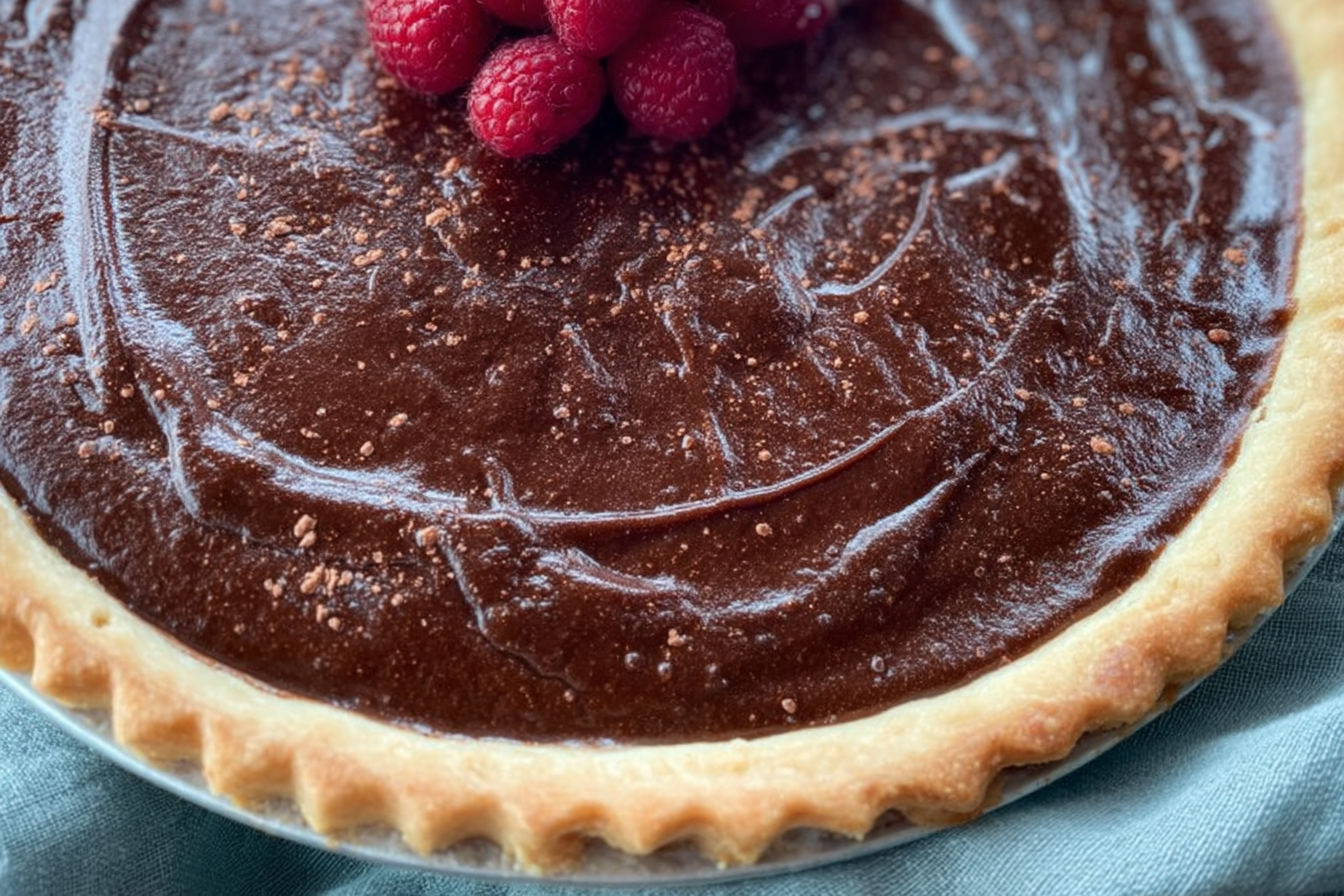
There’s something magical about a slice of Old-Fashioned Chocolate Pie. It’s rich, silky, and oh-so nostalgic. With its velvety filling nestled inside a buttery, flaky crust and topped with a cloud of whipped cream or meringue, this dessert wraps you in warmth and memories with every single bite. The chocolate is deep and luscious, the crust offers a delicate crunch, and the aroma? Pure comfort from the oven.
Behind the Recipe
This pie brings me back to my grandmother’s cozy kitchen, where the scent of cocoa and sugar filled the air. She would whisk the custard with care, pour it into a golden crust, and wait patiently while it chilled to perfection. When I recreate it today, I can still hear her humming to old radio tunes and feel the same joy as the first time I tasted that creamy, chocolatey slice. This recipe is a sweet tribute to those cherished moments.
Recipe Origin or Trivia
Old-Fashioned Chocolate Pie hails from the heart of Southern baking tradition, often found at Sunday suppers, holiday feasts, and small-town diners. Unlike pudding pies, this version uses a rich, egg-thickened custard cooked on the stovetop, then chilled until firm. It became especially popular during the 20th century in American households for its simple pantry ingredients and indulgent flavor, long before boxed mixes ever existed.
Why You’ll Love Old-Fashioned Chocolate Pie
This pie is a crowd favorite and a comfort classic—here’s why it’ll steal your heart:
Versatile: Serve it chilled or room temperature, topped with whipped cream, meringue, or plain.
Budget-Friendly: Uses everyday ingredients found in any kitchen.
Quick and Easy: The filling comes together in under 20 minutes.
Customizable: Choose your crust, topping, and chocolate intensity.
Crowd-Pleasing: A guaranteed hit at any gathering or celebration.
Make-Ahead Friendly: Perfect for prepping the day before.
Great for Leftovers: Tastes even better the next day.

Old-Fashioned Chocolate Pie
- Prep Time: 20 minutes
- Cook Time: 25 minutes
- Total Time: 45 minutes
- Yield: 8 servings 1x
- Category: Dessert
- Method: Baking
- Cuisine: American
- Diet: Vegetarian
Description
This Old-Fashioned Chocolate Pie is a classic Southern dessert featuring a rich, creamy cocoa filling, a flaky pre-baked crust, and a fluffy meringue topping. Perfect for family gatherings or holiday tables. #ChocolatePie #ClassicDessert #HomemadePie
Ingredients
- 1 pre-baked 9-inch pie crust
- ¼ cup butter
- 1 cup granulated sugar
- ¼ cup all-purpose flour
- ½ cup unsweetened cocoa powder
- 2 cups milk
- 3 large egg yolks
- 1 teaspoon vanilla extract
- 3 large egg whites
- ¼ teaspoon cream of tartar
- ½ cup granulated sugar
Instructions
- Preheat the oven to 350°F (175°C).
- Melt the butter in a medium saucepan over medium heat.
- In a bowl, whisk together the sugar, flour, and cocoa powder.
- Gradually add the dry mixture to the melted butter, stirring to prevent lumps.
- Slowly add the milk while stirring until smooth.
- Cook the mixture for 5-7 minutes, stirring constantly, until thickened. Remove from heat.
- In a separate bowl, whisk the egg yolks. Add a spoonful of the hot mixture to temper the yolks, then stir them back into the saucepan.
- Return to heat and cook for 2-3 minutes, stirring constantly. Stir in vanilla extract and remove from heat.
- Pour the chocolate filling into the pre-baked pie crust and spread evenly.
- In a clean bowl, beat egg whites and cream of tartar until soft peaks form.
- Add sugar gradually and beat until stiff peaks form.
- Spread meringue over the filling, sealing the edges.
- Bake for 10-12 minutes, until meringue is golden brown.
- Let the pie cool completely before serving.
Notes
- Ensure meringue touches crust edges to prevent shrinking.
- Cool completely to allow the filling to set properly.
- Store leftovers in the refrigerator for up to 3 days.
Nutrition
- Serving Size: 1 slice
- Calories: 256
- Sugar: 26g
- Sodium: 130mg
- Fat: 9g
- Saturated Fat: 4g
- Unsaturated Fat: 4g
- Trans Fat: 0g
- Carbohydrates: 43g
- Fiber: 1g
- Protein: 2g
- Cholesterol: 9mg
Chef’s Pro Tips for Perfect Results
Keep your pie smooth, rich, and sliceable with these simple tips:
- Use Whole Milk: For the best texture and richness.
- Whisk Constantly: To prevent lumps and ensure a silky custard.
- Strain the Filling: For ultra-smooth results before pouring into the crust.
- Cool Fully Before Serving: This helps the custard set properly.
- Use High-Quality Cocoa: Deep, rich chocolate flavor starts here.
Kitchen Tools You’ll Need
Here’s everything you’ll need to bring this classic pie to life:
Saucepan: To cook the chocolate custard.
Whisk: For blending ingredients and creating a smooth texture.
Strainer: Optional, but ideal for silky filling.
Measuring Cups and Spoons: For accuracy.
Mixing Bowl: To combine ingredients.
Pie Dish: 9-inch, for baking the crust and holding the filling.
Plastic Wrap: To cover the pie while it chills.
Ingredients in Old-Fashioned Chocolate Pie
Each ingredient adds a layer of comfort and flavor—here’s what you’ll need:
- Granulated Sugar: 3/4 cup — provides sweetness and structure.
- Unsweetened Cocoa Powder: 1/3 cup — brings deep, chocolaty richness.
- Cornstarch: 1/4 cup — thickens the custard to perfection.
- Salt: 1/4 teaspoon — enhances the chocolate flavor.
- Egg Yolks: 3 large — give the filling its creamy, custard base.
- Whole Milk: 2 1/2 cups — smooth, full-bodied texture.
- Butter: 2 tablespoons — adds richness and sheen.
- Vanilla Extract: 1 teaspoon — rounds out the flavor.
- Prebaked Pie Crust: 1 (9-inch) — the buttery base that holds it all.
- Whipped Cream or Meringue: optional — for a luscious topping.
Ingredient Substitutions
Running low? Try these easy swaps:
Whole Milk: Use half-and-half or evaporated milk.
Butter: Margarine or plant-based alternative.
Cocoa Powder: Substitute with melted unsweetened chocolate (reduce milk slightly).
Sugar: Try coconut sugar for a subtle caramel twist.
Pie Crust: Graham cracker or Oreo crust works too.
Ingredient Spotlight
Unsweetened Cocoa Powder: The soul of the pie, it creates that classic deep chocolate flavor that’s smooth, bold, and just the right amount of bitter.
Egg Yolks: These little gems provide structure and creaminess, transforming the mixture into a luscious custard.

Instructions for Making Old-Fashioned Chocolate Pie
This pie is a dream to make. Here’s how to get that classic result, step by step:
-
Preheat Your Equipment:
Make sure your prebaked pie crust is ready and completely cooled. -
Combine Ingredients:
In a saucepan, whisk together sugar, cocoa, cornstarch, and salt. Stir in egg yolks and milk until smooth. -
Prepare Your Cooking Vessel:
Set your saucepan over medium heat and cook, whisking constantly, until the mixture thickens and bubbles—about 8–10 minutes. -
Assemble the Dish:
Remove from heat, stir in butter and vanilla until melted and combined. -
Cook to Perfection:
(Custard is done cooking—this step refers to setting). Strain mixture through a sieve into the pie crust for an extra-smooth finish. -
Finishing Touches:
Cover with plastic wrap (touching the surface to prevent skin), and chill for at least 4 hours, or overnight. -
Serve and Enjoy:
Top with whipped cream or meringue and slice with a hot knife for clean cuts. Enjoy cold or at room temperature.
Texture & Flavor Secrets
The texture is key: creamy yet firm, the custard has a pudding-like richness that slices beautifully. Cocoa gives it depth, while butter and vanilla soften the edges. When paired with a flaky crust and cool whipped topping, it’s a dreamy dessert symphony.
Cooking Tips & Tricks
A few pointers to get that perfect old-school pie:
- Whisk non-stop to prevent lumps.
- Cook until the custard thickly coats the back of a spoon.
- Chill fully for clean slicing.
- Use a pre-baked crust to save time.
What to Avoid
Steer clear of these pitfalls:
- Using low-fat milk (yields watery custard).
- Skipping the straining step (can leave lumps).
- Not cooling long enough (pie won’t set).
- Overcooking the filling (it can curdle).
Nutrition Facts
Servings: 8
Calories per serving: 340
Note: These are approximate values.
Preparation Time
Prep Time: 10 minutes
Cook Time: 10 minutes
Total Time: 20 minutes (plus chilling)
Make-Ahead and Storage Tips
This pie is an ideal make-ahead dessert. Prepare it a day in advance and store covered in the refrigerator for up to 3 days. Avoid freezing—custard may separate. Add toppings just before serving for the freshest look and taste.
How to Serve Old-Fashioned Chocolate Pie
Serve chilled with a dollop of whipped cream, toasted meringue, or a sprinkle of chocolate shavings. For extra elegance, drizzle with caramel or raspberry sauce. It pairs beautifully with a glass of milk, coffee, or after-dinner tea.
Creative Leftover Transformations
If you happen to have leftovers, try this:
- Blend with ice cream for a chocolate pie milkshake.
- Layer into a trifle with cake and fruit.
- Freeze small slices into chocolate pie pops.
Additional Tips
- Use room-temp eggs and milk for smoother mixing.
- Chill your whipped cream bowl and beaters for fluffier topping.
- For a mocha twist, add a teaspoon of instant espresso powder.
Make It a Showstopper
To wow your guests, finish the pie with chocolate curls, dust with cocoa powder, or pipe whipped cream rosettes around the edge. A vintage pie plate adds rustic charm to your presentation.
Variations to Try
- Coconut Chocolate Pie: Add shredded coconut to the filling.
- Mexican Chocolate Pie: Add a pinch of cinnamon and cayenne.
- Peanut Butter Chocolate Pie: Swirl in melted peanut butter before chilling.
- Salted Chocolate Pie: Sprinkle with flaky sea salt before serving.
- Mini Pies: Bake in tart shells for individual portions.
FAQ’s
Q1: Can I make this pie without eggs?
Yes, use cornstarch alone as the thickener, though texture will differ.
Q2: What crust works best?
A classic butter crust, graham cracker, or chocolate cookie crust all work well.
Q3: Can I use almond or oat milk?
It’s possible, but the pie may be less creamy and not set as firmly.
Q4: How long does it need to chill?
At least 4 hours, ideally overnight.
Q5: Can I add chocolate chips?
Yes, stir in some chips after cooking for melty pockets.
Q6: Is this pie served warm or cold?
Traditionally cold, but some enjoy it slightly warmed.
Q7: Can I use dark cocoa powder?
Absolutely, for a richer flavor.
Q8: Does this pie need to be baked?
Only the crust—filling is stovetop cooked and chilled.
Q9: Can I freeze this pie?
It’s not recommended due to custard separation.
Q10: How do I prevent the skin on top?
Cover the filling directly with plastic wrap before chilling.
Conclusion
Old-Fashioned Chocolate Pie is timeless, comforting, and sure to become a treasured go-to for celebrations, potlucks, or a simple dessert craving. With its smooth filling, nostalgic flavor, and homemade charm, it’s the kind of pie that invites you to slow down and savor every single bite.

