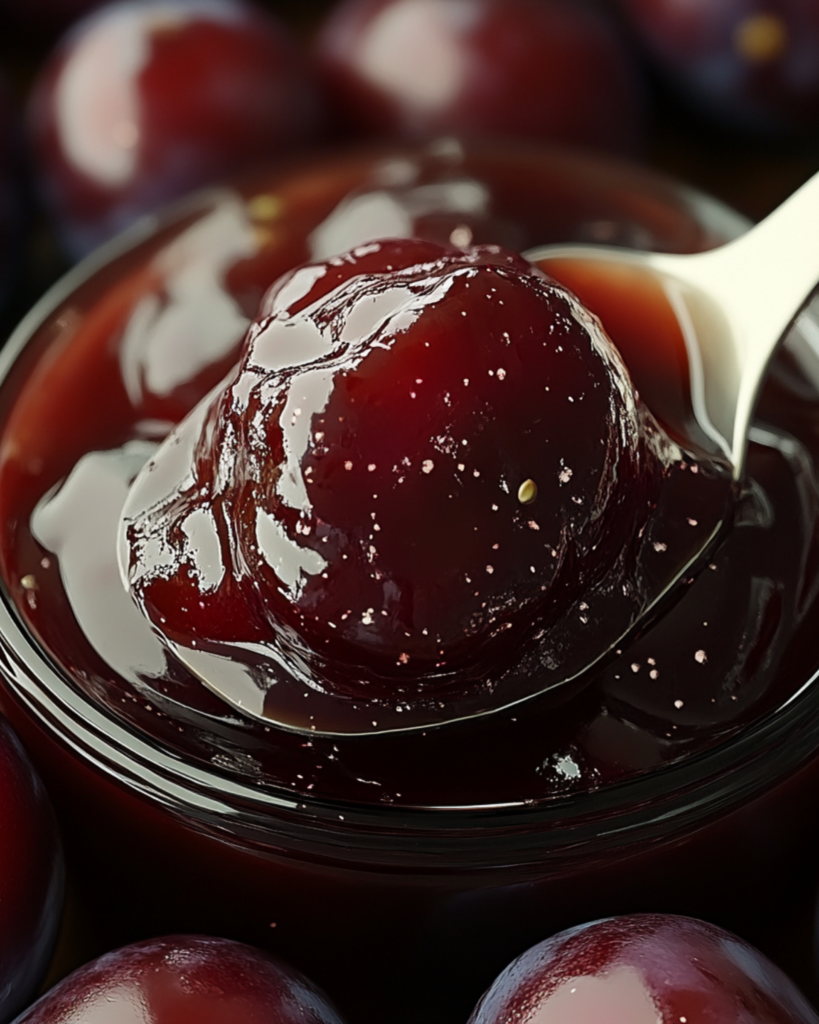
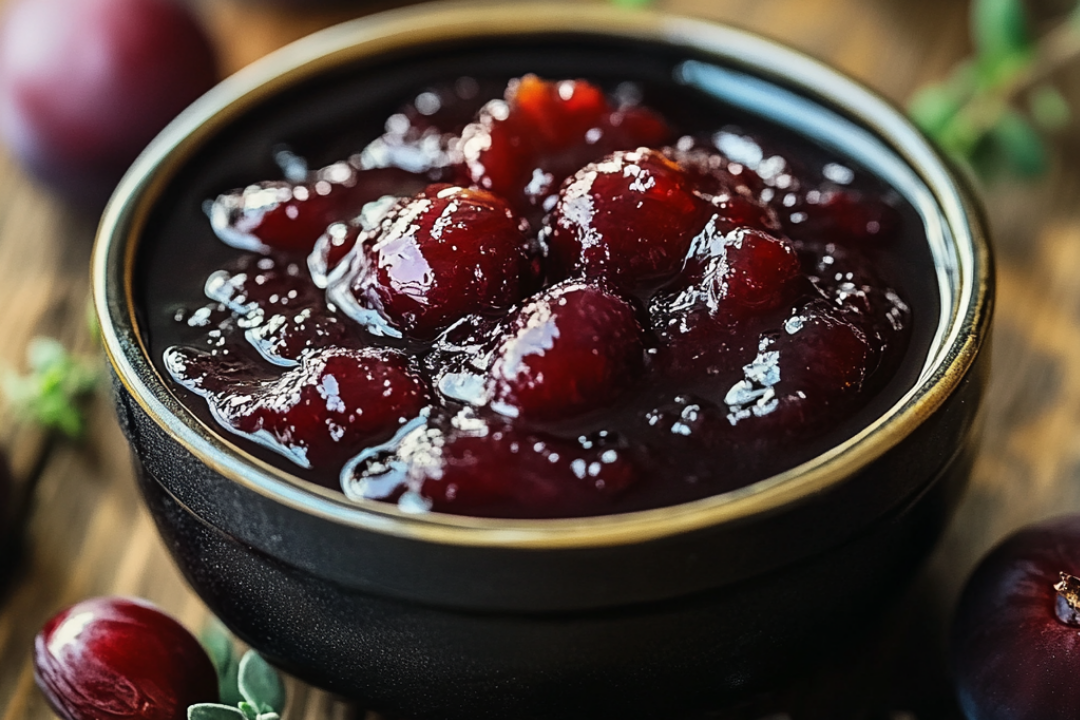
There’s something incredibly satisfying about making your own jam. It’s a labor of love, but oh, the rewards are sweet. Imagine spreading a thick layer of homemade plum jam on toast, drizzling it over pancakes, or even mixing it into yogurt. This Plum Jam recipe is just the ticket for capturing the essence of ripe, juicy plums and turning them into a treat you can enjoy all year round. Trust me, once you’ve tasted this jam, you’ll wonder why you ever bought it from the store!
Why You’ll Love Plum Jam
This recipe is all about taking the simple goodness of plums and turning them into something extraordinary. It’s perfect for when you’re craving something sweet but not overly sugary. Here’s why it’s a keeper:
- Versatile: You can slather this jam on toast, swirl it into oatmeal, or even pair it with cheese and crackers. Whether you’re enjoying it for breakfast, as a snack, or as a sweet treat, it’s a recipe that’s bound to impress.
- Budget-Friendly: Plums might not be the most exotic fruit, but they pack a punch of flavor that makes this jam a standout. Using fresh, seasonal fruit, it’s an affordable way to enjoy a homemade preserve without breaking the bank.
- Quick and Easy: Don’t worry if you’re new to jam-making—this recipe is straightforward and doesn’t require special equipment. If you’ve ever wanted to try making jam, this is the perfect place to start!
- Customizable: Love a sweeter jam? Add a little more sugar. Want to experiment with flavor? Throw in some vanilla or a hint of cinnamon. The beauty of this recipe is that you can tweak it to match your taste.
- Gift-Worthy: If you’re looking for a homemade gift that feels personal and thoughtful, this plum jam makes for a perfect option. It’s charming and delicious, making it a lovely gesture for any occasion.

Ingredients
Making jam at home doesn’t require anything fancy—just a few basic ingredients. Let’s break it down:
- Plums: The star of this jam! Plums are naturally sweet and juicy, and when cooked down, they create a thick, luscious texture that makes this jam so irresistible.
- Sugar: A key player in getting that perfect jam consistency. It helps the plums release their juices and thickens the mixture as it cooks.
- Lemon Juice: A bit of acidity balances the sweetness of the plums and enhances the flavor, giving your jam that fresh, bright taste.
- Pectin (optional): If you want a thicker, more set jam, you can use pectin. It helps the jam firm up without having to cook it for too long.
(Note: the full ingredients list, including measurements, is provided in the recipe card directly below.)
Instructions
Let’s dive into the steps to create this delicious Plum Jam:
Prep Your Plums:
Start by washing your plums thoroughly. Slice them in half, remove the pits, and chop them into small pieces. The smaller the pieces, the faster they’ll cook down into that jammy goodness!
Cook the Plums:
In a large saucepan, combine your chopped plums, sugar, and lemon juice. Stir everything together and bring it to a simmer over medium heat. Let it cook, stirring occasionally, until the plums break down and the mixture thickens—this should take about 30 minutes.
Add Pectin (if using):
If you’re using pectin, stir it into the mixture according to the package instructions. Keep simmering until the jam reaches your desired consistency. You’ll know it’s ready when it coats the back of a spoon.
Test the Jam:
To check if your jam is done, spoon a little onto a chilled plate and run your finger through it. If it wrinkles and holds its shape, you’re all set! If it’s still runny, continue cooking for a few more minutes.
Jar It Up:
Once your jam has thickened, pour it into sterilized jars while it’s still hot. Seal the jars and let them cool at room temperature. The jam will thicken even more as it cools.
Enjoy:
After the jars have cooled and sealed, your plum jam is ready to be enjoyed! Whether it’s spread on toast, swirled into yogurt, or gifted to a friend, this homemade treat will make every bite feel special.
Nutrition Facts
Servings: [ADD NUMBER of servings]
Calories per serving: [ADD CALORIE count per serving]
Preparation Time
Prep Time: [ADD TIME to prepare ingredients]
Cook Time: [ADD TIME to cook or bake]
Total Time: [ADD TOTAL TIME needed]
How to Serve Plum Jam
This plum jam is a sweet companion to many dishes. Here are a few serving suggestions to enhance your experience:
- Spread on Toast: Classic, simple, and oh-so-delicious! Whether it’s a warm, buttery toast or a freshly baked scone, this jam will elevate your breakfast or tea time.
- Topping for Pancakes or Waffles: Drizzle it over your morning stack of pancakes or waffles for a fruit-filled twist on a classic.
- Swirled in Yogurt: Add a spoonful of this plum jam to your Greek yogurt or oatmeal for a burst of natural sweetness.
- As a Cheeseboard Accompaniment: Pair it with cheese (especially sharp or creamy ones) for a delightful contrast of sweet and savory.
- In Desserts: Use this jam as a filling for cakes, tarts, or pastries. It’s perfect for adding a fruity punch to your baking projects.
Additional Tips
Here are some extra tips to help you get the most out of this recipe:
- Prep Ahead: If you’re planning on making a big batch, prepare your plums the night before by pitting and chopping them. This will save you time the day you’re making the jam.
- Don’t Overcook: Be careful not to overcook your jam. If it gets too thick, it might turn into a spread rather than a jam, but that’s still delicious!
- Test the Consistency: Make sure to test the consistency before finishing up. If it’s too runny, cook it a bit longer, but if it’s too thick, add a splash of water.
- Storage Tips: Store your homemade jam in sealed jars in the fridge for up to a few weeks, or you can can it for longer shelf life.
- Experiment with Flavors: Want to add a unique twist? Try adding a pinch of cinnamon, vanilla, or even a bit of ginger for some extra depth of flavor.
FAQ Section
Q1: Can I substitute sugar with a sugar alternative?
A1: Yes! You can use honey, maple syrup, or a sugar substitute like stevia. Keep in mind, this might slightly change the flavor and consistency of the jam.
Q2: Can I use frozen plums instead of fresh?
A2: Absolutely! Frozen plums work just as well as fresh, though you may need to cook them for a little longer to reduce excess liquid.
Q3: Can I make this jam without pectin?
A3: Yes, pectin is optional. The jam will naturally thicken as it cooks. If you want a firmer jam, you can use pectin, but it’s not necessary.
Q4: How long does homemade plum jam last?
A4: If properly sealed and stored, homemade plum jam will last up to 3 weeks in the fridge or can be preserved longer by canning.
Q5: Can I double the recipe?
A5: Yes! This recipe is easily scalable. Just double the ingredients and cook in batches if necessary.
Q6: Can I freeze the jam?
A6: Yes! Freeze the jam in airtight containers for up to 6 months. Just let it thaw overnight in the fridge before using.
Q7: Can I add other fruits to this jam?
A7: Absolutely! Mix plums with peaches, cherries, or berries for a unique flavor combination.
Q8: Can I make the jam less sweet?
A8: Of course! You can reduce the sugar to your liking. Keep in mind that this might affect the texture and preservation time, so you may need to experiment.
Q9: How can I tell when my jam is done cooking?
A9: When the jam is done, it should coat the back of a spoon and wrinkle when tested on a cold plate. You can also check the consistency by letting it cool and seeing if it holds its shape.
Q10: How do I sterilize jars for canning?
A10: To sterilize your jars, wash them in hot, soapy water, and then place them in a hot oven (about 200°F or 93°C) for 10 minutes. Alternatively, you can boil them in water for 10 minutes.
Conclusion
Making your own Plum Jam is an absolute game-changer! It’s simple, satisfying, and offers a level of flavor that store-bought jams just can’t compete with. Whether you’re spreading it on toast, drizzling it over desserts, or giving it as a thoughtful gift, this jam will make you feel like a kitchen pro. Plus, it’s a great way to capture the taste of summer and enjoy it all year long. So, what are you waiting for? Get those plums and start cooking—this jam is just too delicious to miss!
Print
Plum Jam
- Prep Time: 15 minutes
- Cook Time: 15 minutes
- Total Time: 30 minutes
- Yield: About 4 jars 1x
- Category: jam
- Method: Preserving
- Cuisine: british
- Diet: Vegetarian
Description
A delightful and sweet homemade jam made from ripe plums, perfect for spreading on toast, using in desserts, or gifting. This simple recipe preserves the juicy flavor of plums with a touch of citrus for a refreshing twist.
Ingredients
- 1kg/2lb 4oz plums, halved and stones removed
- Juice of 1 large lemon or orange
- 700g/1lb 9oz granulated sugar
Instructions
-
Cook the Fruit:
- Place the plums, lemon juice, and 150ml/5fl oz water in a large, heavy-based saucepan or preserving pan. Bring to a simmer and cook gently for about 5 minutes until the plums start to soften.
-
Add Sugar:
- Gradually add the sugar, about a third at a time, stirring until fully dissolved. Remove the pan from the heat, cover, and let the mixture cool for a couple of hours or overnight. The plums will absorb the sugar and become heavier.
-
Boil the Jam:
- Once cooled, return the pan to the heat, stirring to dissolve any remaining sugar. Bring the mixture to a rolling boil, then increase the heat and boil rapidly for about 10 minutes, until the jam reaches its setting point (see tips below).
-
Finish:
- Remove the pan from the heat and let the jam sit for 5 minutes to allow the fruit to settle.
- Pour the jam into a wide-necked jug, then carefully fill four sterilized jars to the brim. Seal immediately with lids and store in a cool, dark place. The jam is best consumed within a year.
Notes
- Plum Varieties: Use Victoria plums for the best results due to their high pectin content. Avoid imported dessert plums as they may lack flavor.
- Setting Point Test: When the jam is ready, it will have fewer and slower bubbles. Perform the gel test by dropping a bit of hot jam on a cold plate. If it forms a light gel, it’s ready. If still runny, boil for another few minutes and test again.
- Flavor Variations: Add 2-3 star anise or cinnamon sticks for a spiced touch, or stir in 1-2 tsp brandy for a richer flavor. For added texture, fold in walnut pieces towards the end of boiling.
Nutrition
- Serving Size: 1 tablespoon
- Calories: 60kcal
- Sugar: 12g
- Sodium: 0mg
- Fat: 0g
- Saturated Fat: 0g
- Unsaturated Fat: 0g
- Trans Fat: 0g
- Carbohydrates: 16g
- Fiber: 1g
- Protein: 0g
- Cholesterol: 0mg

