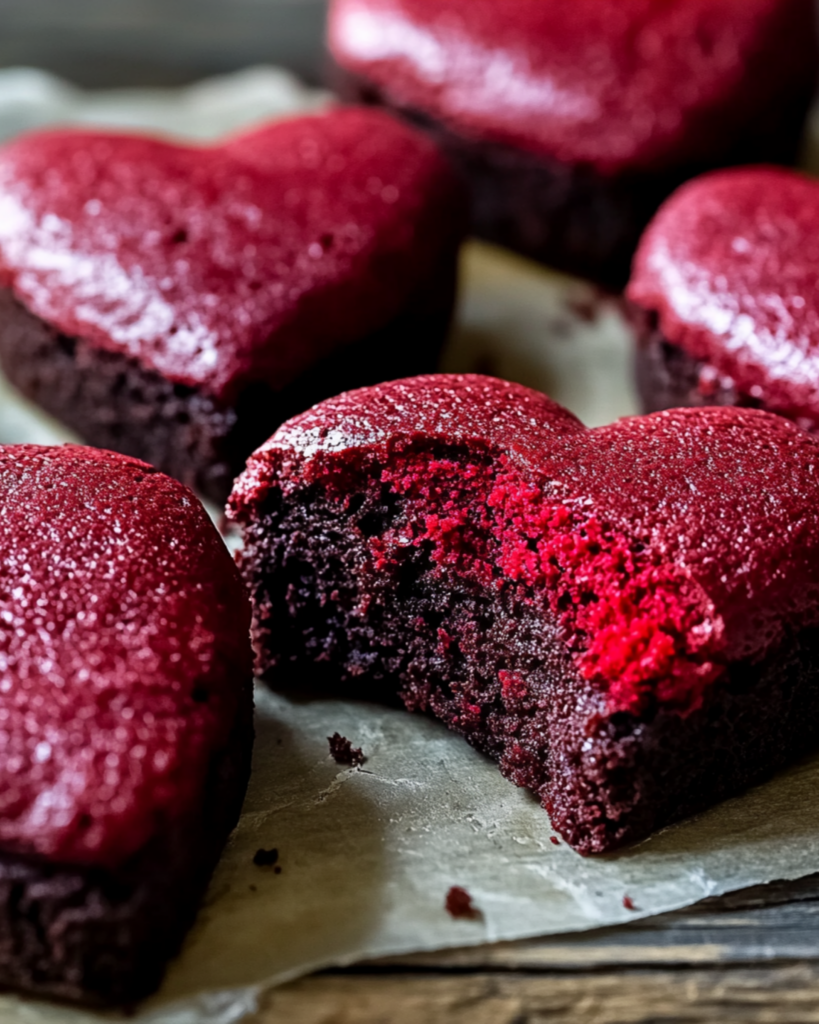
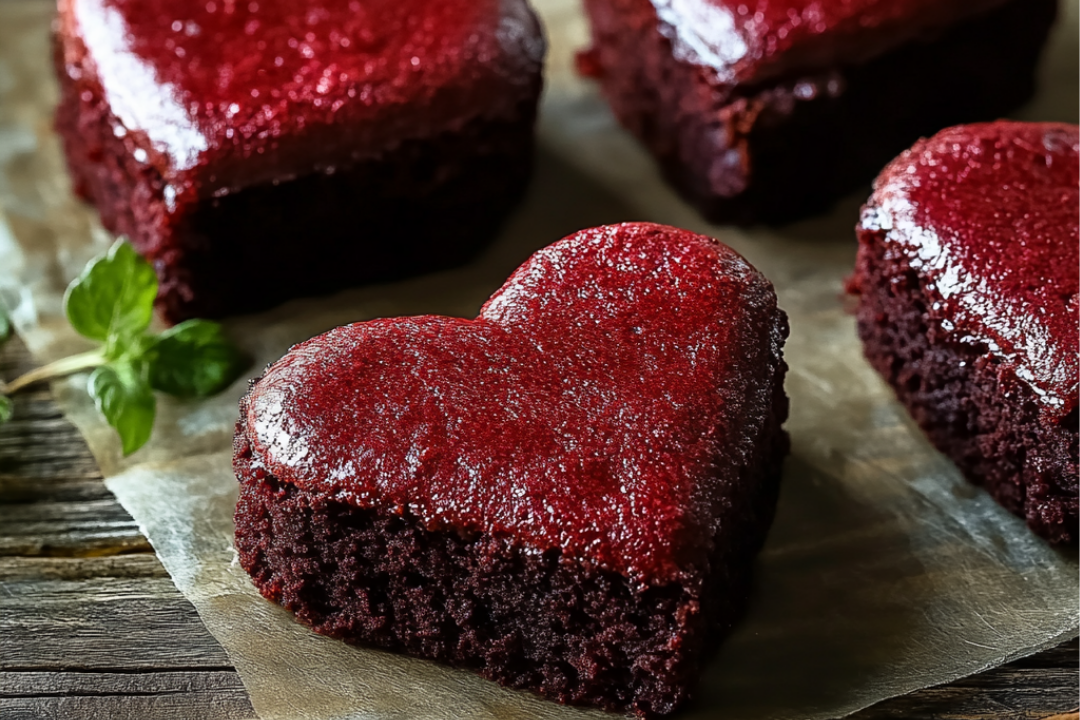
Alright, buckle up for something that will make your sweet tooth do a happy dance. These Red Velvet Brownie Hearts are the perfect combination of fudgy, decadent brownie goodness with the vibrant, irresistible flavor of red velvet. Plus, they’re shaped like hearts—because why not? Whether you’re celebrating a special occasion or simply treating yourself, these brownies will steal the show. Trust me, you won’t want to share them, but if you do, I bet your friends will be asking for seconds!
Why You’ll Love Red Velvet Brownie Hearts
These brownies are more than just a treat—they’re an experience. Soft, chewy, and so chocolaty, with that signature tang from the buttermilk and a little hint of vanilla that makes red velvet so beloved. Here’s why these brownies are sure to become your new favorite:
Versatile: Perfect for Valentine’s Day, anniversaries, or any time you need a little extra sweetness in your life. They’re easy enough for a casual dessert or special enough for a celebration.
Budget-Friendly: Red velvet sounds fancy, but the ingredients are simple and affordable. No need for expensive items—just basic pantry staples with a gorgeous result.
Quick and Easy: You don’t need to be a baker extraordinaire to make these. The recipe comes together in one bowl, and before you know it, your kitchen will be filled with the most delicious aroma.
Customizable: Want to add a twist? You can throw in some white chocolate chips or drizzle a little cream cheese frosting on top. The possibilities are endless!
Crowd-Pleasing: Fudgy, rich, and deeply satisfying—these brownies have it all. Plus, they’re shaped like hearts, making them extra special and fun for sharing with loved ones.

Ingredients
Here’s everything you need to make these indulgent Red Velvet Brownie Hearts:
Butter: The foundation of any good brownie! It gives the texture that’s rich, moist, and melt-in-your-mouth perfect.
Sugar: For sweetness and that chewy texture we all crave in a brownie. It helps the brownies hold together and adds a little sparkle to the flavor.
Cocoa Powder: The essential chocolate flavor that makes these brownies a true delight. This is what gives them that deep, chocolatey richness.
Eggs: They help bind everything together and provide structure, giving the brownies that perfect dense, fudgy texture.
All-Purpose Flour: The base of the batter. It helps give the brownies that soft yet firm structure, so they bake up perfectly.
Buttermilk: This is the secret ingredient that gives red velvet its signature tang, adding a subtle richness and balancing out the sweetness.
Red Food Coloring: For that signature red velvet hue. It’s not just for looks, it adds a little something to the flavor profile, making the brownies uniquely red velvet.
Vanilla Extract: The warm, comforting note that pulls everything together and enhances the flavor of the cocoa and red velvet.
(Note: the full ingredients list, including measurements, is provided in the recipe card directly below.)
Instructions
Let’s walk through these simple steps to create these delightful brownies:
Preheat Your Oven: Start by preheating your oven to the specified temperature (check the recipe card for the exact number). This ensures the brownies bake evenly.
Mix the Wet Ingredients: In a large bowl, melt the butter and mix in the sugar, cocoa powder, eggs, and vanilla extract. Stir until everything is smooth and combined. The smell at this stage? Heavenly.
Add the Dry Ingredients: Add the flour and buttermilk into the wet ingredients. Mix until just combined, being careful not to overmix. The batter will be rich and smooth.
Add Red Food Coloring: Stir in the red food coloring, and watch as the batter turns that gorgeous crimson hue. Don’t worry—it won’t taste like food coloring, just like red velvet should.
Prepare the Pan: Grease your baking pan or line it with parchment paper for easy removal. If you’re using a heart-shaped cookie cutter, it’s a good idea to line the pan with foil or parchment to ensure clean cuts.
Bake the Brownies: Pour the batter into the prepared pan and spread it evenly. Bake according to the recipe card’s time and temperature guidelines. They’re done when a toothpick inserted comes out with just a few moist crumbs attached.
Let Cool: Once baked, let the brownies cool for a bit. It’s tempting to dig in right away, but letting them cool a little will make them easier to cut and just help the flavors settle. You can pop them into the fridge for a quicker cool-down.
Cut into Hearts: Once the brownies have cooled, use a heart-shaped cookie cutter to cut them into adorable shapes. (Feel free to skip this step if you prefer squares, but I promise the hearts are totally worth it.)
Serve and Enjoy: Serve these gorgeous brownies with a scoop of vanilla ice cream, or enjoy them as they are for a truly delightful treat.
Nutrition Facts
Servings: 12
Calories per serving: 210 (approximately)
Preparation Time
Prep Time: 15 minutes
Cook Time: 25 minutes
Total Time: 40 minutes (including cooling time)
How to Serve Red Velvet Brownie Hearts
These brownies are perfect on their own, but if you’re looking to elevate them, here are some delicious ideas:
With Ice Cream: A scoop of vanilla ice cream, or even better, cream cheese ice cream, pairs wonderfully with these rich, fudgy brownies.
Drizzle with Frosting: Add a little swirl of cream cheese frosting or a dusting of powdered sugar on top for an extra indulgent treat.
Serve with Fresh Berries: The tartness of fresh berries like raspberries or strawberries balances out the sweetness of the brownies, making for a lovely contrast.
As a Sweet Gift: These brownies make for a sweet homemade gift. Wrap them up in a cute box or tin, and you’ve got the perfect present for someone special.
Additional Tips
Here are a few tips to help you get the most out of this recipe:
Make Ahead: You can bake the brownies a day ahead and store them at room temperature in an airtight container. They’ll stay fresh and fudgy.
Go for a More Intense Chocolate Flavor: If you’re a chocolate lover, consider adding a handful of mini chocolate chips or chopped chocolate into the batter before baking.
Substitute the Red Food Coloring: If you want to skip the food coloring, you can make a classic brownie and still enjoy the same rich, fudgy texture.
Storage: Store leftovers in an airtight container for up to 4 days, or freeze them for up to a month. To freeze, wrap each brownie in plastic wrap and place them in a freezer-safe bag.
Add a Little Espresso: For an added depth of flavor, mix in a teaspoon of instant espresso powder. It’ll bring out the chocolate flavor and make these brownies even more irresistible.
FAQ Section
Q1: Can I use a different type of food coloring?
A1: Yes! If you prefer, you can use natural food coloring, but keep in mind it might not give you the same vibrant red hue as traditional food coloring.
Q2: Can I make these brownies without food coloring?
A2: Absolutely! You can skip the food coloring and still have delicious, rich brownies. They’ll be more of a classic chocolate brownie, which is always a win.
Q3: Can I double the recipe?
A3: Yes! If you need more brownies, simply double the recipe and bake in a larger pan. Just keep an eye on the baking time, as it might vary slightly.
Q4: How do I store leftover brownies?
A4: Store leftovers in an airtight container at room temperature for up to 4 days. For longer storage, freeze them and enjoy them later!
Q5: Can I add nuts to the brownies?
A5: Absolutely! If you love a little crunch, you can add chopped walnuts or pecans to the batter before baking.
Q6: Can I make these brownies gluten-free?
A6: Yes! You can use a gluten-free flour blend as a substitute for all-purpose flour in this recipe.
Q7: How can I make these brownies extra fudgy?
A7: If you prefer an extra fudgy brownie, reduce the baking time by 5 minutes and test with a toothpick—it should come out slightly gooey.
Q8: Can I make these brownies without eggs?
A8: Yes, you can substitute the eggs with flax eggs or another egg replacement like applesauce, but the texture may vary slightly.
Q9: Can I bake these brownies in different shapes?
A9: Yes! You can use any cookie cutter shape you like. Just be mindful of the baking time if you make smaller or larger shapes.
Q10: Can I freeze these brownies?
A10: Yes! To freeze, wrap the brownies tightly in plastic wrap and place them in a freezer-safe bag. When you’re ready to eat them, thaw at room temperature or warm them up in the microwave.
Conclusion
These Red Velvet Brownie Hearts are a game-changer—decadent, rich, and packed with that signature red velvet flavor. Whether you’re sharing them with someone special or keeping them all to yourself (no judgment here!), they’re sure to put a smile on your face. So grab your ingredients, preheat that oven, and treat yourself to a batch of these indulgent beauties—you won’t regret it!
Print
Red Velvet Brownie Hearts
- Prep Time: 15 minutes
- Cook Time: 20 minutes
- Total Time: 35 minutes
- Yield: 8–10 heart brownie sandwiches 1x
- Category: Dessert
- Method: baking
- Cuisine: American
- Diet: Vegetarian
Description
These Red Velvet Brownie Hearts are the perfect combination of fudgy brownie goodness and fluffy frosting, making them a delightful treat for Valentine’s Day or any special occasion.
Ingredients
Brownies:
- 1 box Moist Red Velvet Cake Mix
- 1 large egg
- 1/3 cup vegetable oil
- 1/3 cup water
Frosting:
- Whipped Fluffy White Frosting
Instructions
- Prepare the Red Velvet Brownie Batter: Preheat your oven to 350°F (175°C). Grease a 9×13-inch baking pan and line it with parchment paper for easy removal. In a large bowl, combine the red velvet cake mix, egg, vegetable oil, and water. Stir until the batter is smooth and well-mixed.
- Pour the batter evenly into the prepared baking pan, spreading it with a spatula to create an even layer.
- Bake the Brownies: Bake in the preheated oven for 18-22 minutes, or until a toothpick inserted into the center comes out clean or with just a few crumbs. Allow the brownies to cool completely in the pan before removing.
- Cut Out the Hearts: Once cooled, carefully lift the brownies out of the pan using the parchment paper. Use a heart-shaped cookie cutter to cut as many hearts as possible from the brownies. Set aside the scraps for snacking or another use.
- Assemble the Brownie Sandwiches: Turn half of the heart-shaped brownies upside down. Pipe a generous layer of whipped fluffy white frosting onto the flat side of each turned-over heart. Gently place another heart-shaped brownie on top of the frosting to form a sandwich, with the decorative side facing outward.
- Serve & Enjoy: Arrange the brownie hearts on a serving platter and enjoy this sweet, festive treat!
Notes
- If you want to decorate the sandwiches further, you can add sprinkles, mini chocolate chips, or even a drizzle of melted chocolate for extra flair.
- You can store these brownie hearts in an airtight container for up to 3 days.
Nutrition
- Serving Size: 1 heart brownie sandwich
- Calories: 250kcal
- Sugar: 20g
- Sodium: 180mg
- Fat: 12g
- Saturated Fat: 3g
- Unsaturated Fat: 7g
- Trans Fat: 0g
- Carbohydrates: 33g
- Fiber: 1g
- Protein: 2g
- Cholesterol: 25mg

