
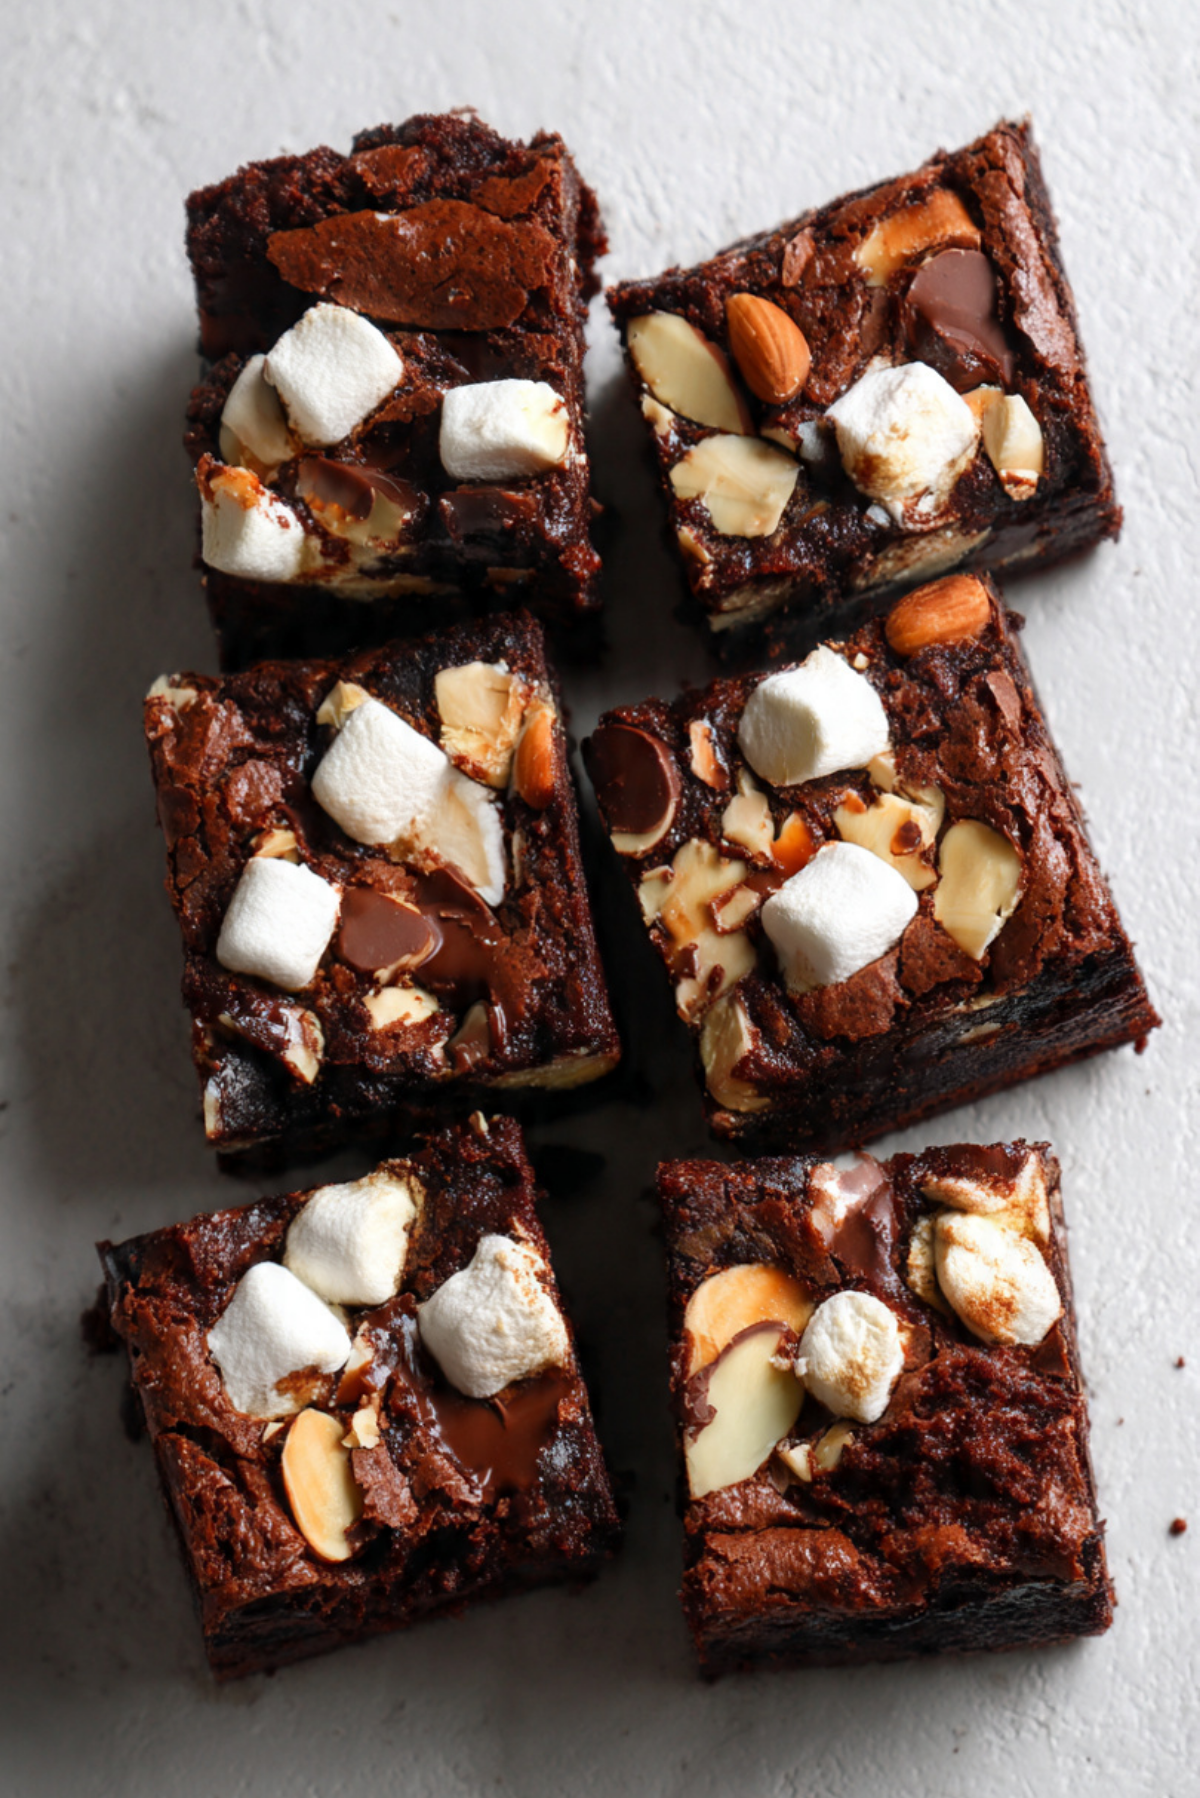
Imagine biting into a rich, fudgy brownie that’s not just soft in the center, but also packed with gooey marshmallows, crunchy nuts, and melty pockets of chocolate. That’s exactly what you get with these Rocky Road Brownies. They’re a celebration of texture and flavor in every bite, perfect for chocolate lovers and sweet tooths alike.
Behind the Recipe
Growing up, rocky road anything was my ultimate weakness. It was the kind of treat you’d find at summer potlucks, school bake sales, or in grandma’s kitchen cooling on the counter. I wanted to capture that same nostalgia with these brownies — chewy, slightly messy, and unapologetically indulgent. These are the kind of brownies that make people close their eyes after the first bite.
Recipe Origin or Trivia
The term “rocky road” first became popular in the 1920s in the United States, initially as an ice cream flavor combining chocolate, marshmallows, and nuts. It was meant to bring a little sweetness and comfort during tough times. Over the years, those flavors made their way into fudge and eventually brownies, where they found their perfect home. Rocky Road Brownies take the classic combination and turn it into a rich, handheld dessert bar.
Why You’ll Love Rocky Road Brownies
These brownies aren’t just sweet treats — they’re a full-on dessert experience. Here’s why you’ll keep coming back for more:
Versatile: You can enjoy them warm, chilled, or even frozen. Dress them up for parties or pack them in a lunchbox.
Budget-Friendly: Basic pantry ingredients make this an affordable go-to dessert.
Quick and Easy: Simple steps and no fancy tools needed. You’ll have them in the oven in minutes.
Customizable: Use your favorite nuts or swap in dark chocolate chips to make it your own.
Crowd-Pleasing: Always a hit at bake sales, potlucks, or birthday parties.
Make-Ahead Friendly: Bake a day ahead, and they taste even better once set.
Great for Leftovers: Store in the fridge or freezer and reheat for a gooey treat anytime.
Chef’s Pro Tips for Perfect Results
Before you start baking, let me share some handy tips to ensure your brownies come out just right.
- Don’t overmix the batter. Stir until just combined to keep the brownies soft and chewy.
- Use parchment paper. It makes for easy removal and cleaner edges.
- Toast the nuts first. Lightly toasting the almonds brings out their flavor and adds extra crunch.
- Reserve some toppings. Sprinkle extra marshmallows and chocolate chunks on top for a picture-perfect finish.
- Cool completely before slicing. The marshmallows and chocolate need time to set so the slices stay clean.
Kitchen Tools You’ll Need
These brownies don’t require anything fancy, just your everyday kitchen essentials.
Mixing Bowls: One for dry ingredients, another for wet.
Whisk or Electric Mixer: To mix the batter smoothly.
Rubber Spatula: Great for folding in the toppings without crushing them.
8×8 Inch Baking Pan: Ideal size for thick, chewy brownies.
Parchment Paper: Helps lift the brownies out easily.
Sharp Knife: For clean, even cuts.
Ingredients in Rocky Road Brownies
Each component plays a role in building that unforgettable rocky road flavor and texture.
- Unsalted Butter: ½ cup (1 stick) – Adds richness and helps create that fudgy texture.
- Granulated Sugar: 1 cup – Sweetens and gives structure to the brownies.
- Brown Sugar: ¼ cup – Deepens the flavor with a hint of molasses.
- Large Eggs: 2 – Binds the batter and adds moisture.
- Vanilla Extract: 1 teaspoon – Brings warmth and rounds out the flavors.
- All-Purpose Flour: ¾ cup – The base that holds everything together.
- Unsweetened Cocoa Powder: ½ cup – Provides intense chocolate flavor.
- Salt: ¼ teaspoon – Balances the sweetness and enhances all the flavors.
- Semi-Sweet Chocolate Chunks: ¾ cup – Melty pockets of chocolate in every bite.
- Mini Marshmallows: 1 cup – Soft, gooey texture and classic rocky road flavor.
- Chopped Almonds: ½ cup – Crunchy contrast to the fudgy brownie.
Ingredient Substitutions
Feel free to mix things up if you’re missing something or want to try a new twist.
Unsalted Butter: Coconut oil or vegan butter.
Granulated Sugar: Coconut sugar or maple sugar.
Brown Sugar: Add more granulated sugar or a splash of maple syrup.
All-Purpose Flour: Gluten-free flour blend for a GF version.
Semi-Sweet Chocolate Chunks: Milk chocolate or dark chocolate chips.
Chopped Almonds: Walnuts, pecans, or hazelnuts.
Ingredient Spotlight
Mini Marshmallows: These little guys are the soul of rocky road. They melt slightly, becoming gooey and toasty, adding softness to the crunchy texture.
Semi-Sweet Chocolate Chunks: Unlike chips, chunks melt better and give pools of chocolate inside the brownie, making each bite luxurious.

Instructions for Making Rocky Road Brownies
Get ready to make magic. These steps will take you from a bowl of batter to rocky road bliss.
-
Preheat Your Equipment:
Preheat your oven to 350°F (175°C). Line an 8×8 inch baking pan with parchment paper. -
Combine Ingredients:
Melt the butter in a microwave-safe bowl. Whisk in granulated sugar and brown sugar. Add eggs and vanilla extract, stirring until smooth. In another bowl, sift together flour, cocoa powder, and salt. Gently fold the dry ingredients into the wet until just combined. -
Prepare Your Cooking Vessel:
Pour the batter into the lined baking pan and smooth the top with a spatula. -
Assemble the Dish:
Gently fold in half the chocolate chunks, marshmallows, and almonds into the batter. Sprinkle the remaining half evenly on top. -
Cook to Perfection:
Bake for 25 to 30 minutes, or until the center is just set and a toothpick comes out with a few moist crumbs. -
Finishing Touches:
Let cool completely in the pan. This allows the marshmallows and chocolate to firm up. -
Serve and Enjoy:
Slice into squares and enjoy as-is, or warm slightly for a gooey treat.
Texture & Flavor Secrets
What sets these brownies apart is the contrast. The base is chewy and moist with deep chocolate flavor, while the marshmallows melt just enough to turn soft and sticky. The almonds add a needed crunch, and the chocolate chunks create little bursts of rich, melty goodness throughout. Every bite hits differently — and trust me, you’ll want more than one.
Cooking Tips & Tricks
Here’s a little cheat sheet to make your brownie game even stronger:
- Line the pan fully for easy lift-out and cleaner edges.
- Chop the nuts finely if you prefer a more even texture.
- For gooier brownies, bake closer to 25 minutes. For firmer ones, go for 30.
What to Avoid
Mistakes happen, but here’s how to steer clear of the most common ones:
- Overbaking: Leads to dry, crumbly brownies. Watch the center closely.
- Skipping the cool-down: Makes cutting messy and sticky.
- Overmixing: Results in tough, cakey brownies.
Nutrition Facts
Servings: 12
Calories per serving: 270
Note: These are approximate values.
Preparation Time
Prep Time: 15 minutes
Cook Time: 30 minutes
Total Time: 45 minutes
Make-Ahead and Storage Tips
You can make these a day ahead and store them tightly covered at room temperature for up to 3 days. For longer storage, freeze slices individually and reheat as needed. They stay chewy and delicious, even days later.
How to Serve Rocky Road Brownies
Serve warm with a scoop of vanilla ice cream for a dreamy dessert, or enjoy them cold with a cup of coffee. Pack them in lunchboxes, add them to dessert platters, or wrap them up as edible gifts.
Creative Leftover Transformations
Turn leftover brownies into:
- Brownie parfaits with whipped cream and fruit.
- Crumbled topping for sundaes or milkshakes.
- Brownie pops dipped in melted chocolate.
Additional Tips
- Add a sprinkle of sea salt on top for contrast.
- Use a warm knife for cleaner slices.
- Let the kids help with the marshmallow and nut topping for fun.
Make It a Showstopper
Presentation counts. Slice into perfect squares and stack them slightly off-center on a cake stand. Dust with powdered sugar or drizzle with melted chocolate. Serve with a vintage dessert fork on the side — it makes a difference.
Variations to Try
- Peanut Butter Rocky Road: Add swirls of peanut butter to the batter.
- Triple Chocolate Version: Use milk, semi-sweet, and dark chocolate chunks.
- Nut-Free Option: Skip the nuts and add crushed pretzels for crunch.
- Holiday Edition: Add red and green M&Ms during the holidays.
- Gluten-Free: Substitute with a 1-to-1 gluten-free flour blend.
FAQ’s
Q1: Can I use regular marshmallows instead of mini?
Yes, just chop them into smaller pieces so they melt evenly.
Q2: Can I freeze these brownies?
Absolutely. Wrap each brownie in plastic wrap and freeze for up to 2 months.
Q3: What if I don’t have almonds?
Use any other nuts you like, or skip them for a nut-free version.
Q4: Can I double the recipe?
Yes, bake in a 9×13 inch pan and increase baking time slightly.
Q5: How do I know they’re done?
The edges will be set and a toothpick in the center will come out with a few moist crumbs.
Q6: Are they good chilled?
They’re amazing chilled — even fudgier than when warm.
Q7: Can I use a boxed brownie mix?
Yes! Just fold in the rocky road toppings before baking.
Q8: What type of cocoa powder works best?
Unsweetened natural cocoa powder gives a deep chocolate flavor.
Q9: How long should I let them cool?
At least 1 hour before slicing for clean cuts.
Q10: Can I add extra chocolate on top?
Of course! It makes them even more indulgent.
Conclusion
If you’re in the mood for something rich, gooey, crunchy, and completely satisfying, these Rocky Road Brownies are calling your name. They’re easy to make, fun to eat, and full of textures and flavors that will win over anyone. Trust me, they’re worth every bite.
Print
Rocky Road Brownies
- Prep Time: 15 minutes
- Cook Time: 30 minutes
- Total Time: 45 minutes
- Yield: 12 brownies 1x
- Category: Dessert
- Method: Baking
- Cuisine: American
- Diet: Vegetarian
Description
Rich, fudgy Rocky Road Brownies packed with gooey marshmallows, crunchy almonds, and melty chocolate chunks. These are indulgent, nostalgic, and perfect for any sweet craving.
Ingredients
- ½ cup unsalted butter
- 1 cup granulated sugar
- ¼ cup brown sugar
- 2 large eggs
- 1 teaspoon vanilla extract
- ¾ cup all-purpose flour
- ½ cup unsweetened cocoa powder
- ¼ teaspoon salt
- ¾ cup semi-sweet chocolate chunks
- 1 cup mini marshmallows
- ½ cup chopped almonds
Instructions
- Preheat oven to 350°F (175°C). Line an 8×8 inch baking pan with parchment paper.
- Melt the butter, then whisk in granulated sugar and brown sugar. Stir in eggs and vanilla extract until smooth.
- In a separate bowl, sift together flour, cocoa powder, and salt. Fold dry ingredients into the wet mixture until just combined.
- Gently fold in half the chocolate chunks, marshmallows, and almonds.
- Pour the batter into the prepared pan and smooth the top. Sprinkle remaining toppings over the surface.
- Bake for 25–30 minutes, or until center is just set and a toothpick comes out with a few moist crumbs.
- Cool completely before slicing into squares.
Notes
- For cleaner slices, chill the brownies before cutting.
- Use a warm knife for smooth cuts.
- Lightly toast the almonds for added flavor.
Nutrition
- Serving Size: 1 brownie
- Calories: 270
- Sugar: 24g
- Sodium: 90mg
- Fat: 14g
- Saturated Fat: 7g
- Unsaturated Fat: 6g
- Trans Fat: 0g
- Carbohydrates: 34g
- Fiber: 2g
- Protein: 3g
- Cholesterol: 45mg