
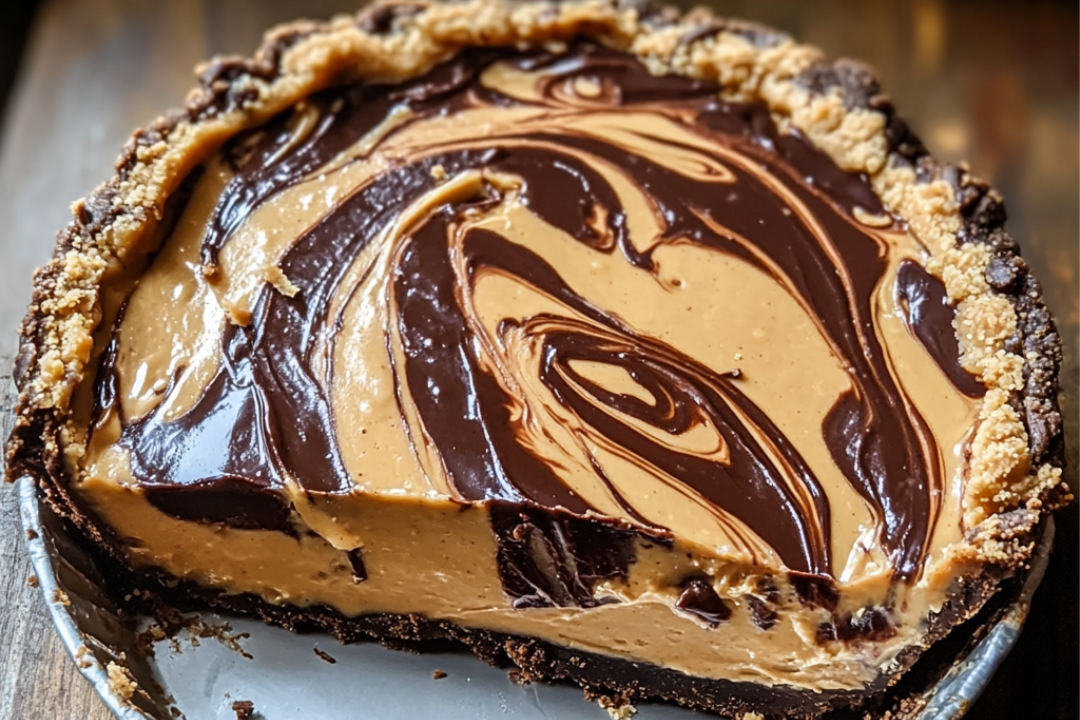
This No-Bake Chocolate Peanut Butter Swirl Pie is the dessert of your dreams—a perfect blend of creamy peanut butter and smooth chocolate, all piled on a buttery, crumbly crust. It’s indulgent, decadent, and, best of all, no baking required! Perfect for hot days when you just can’t bear to turn on the oven, or any time you want to impress guests with a showstopping treat that’s easy to make and hard to resist. Get ready to fall in love with every bite of this sweet, creamy, and utterly irresistible pie!
Why You’ll Love No-Bake Chocolate Peanut Butter Swirl Pie
This pie is the ultimate no-fuss, crowd-pleasing dessert that’ll make you feel like a kitchen pro without all the hard work. Here’s why this recipe is a winner:
- No-Bake Wonder: No need to heat up your kitchen or stress over baking times. This dessert is perfect for those hot days when you want something sweet but can’t stand the thought of turning on the oven.
- Peanut Butter and Chocolate Lovers’ Dream: If you love the combination of chocolate and peanut butter, this pie is an absolute must. The creamy peanut butter filling and rich chocolate swirl will have you hooked from the very first bite.
- Quick and Easy: You only need a few ingredients and about 20 minutes to prep the pie. Once it’s all assembled, just chill in the fridge, and it’s ready to serve!
- Customizable: You can adjust the sweetness level or swap in different types of chocolate (dark, milk, or white) depending on your preference. You could also add crushed peanuts or a sprinkle of sea salt on top for extra flair!
- Perfect for Any Occasion: Whether you’re serving it for a birthday, a casual gathering, or just as a treat for yourself, this pie is always a hit. It’s the perfect dessert to share and will quickly become a family favorite.
Ingredients
Here’s the beauty of this No-Bake Chocolate Peanut Butter Swirl Pie—it’s made with simple ingredients that you probably already have on hand, but it tastes like a million bucks. Let’s break it down:
Chocolate Crust
The crust is rich and buttery, made from crushed graham crackers and cocoa powder. It adds the perfect amount of chocolatey crunch to balance out the creamy filling.
Peanut Butter
Creamy peanut butter is the star of this pie. It brings a rich, nutty flavor that pairs perfectly with the chocolate, creating that irresistible combination we all crave.
Cream Cheese
Cream cheese adds a luscious, creamy texture to the filling. It gives the pie its smooth, velvety consistency that melts in your mouth.
Powdered Sugar
Powdered sugar adds the perfect level of sweetness to the peanut butter filling without being too heavy. It helps bring everything together into a smooth, perfectly balanced pie.
Whipped Topping
Whipped topping lightens up the filling, giving it an airy texture while still keeping it rich and creamy. It’s the perfect finishing touch.
Chocolate Chips
The chocolate chips make up the swirl in this pie. They’re melted and drizzled on top for that decadent, gooey finish that you won’t be able to resist.
(Note: The full ingredients list, including measurements, is provided in the recipe card directly below.)
Instructions
Let’s walk through how to make this creamy, dreamy dessert:
Prepare the Crust
Start by making the crust. In a bowl, combine crushed graham crackers and cocoa powder with melted butter. Press the mixture into the bottom of a pie dish to form a firm, even crust. Pop it into the fridge for about 10 minutes to set.
Make the Peanut Butter Filling
In a large bowl, beat together the peanut butter, cream cheese, and powdered sugar until smooth and creamy. Add the whipped topping and stir until everything is well combined. This will be the rich, peanut buttery filling that fills the crust.
Melt the Chocolate
In a microwave-safe bowl, melt the chocolate chips in the microwave in 20-second intervals, stirring between each. Once melted, allow it to cool slightly before drizzling over the peanut butter filling. You can create a swirl effect by gently swirling the chocolate with a knife or spoon.
Assemble the Pie
Pour the peanut butter filling into the prepared crust. Spread it out evenly, and then drizzle the melted chocolate on top. Use a knife or toothpick to create beautiful swirls of chocolate throughout the filling.
Chill and Serve
Pop the pie into the fridge for at least 4 hours, or overnight, so it has time to firm up. The waiting will be tough, but trust me, it’s worth it! Once chilled, slice and serve this dreamy dessert to your friends and family (or keep it all to yourself, we won’t judge!).
Nutrition Facts
Servings: 8
Calories per serving: 350 kcal
Sugar: 28g
Sodium: 230mg
Fat: 25g
- Saturated Fat: 7g
- Unsaturated Fat: 13g
-
Trans Fat: 0g
Carbohydrates: 30g -
Fiber: 2g
Protein: 5g
Cholesterol: 20mg
Preparation Time
- Prep Time: 20 minutes
- Chill Time: 4 hours
- Total Time: 4 hours 20 minutes
How to Serve No-Bake Chocolate Peanut Butter Swirl Pie
This pie is decadent enough to serve on its own, but if you want to make it even more amazing, here are a few ways to elevate your dessert experience:
- With Fresh Fruit: Serve with a side of fresh berries, like strawberries or raspberries, for a burst of freshness that balances the richness of the pie.
- With Whipped Cream: A dollop of freshly whipped cream on top adds extra creaminess and makes the pie even more indulgent.
- Coffee Pairing: This pie pairs wonderfully with a strong cup of coffee or a mocha for the perfect sweet treat to end any meal.
- Ice Cream: Scoop a little vanilla or chocolate ice cream on the side for an over-the-top dessert experience.
- Garnish with Peanuts: Sprinkle chopped peanuts or a light drizzle of caramel on top for extra texture and flavor.
Additional Tips
- Make Ahead: This pie is a great make-ahead dessert. You can prepare it a day in advance, letting it chill overnight to make sure it’s perfectly set when it’s time to serve.
- Add More Chocolate: Want extra decadence? Add a layer of chocolate ganache over the peanut butter filling before swirling the top. Double the chocolate, double the yum!
- Dietary Adjustments: Use a gluten-free graham cracker crust to make this pie gluten-free. You can also swap the whipped topping with a dairy-free version for a vegan pie.
- Storage Tips: Store any leftovers in an airtight container in the fridge for up to 4 days. The pie keeps its texture and flavor even after being chilled.
- Freeze It: If you’re making this pie ahead of time, it freezes beautifully! Just wrap it tightly in plastic wrap and foil, and freeze for up to 2 months.
FAQ Section
Q1: Can I use regular peanut butter instead of creamy?
A1: Yes, but make sure the peanut butter is smooth for a creamy texture. Crunchy peanut butter can work too if you prefer some texture.
Q2: Can I make this pie with a different crust?
A2: Absolutely! You could use an Oreo crust or even a nut-based crust for a different flavor.
Q3: Can I use a different type of chocolate?
A3: Yes, you can use milk, dark, or even white chocolate—whichever you prefer!
Q4: How do I store leftovers?
A4: Store any leftover pie in the fridge in an airtight container for up to 4 days. You can also freeze slices individually for later!
Q5: Can I make this pie in advance?
A5: Yes, it’s actually best if you make it ahead of time so it has time to chill and set. Make it the night before and you’ll be ready to serve the next day!
Q6: Can I use a store-bought crust?
A6: Of course! A pre-made graham cracker or Oreo crust will save you some time without sacrificing flavor.
Q7: How long should I chill the pie?
A7: Chill the pie for at least 4 hours, or preferably overnight, to allow the filling to set perfectly.
Q8: Can I use almond butter instead of peanut butter?
A8: Yes, almond butter will give a slightly different flavor but still works wonderfully in this recipe.
Q9: Can I add a topping to the pie?
A9: Absolutely! Try adding a dollop of whipped cream, some chopped peanuts, or a drizzle of caramel for extra flair.
Q10: Can I freeze this pie?
A10: Yes! You can freeze the pie for up to 2 months. Just wrap it tightly in plastic wrap and foil, and let it thaw in the fridge before serving.
Conclusion
If you love chocolate and peanut butter, then this No-Bake Chocolate Peanut Butter Swirl Pie is about to become your new favorite dessert. It’s creamy, dreamy, and so easy to make. Whether you’re serving it for a special occasion or just treating yourself, it’s the perfect dessert to satisfy your sweet tooth. Enjoy every bite and watch everyone fall in love with this delicious, no-bake creation!
Print
No-Bake Chocolate Peanut Butter Swirl Pie
- Prep Time: 15 minutes
- Total Time: 4 hours 15 minutes
- Yield: 8 servings 1x
- Category: Dessert
- Method: No-bake
- Cuisine: American
- Diet: Vegetarian
Description
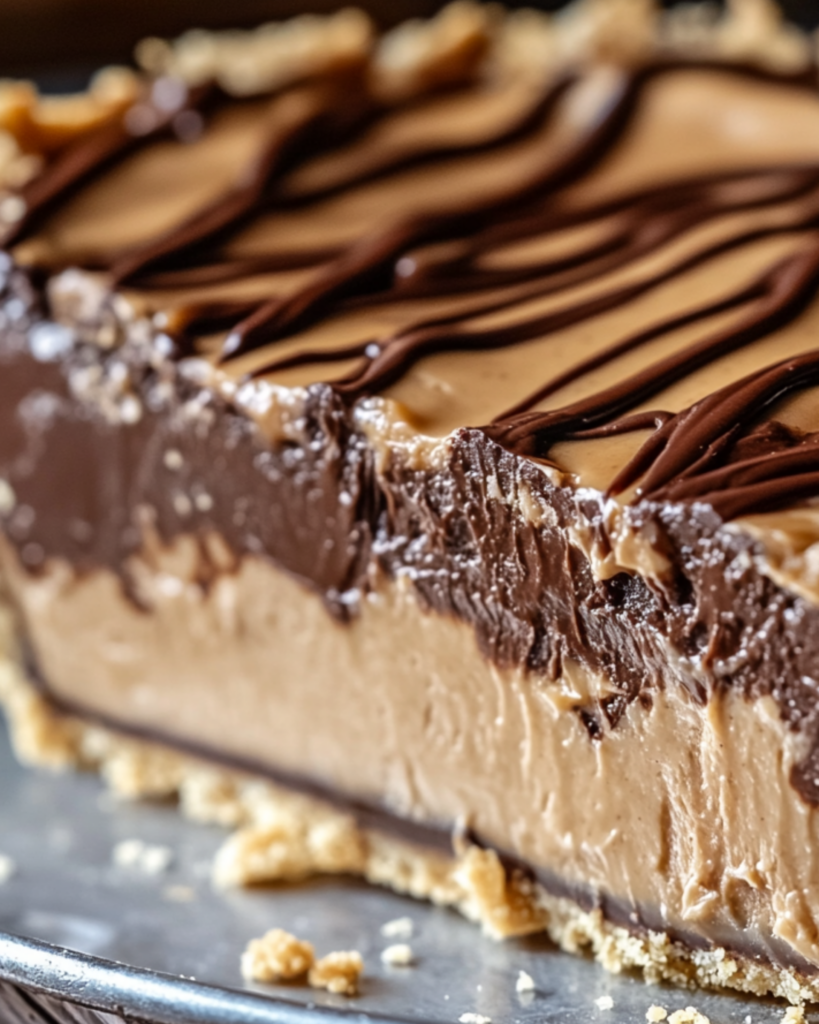
This No-Bake Chocolate Peanut Butter Swirl Pie combines creamy peanut butter and rich chocolate for a perfect dessert. With a chocolate cookie crust, silky filling, and a sweet swirl design, it’s the ultimate indulgence. #NoBakeDessert #ChocolatePeanutButterPie #EasyPieRecipe #DessertLovers #NoBakeRecipes
Ingredients
- 1 pre-made chocolate cookie pie crust
- 1 ½ cups cold heavy cream
- ½ cup powdered sugar
- 1 tsp pure vanilla extract
- 8 oz cream cheese, softened
- ¾ cup marshmallow creme
- ½ cup sweetened condensed milk
- ⅓ cup dark cocoa powder
- ½ cup smooth peanut butter
- ¼ cup melted peanut butter for drizzling (optional)
- Chopped peanuts and mini chocolate chips for garnish (optional)
Instructions
- In a mixing bowl, whip the heavy cream with powdered sugar and vanilla extract until stiff peaks form. Set aside.
- In another bowl, beat the cream cheese until smooth. Add marshmallow creme and sweetened condensed milk, mixing until the mixture is silky.
- Split the mixture into two bowls: stir cocoa powder into one and peanut butter into the other.
- Gently fold half the whipped cream into the chocolate mixture and the rest into the peanut butter mixture.
- Drop spoonfuls of both mixtures into the pie crust, alternating flavors. Use a skewer to swirl them into a marbled design.
- Chill in the fridge for 4 hours until set.
- Drizzle with melted peanut butter and sprinkle with chopped peanuts and mini chocolate chips before serving.
Notes
- You can drizzle additional melted peanut butter on top for extra flavor.
- Garnish with chopped peanuts and mini chocolate chips for a more festive presentation.
- Ensure the pie chills for at least 4 hours to set properly.
Nutrition
- Serving Size: 1 slice (1/8 of pie)
- Calories: 340kcal
- Sugar: 24g
- Sodium: 130mg
- Fat: 25g
- Saturated Fat: 10g
- Unsaturated Fat: 12g
- Trans Fat: 0g
- Carbohydrates: 25g
- Fiber: 2g
- Protein: 2g
- Cholesterol: 35mg