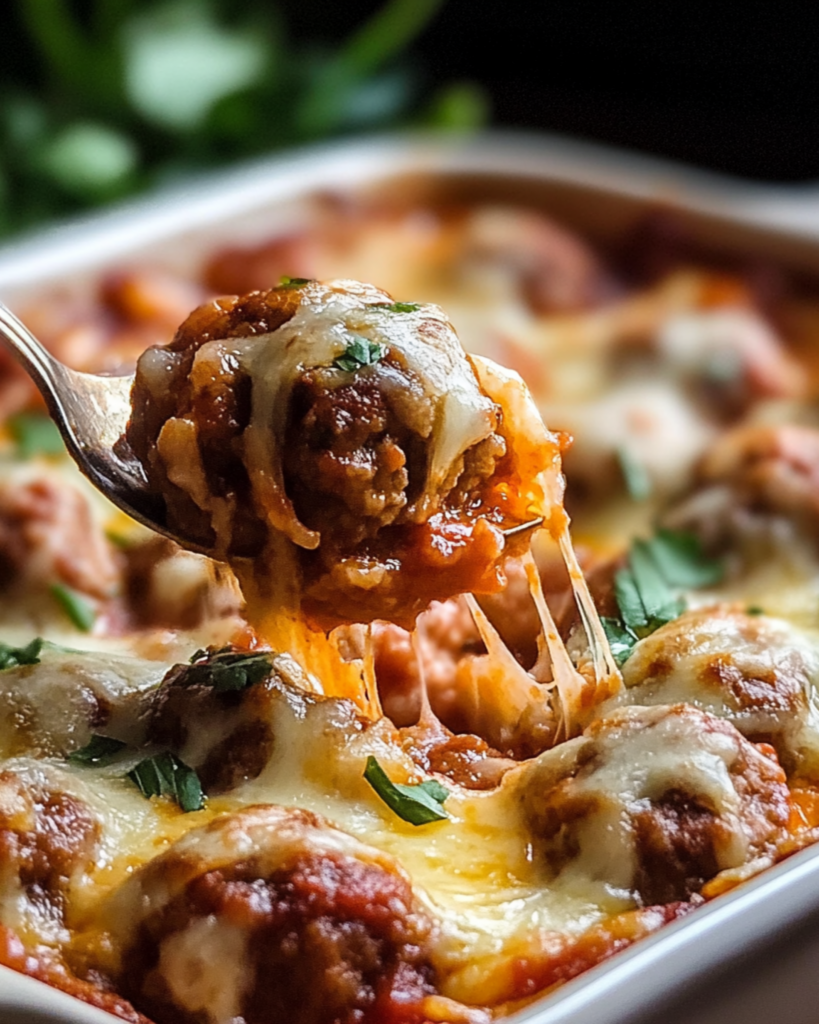
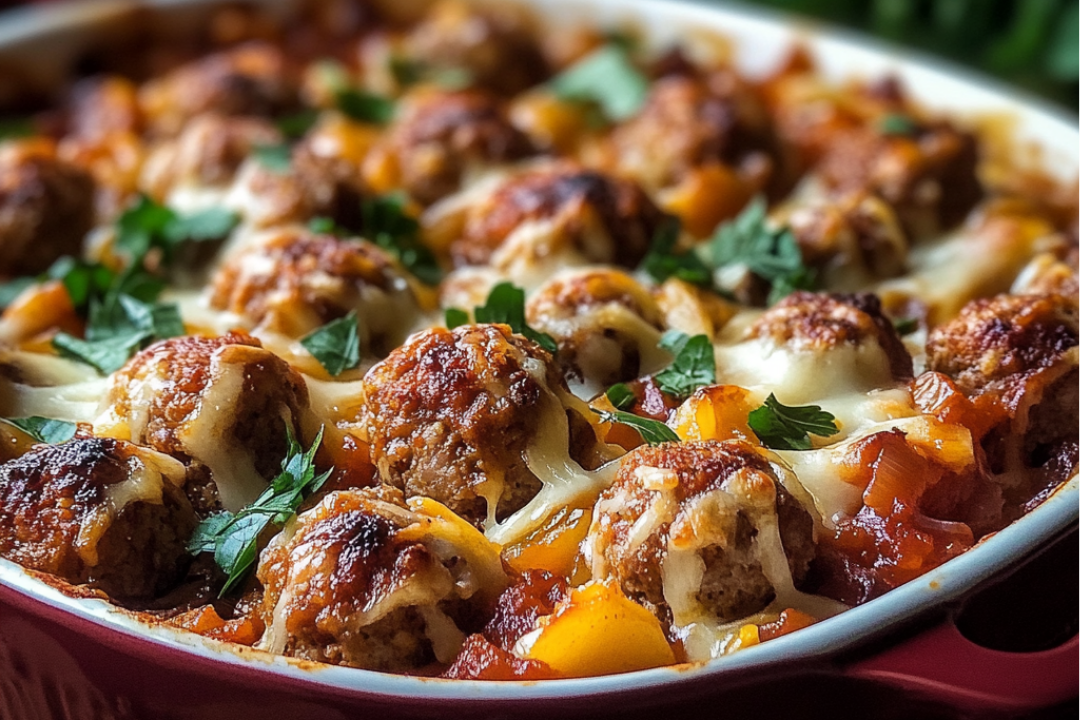
You’re about to make a meal that’ll have everyone at the table asking for seconds—Ultimate Caesar Chicken! Picture tender, juicy chicken smothered in a rich, creamy Caesar dressing, baked to perfection, and topped with crunchy croutons and a sprinkle of parmesan. It’s the perfect balance of flavors, with just enough tang, crunch, and indulgence to make you want to dive in right away. Whether you’re cooking for a family dinner or impressing guests, this dish is a winner. Let’s get into it and whip up this irresistible Caesar chicken that’s about to become your new favorite!
Why You’ll Love Ultimate Caesar Chicken
Trust me, you’re going to love this one! Here’s why:
- Versatile: Whether it’s a casual weeknight dinner or the star of your next gathering, this dish works for any occasion. It’s quick, comforting, and always a crowd-pleaser.
- Budget-Friendly: Using ingredients you likely already have in your kitchen, this recipe proves that you don’t need expensive items to create something extraordinary. It’s perfect for when you want something delicious without breaking the bank.
- Quick and Easy: Even if you’re not the most experienced cook, this recipe is so simple to follow. The steps are straightforward, and the results are absolutely worth it.
- Customizable: You can tweak this dish based on your taste preferences. Want to add a bit more garlic or throw in some crispy bacon? Go for it! This dish is super flexible.
- Crowd-Pleasing: There’s something about the combo of Caesar dressing, crispy chicken, and savory toppings that makes everyone happy. It’s a guaranteed hit, no matter who’s at your dinner table.

Ingredients
Here’s everything you need to make the ultimate Caesar chicken—each ingredient adding its own layer of deliciousness:
Chicken Breasts: The star of this dish. Boneless, skinless chicken breasts bake up perfectly juicy and tender, soaking up all those rich Caesar flavors.
Caesar Dressing: This is the creamy, tangy backbone of the dish. It gives the chicken that signature Caesar taste—rich and a little garlicky, with just the right amount of zest.
Parmesan Cheese: Freshly grated parmesan adds the perfect salty, nutty flavor that balances out the creamy dressing. It also gives a deliciously crispy top when baked.
Bread Crumbs: These add a bit of crunch! You’ll coat the chicken in breadcrumbs to create that golden, crispy exterior that everyone loves.
Garlic Powder: Just a sprinkle to enhance the flavors of the chicken and add an extra depth of savory goodness.
Olive Oil: A drizzle of olive oil helps the breadcrumbs brown beautifully and keeps the chicken moist.
(Note: the full ingredients list, including measurements, is provided in the recipe card directly below.)
Instructions
Ready to make this dish come to life? Let’s get started:
1. Preheat Your Oven
Start by preheating your oven to 400°F (200°C). This will help cook the chicken evenly and give the breadcrumbs that perfect golden-brown color.
2. Prepare the Chicken
Season the chicken breasts with a pinch of salt, pepper, and garlic powder. Drizzle a little olive oil on each breast to help the breadcrumbs stick.
3. Coat with Caesar Dressing
Generously coat each chicken breast with the Caesar dressing, ensuring it’s fully covered. The dressing not only adds flavor but also keeps the chicken moist as it bakes.
4. Coat with Breadcrumbs and Parmesan
Next, cover the dressing-coated chicken with a layer of breadcrumbs, pressing them down gently to ensure they stick. Sprinkle freshly grated parmesan cheese on top of the breadcrumbs for a crispy, cheesy finish.
5. Bake the Chicken
Place the chicken breasts on a baking sheet and pop them into the preheated oven. Bake for 20-25 minutes or until the chicken is cooked through and the breadcrumbs are golden and crispy.
6. Let It Rest
Once the chicken is cooked, take it out of the oven and let it rest for 5 minutes. This will keep it juicy and tender inside.
7. Serve and Enjoy
Serve your Ultimate Caesar Chicken with your favorite side dishes—maybe a fresh salad or some roasted veggies. Either way, it’s sure to be a hit!
Nutrition Facts
Servings: 4
Calories per serving: 350
Preparation Time
Prep Time: 10 minutes
Cook Time: 25 minutes
Total Time: 35 minutes
How to Serve Ultimate Caesar Chicken
Now that your Ultimate Caesar Chicken is ready, here are a few ways to serve it:
- With a Fresh Salad: Pair the chicken with a light, crisp green salad dressed in a simple vinaigrette to balance out the richness of the dish.
- On a Bed of Greens: Serve it on a bed of romaine lettuce or mixed greens for a more “Caesar-style” vibe, adding a little extra Caesar dressing on top if you like.
- Roasted Vegetables: Roasted carrots, zucchini, or broccoli are fantastic sides to complement the rich flavors of the chicken.
- Garlic Bread: Crusty, buttery garlic bread is always a win with this dish—it’s perfect for sopping up any extra Caesar dressing!
Additional Tips
Here are a few extra tips to take this recipe to the next level:
- Prep Ahead: If you’re short on time, you can prep the chicken earlier in the day. Coat it with the dressing and breadcrumbs, then cover and refrigerate until you’re ready to bake.
- Make it Crispy: For extra crunch, you can sear the chicken breasts in a hot pan for 2-3 minutes per side before baking them. This will give them an even crispier crust.
- Add Bacon: Want to make it even more indulgent? Add some crumbled crispy bacon on top of the chicken before baking. The salty crunch adds a whole new layer of flavor.
- Gluten-Free? Swap out the breadcrumbs for gluten-free panko breadcrumbs, and this recipe can be made to suit a gluten-free diet.
FAQ Section
Q1: Can I use thighs instead of chicken breasts?
A1: Yes! Bone-in or boneless chicken thighs would work great in this recipe, giving you a juicier result. Just be sure to adjust the cooking time accordingly.
Q2: Can I make this dish ahead of time?
A2: Absolutely! You can prep the chicken with the Caesar dressing and breadcrumbs, then refrigerate it until you’re ready to bake. Just bake it right before serving.
Q3: Can I freeze this dish?
A3: Yes! Freeze the chicken after it’s been coated with the dressing and breadcrumbs. When you’re ready to eat, just bake it straight from the freezer—just be sure to extend the cooking time by 5-10 minutes.
Q4: How do I store leftovers?
A4: Store leftover chicken in an airtight container in the fridge for up to 3 days. Reheat in the oven for the best texture, or microwave it if you’re in a pinch.
Q5: What’s the best way to reheat this dish?
A5: For the crispiest results, reheat the chicken in the oven at 350°F (175°C) for about 10 minutes. If you’re using a microwave, heat it in 30-second intervals.
Q6: Can I use store-bought Caesar dressing?
A6: Absolutely! Store-bought dressing works just fine. But if you’re feeling adventurous, homemade Caesar dressing will add an extra layer of flavor.
Q7: Can I make this without breadcrumbs?
A7: Yes! If you’re out of breadcrumbs, you can use crushed crackers or even grated parmesan for the topping. It’ll still be delicious!
Q8: Can I add vegetables to the dish?
A8: Yes! You can add veggies like spinach or cherry tomatoes to the dish for extra flavor and color. Just be sure to cook them before adding them to the chicken.
Q9: Can I make this recipe in a skillet?
A9: Definitely! You can pan-sear the chicken in a hot skillet before baking it for a crispy crust. Just be sure to finish cooking it in the oven.
Q10: Can I add more cheese?
A10: Of course! You can never have too much cheese, right? Add extra parmesan or even a layer of mozzarella for an extra cheesy bite.
Conclusion
There you have it—Ultimate Caesar Chicken that’s crispy, creamy, and totally crave-worthy. This dish is everything you want in a meal: easy, comforting, and absolutely delicious. Whether you’re feeding the family or impressing friends, this recipe is a surefire winner. So go ahead, give it a try—you won’t be disappointed!
Print
The Recipe: Ultimate Caesar Chicken
- Prep Time: 5 minutes
- Cook Time: 45-50 minutes
- Total Time: 55-60 minutes
- Yield: 6 servings 1x
- Category: Main Course
- Method: baking
- Cuisine: American
- Diet: Vegetarian
Description
Looking for a quick and tasty dinner? This Dump and Bake Meatball Casserole is your go-to for busy weeknights! With frozen meatballs, pasta, marinara sauce, and gooey mozzarella cheese, this comforting dish comes together in a snap!
Ingredients
- 1 lb frozen meatballs
- 12 oz uncooked pasta (penne or ziti)
- 3 cups marinara sauce
- 2 cups shredded mozzarella cheese
- 1 tsp Italian seasoning
- Salt and pepper to taste
- Parmesan cheese (optional for topping)
Instructions
-
Preheat the Oven:
Preheat your oven to 375°F (190°C). -
Prepare the Casserole:
In a large baking dish, combine the frozen meatballs, uncooked pasta, and marinara sauce.
Stir in the Italian seasoning, salt, and pepper until everything is well mixed. -
Cover and Bake:
Cover the dish tightly with aluminum foil and bake for 30 minutes. -
Add Cheese:
After 30 minutes, remove the foil and sprinkle the shredded mozzarella cheese evenly over the top.
Return the dish to the oven and bake uncovered for another 15-20 minutes, until the cheese is bubbly and golden. -
Top and Serve:
If desired, sprinkle Parmesan cheese on top before serving.
Serve and enjoy your family’s new favorite casserole!
Notes
- For an extra boost of flavor, you can add a bit of garlic powder or crushed red pepper to the sauce mixture.
- You can substitute the mozzarella cheese with a combination of other cheeses like provolone or cheddar for different flavor variations.
Nutrition
- Serving Size: 1 portion
- Calories: 435 kcal
- Sugar: 10g
- Sodium: 900mg
- Fat: 22g
- Saturated Fat: 9g
- Unsaturated Fat: 11g
- Trans Fat: 0g
- Carbohydrates: 40g
- Fiber: 3g
- Protein: 21g
- Cholesterol: 45mg

