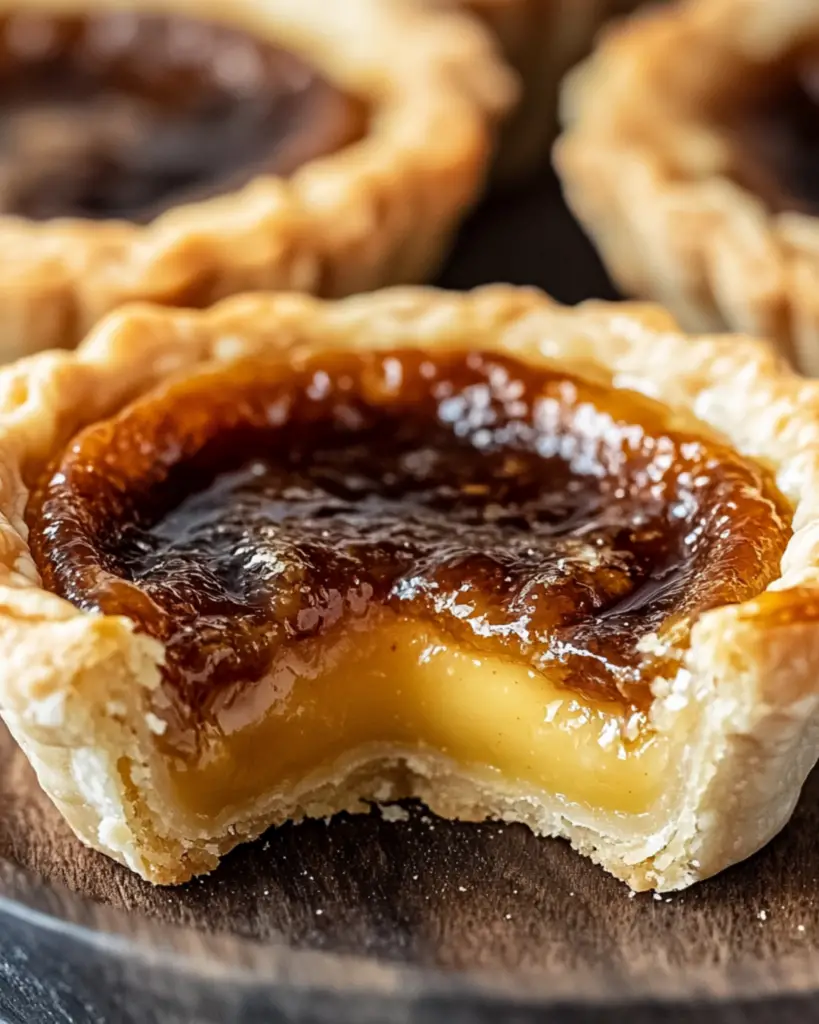
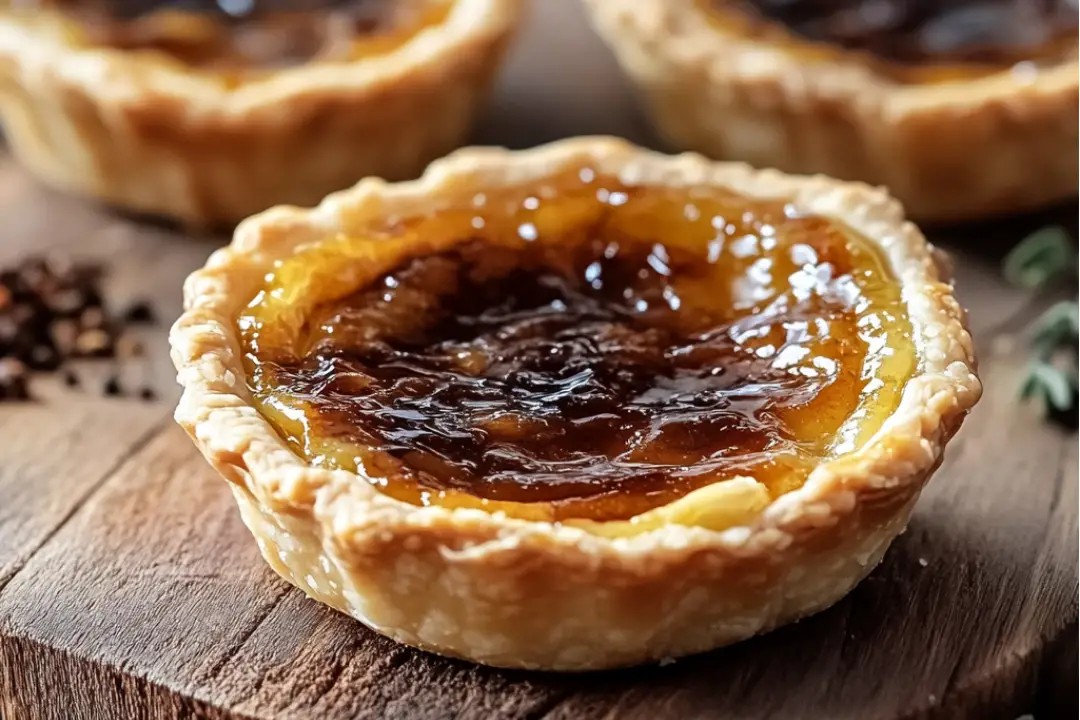
Get ready to indulge in one of Canada’s most beloved desserts—Butter Tarts! With their rich, golden filling, flaky crust, and just the right amount of sweetness, these little tarts are the perfect blend of simple ingredients that come together to create a mouthwatering treat. Trust me, once you try one, you’ll understand why they’ve been a Canadian favorite for generations. Whether you’re enjoying them with a hot cup of coffee or serving them at a holiday gathering, these Butter Tarts will always be a crowd-pleaser!
Why You’ll Love Classic Canadian Butter Tarts
- Timeless and Delicious: These tarts are everything you want in a classic dessert—rich, buttery, and perfectly sweet with a hint of vanilla and brown sugar.
- Quick and Easy: With just a few pantry staples, you can create these buttery, gooey tarts in no time. Perfect for beginners or anyone who needs a dessert without the fuss.
- Made with Love: These tarts are a staple in Canadian homes and are perfect for sharing with friends and family. Each bite is full of comfort and nostalgia.
- Versatile: You can add a variety of mix-ins to these tarts—whether you like pecans, raisins, or even chocolate, there’s room for customization.

Ingredients
Here’s what you need to make these iconic tarts:
Butter: The key to a rich, melt-in-your-mouth filling and a flaky crust.
Brown Sugar: Adds that deep, caramel-like sweetness to the filling.
Corn Syrup: A crucial ingredient for the signature gooey texture of Butter Tarts.
Eggs: Helps set the filling, giving it that perfect custardy texture.
Vanilla Extract: For that subtle, aromatic flavor.
Salt: Balances out the sweetness and enhances the flavors.
Pastry for Tart Shells: You can use store-bought pastry for convenience, or homemade pastry if you prefer to make it from scratch.
Optional Add-ins (Pecans, Raisins, or Chocolate Chips): These ingredients are totally optional, but they can take your Butter Tarts to the next level with extra crunch, sweetness, and richness.
(Note: Full ingredient list with measurements provided in the recipe card below.)
Instructions
Let’s make these delicious Butter Tarts!
Prepare the Tart Shells: Preheat your oven to 350°F (175°C). If you’re using store-bought tart shells, arrange them on a baking sheet. If you’re making the pastry from scratch, roll out the dough and cut it into circles to fit your tart pans, then line them in the pans.
Make the Filling: In a mixing bowl, combine the melted butter, brown sugar, corn syrup, eggs, vanilla extract, and salt. Whisk until smooth and fully combined. This will be your rich, golden filling!
Fill the Tart Shells: Spoon the filling into each tart shell, filling them almost to the top. If you’re using any optional add-ins (pecans, raisins, or chocolate chips), sprinkle them into the filling before baking.
Bake the Tarts: Place the tarts in the oven and bake for about 15-20 minutes, or until the filling is set and slightly bubbling at the edges. Be sure to keep an eye on them so they don’t over-bake—too long and the filling can become too hard!
Cool and Serve: Let the tarts cool for a few minutes before transferring them to a wire rack to cool completely. They will firm up as they cool. Once they’re ready, enjoy them as a sweet treat with a hot cup of coffee or tea.
Nutrition Facts
- Servings: 12
- Calories per serving: 220
Preparation Time
- Prep Time: 10 minutes
- Cook Time: 20 minutes
- Total Time: 30 minutes
How to Serve Best Classic Canadian Butter Tarts
- With a Scoop of Ice Cream: Add a scoop of vanilla or caramel ice cream on the side for a decadent treat.
- Pair with Coffee or Tea: These tarts are perfect for enjoying with a cup of freshly brewed coffee or tea.
- Serve on a Dessert Table: These tarts will make a fantastic addition to any dessert spread. Place them alongside other treats like cookies or pies for variety.
- Garnish with Extra Pecans or Raisins: Add a few extra nuts or raisins on top of the tarts for an extra touch of flavor and decoration.
Additional Tips
- Make Ahead: These Butter Tarts can be made in advance and stored in an airtight container at room temperature for up to 3 days. They also freeze well if you want to prepare them ahead of time.
- Try Different Add-ins: If you’re not a fan of pecans or raisins, you can substitute with walnuts, hazelnuts, or even chocolate chips!
- Perfect the Crust: For a buttery, flaky crust, try chilling your pastry dough for 30 minutes before rolling it out. This will make the crust even more tender.
- Adjust the Sweetness: If you prefer a slightly less sweet filling, feel free to reduce the amount of corn syrup or brown sugar to your liking.
FAQ Section
Q1: Can I use a different type of sugar in the filling?
A1: Yes! You can use white sugar in place of brown sugar, but the brown sugar gives the filling that signature rich, caramel flavor.
Q2: Can I make these tarts without the corn syrup?
A2: While corn syrup is key for creating the signature gooey texture, you can substitute it with maple syrup or honey for a different flavor profile.
Q3: Can I use store-bought pastry?
A3: Yes! Store-bought pastry works perfectly for this recipe and saves time. You can find it in the frozen section of most grocery stores.
Q4: How do I store leftover Butter Tarts?
A4: Store leftover tarts in an airtight container at room temperature for up to 3 days, or in the fridge for up to 1 week.
Q5: Can I freeze Butter Tarts?
A5: Absolutely! These tarts freeze well. Just place them in an airtight container or freezer bag and freeze for up to 2 months. Let them thaw before serving.
Q6: Can I make these Butter Tarts with a gluten-free crust?
A6: Yes! You can use a gluten-free pie crust in place of the regular crust to make these tarts gluten-free.
Q7: How do I know when the tarts are done?
A7: The tarts are done when the filling is set and golden, with a slight bubbling at the edges. The center should still jiggle slightly but will firm up as it cools.
Q8: Can I add chocolate chips to the filling?
A8: Yes! Chocolate chips are a delicious addition to Butter Tarts. Just fold them into the filling before baking for a chocolatey twist.
Q9: How do I prevent the filling from overflowing?
A9: Don’t fill the tart shells all the way to the top. Leave a small gap so the filling has room to bubble up during baking.
Q10: Can I double this recipe for a larger batch?
A10: Yes! If you’re hosting a big gathering, feel free to double the recipe. Just be sure to adjust the baking time accordingly if you’re using larger tart pans.
Conclusion
Classic Canadian Butter Tarts are the epitome of comfort food in dessert form. With their buttery, rich filling and flaky crust, they’re the perfect treat to share with loved ones or to enjoy all by yourself. Whether you stick with the traditional recipe or add your own twist with nuts or raisins, these tarts are sure to become a new favorite. Try them out, and I guarantee they’ll be a hit at your next get-together!
PrintBest Classic Canadian Butter Tarts
Classic Canadian butter tarts are a timeless dessert that combines a rich, buttery filling with a flaky, golden crust. These mini tarts are made with brown sugar, corn syrup, and eggs, creating a sweet and satisfying treat. Add raisins or chopped pecans for extra texture and flavor. Perfect for any occasion, these butter tarts will melt in your mouth! #CanadianDessert #ButterTarts #Baking #ClassicDessert #HolidayTreats
- Prep Time: 15 minutes
- Cook Time: 25 minutes
- Total Time: 45 minutes
- Yield: 12 tarts 1x
- Category: Dessert
- Method: baking
- Cuisine: canadien
- Diet: Vegetarian
Ingredients
For the Pastry:
- 2 1/2 cups all-purpose flour
- 1/2 teaspoon salt
- 1 cup cold unsalted butter, cubed
- 1/4 cup ice water
- 1 tablespoon white vinegar
For the Filling:
- 1/2 cup unsalted butter, melted and slightly cooled
- 1 cup packed brown sugar
- 1/2 cup light corn syrup
- 2 large eggs, lightly beaten
- 1 teaspoon pure vanilla extract
- 1/4 teaspoon salt
- 1/2 cup raisins or chopped pecans (optional)
Instructions
-
Make the Pastry Dough:
- In a large bowl, whisk together the flour and salt. Cut in the cold butter using a pastry cutter or your fingers until the mixture resembles coarse crumbs.
- In a small bowl, mix the ice water and vinegar. Gradually add this to the flour mixture, stirring just until the dough comes together. Do not overmix.
- Shape the dough into two discs, wrap them in plastic wrap, and refrigerate for at least 30 minutes.
-
Prepare the Filling:
- In a medium bowl, whisk together the melted butter, brown sugar, corn syrup, eggs, vanilla extract, and salt until smooth and well combined. If using raisins or pecans, add them to the filling mixture.
-
Assemble the Butter Tarts:
- Preheat your oven to 375°F (190°C). Grease a standard 12-cup muffin tin or line it with pastry shells.
- On a floured surface, roll out one dough disc to about 1/8-inch thickness. Use a round cutter (about 4 inches in diameter) to cut circles. Press each circle gently into the muffin cups, ensuring the edges are even.
- Fill each pastry shell about 2/3 full with the prepared filling.
-
Bake the Tarts:
- Bake for 20-25 minutes, or until the filling is set but still slightly jiggly in the center, and the pastry is golden brown.
- Remove from the oven and allow the tarts to cool in the pan for 10 minutes before carefully transferring them to a wire rack to cool completely.
-
Serve and Enjoy:
- Butter tarts can be served warm or at room temperature. Store leftovers in an airtight container for up to 3 days or refrigerate for longer storage.
Notes
- For a more traditional take, you can omit the raisins or pecans.
- You can make the dough and filling ahead of time and assemble the tarts the next day.
Nutrition
- Serving Size: 1 butter tart
- Calories: 250kcal
- Sugar: 25g
- Sodium: 80mg
- Fat: 15g
- Saturated Fat: 9g
- Unsaturated Fat: 6g
- Trans Fat: 0g
- Carbohydrates: 30g
- Fiber: 1g
- Protein: 2g
- Cholesterol: 45mg


