
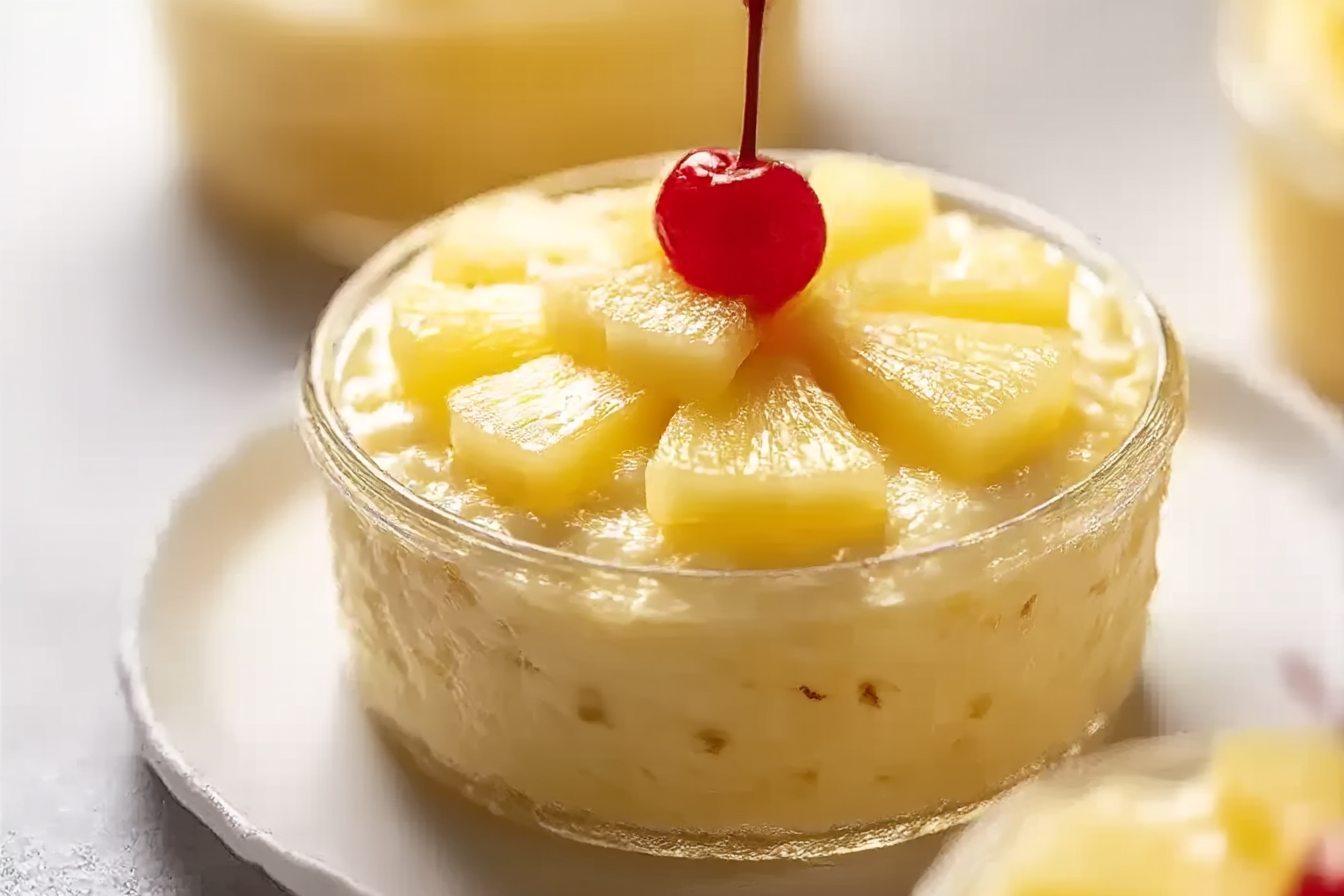
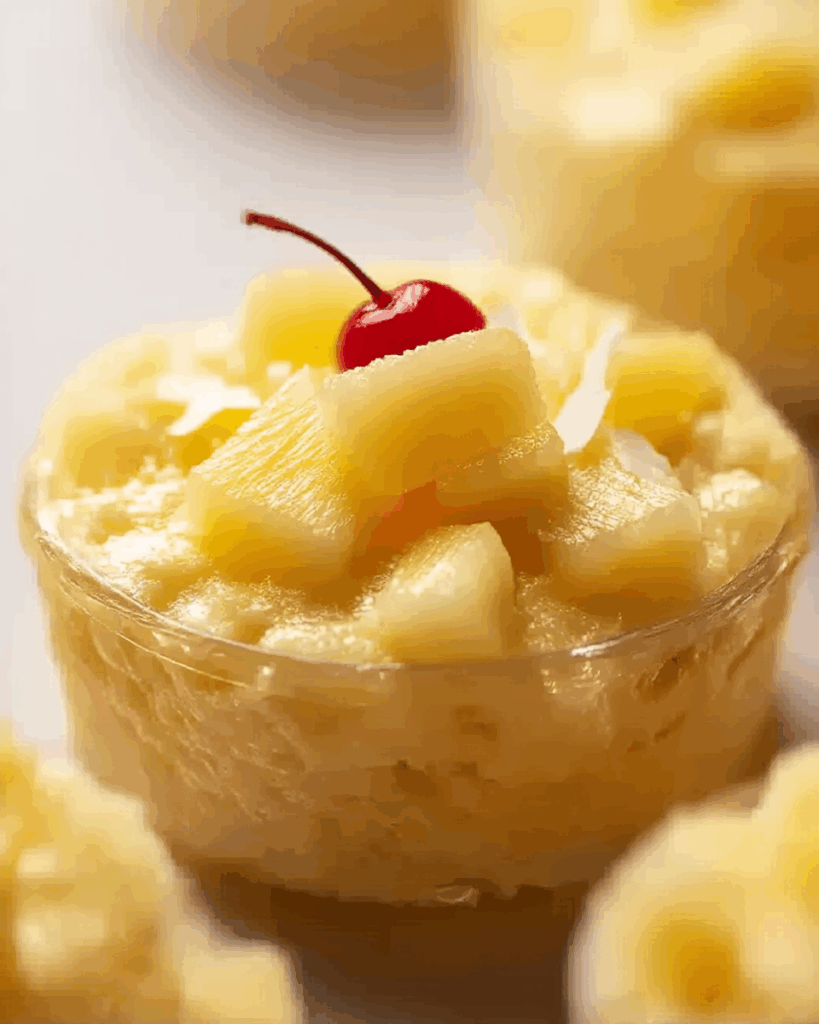
There’s something undeniably nostalgic and sunshine-filled about pineapple desserts. The moment you open that can or cut into a ripe pineapple, a burst of tropical aroma fills the air, instantly transporting you to breezy beaches and carefree afternoons. This Easy Pineapple Dessert is a perfect example — creamy, cool, and bursting with sweet-tangy flavor that dances across your taste buds. Trust me, you’re going to love this.
Behind the Recipe
This recipe is a treasured favorite from my grandmother’s summer gatherings. She always had a knack for transforming pantry staples into crowd-pleasing magic. Her pineapple dessert, often served in a chilled glass dish, was the highlight of our backyard barbecues. It’s simple, unfussy, yet so comforting — the kind of dessert that feels like a hug in a bowl.
Recipe Origin or Trivia
Pineapple-based sweets have deep roots in tropical regions, especially Southeast Asia and Hawaii, where the fruit grows abundantly. In American kitchens, canned pineapple became a staple during the mid-20th century, leading to a wave of retro desserts like ambrosia salad and pineapple fluff. This dessert echoes that era’s simplicity while offering a fresh twist.
Why You’ll Love Easy Pineapple Dessert
Whether you’re craving something sweet after dinner or need a quick potluck contribution, this dessert hits all the right notes.
Versatile: Serve it chilled in cups, layered in a trifle bowl, or frozen into bars — it adapts to your vibe.
Budget-Friendly: With only a few pantry ingredients, it’s deliciously affordable.
Quick and Easy: Mix, layer, chill, and done. Dessert doesn’t get simpler.
Customizable: Add coconut, nuts, or a dollop of whipped cream to switch it up.
Crowd-Pleasing: Light, sweet, and tropical — it disappears fast at parties.
Make-Ahead Friendly: Perfect for prepping the night before gatherings.
Great for Leftovers: Keeps well in the fridge and makes a dreamy next-day treat.

Easy Pineapple Dessert
Description
A creamy, no-bake pineapple dessert layered with sweet whipped filling and a buttery graham cracker crust. It’s tropical, tangy, and perfect for any occasion.
Ingredients
- Crushed Pineapple: 1 can (20 oz), well-drained
- Cream Cheese: 1 block (8 oz), softened
- Whipped Topping: 1 tub (8 oz), thawed
- Powdered Sugar: 1/2 cup
- Graham Cracker Crumbs: 1 1/2 cups
- Butter: 1/3 cup, melted
- Vanilla Extract: 1 teaspoon
- Salt: A pinch
Instructions
- Preheat Your Equipment: Chill your mixing bowl and beaters for best whipped texture.
- Combine Ingredients: In a bowl, mix melted butter and graham cracker crumbs until combined. Press into your dish to form the crust.
- Prepare Your Cooking Vessel: Lightly grease your 8×8 dish if you want easier slicing later.
- Assemble the Dish: In another bowl, beat cream cheese until fluffy. Add powdered sugar and vanilla. Fold in whipped topping and crushed pineapple gently.
- Cook to Perfection: No baking needed — just smooth the mixture over your crust.
- Finishing Touches: Sprinkle extra graham crumbs on top or garnish with pineapple rings or mint.
- Serve and Enjoy: Chill for at least 4 hours (overnight is best), then slice and serve cold.
Notes
- Use pineapple in juice, not syrup, for better flavor balance.
- Let the dessert chill overnight for best results.
- Fold whipped topping gently to keep the texture light.
- Serve in clear cups for elegant presentation.
Chef’s Pro Tips for Perfect Results
Want to make this dessert truly unforgettable? Here are some insider tips:
- Chill your bowl and beaters before whipping cream for better volume.
- Drain the pineapple thoroughly to avoid watery layers.
- Fold gently to keep the texture light and fluffy.
- Use full-fat cream cheese for a richer, smoother base.
- Let it chill overnight for deeper flavor and perfect sliceability.
Kitchen Tools You’ll Need
Before we start mixing, make sure you have these on hand:
Mixing Bowls: For combining and folding ingredients with ease.
Electric Mixer: Essential for whipping cream and softening cream cheese.
Spatula: Ideal for folding in ingredients gently.
8×8 Baking Dish: Perfect size for layering and chilling.
Can Opener: To get to that golden pineapple goodness.
Ingredients in Easy Pineapple Dessert
Each ingredient plays a specific role, working together to create that light, creamy, fruity delight.
- Crushed Pineapple: 1 can (20 oz), well-drained. Brings sweet-tart juiciness and tropical flavor.
- Cream Cheese: 1 block (8 oz), softened. Adds creamy tang and structure.
- Whipped Topping: 1 tub (8 oz), thawed. Makes the dessert airy and light.
- Powdered Sugar: 1/2 cup. Sweetens without grittiness.
- Graham Cracker Crumbs: 1 1/2 cups. Adds a buttery, crumbly base.
- Butter: 1/3 cup, melted. Binds the crust and adds richness.
- Vanilla Extract: 1 teaspoon. Enhances all the other flavors subtly.
- Salt: A pinch. Balances the sweetness and lifts the flavor.
Ingredient Substitutions
Ran out of something? No worries, here are some easy swaps:
Whipped Topping: Freshly whipped cream.
Cream Cheese: Mascarpone for a silkier texture.
Graham Cracker Crumbs: Crushed digestive biscuits or vanilla wafers.
Butter: Coconut oil for a tropical twist.
Powdered Sugar: Blend granulated sugar in a processor to make your own.
Ingredient Spotlight
Crushed Pineapple: This tropical fruit not only adds vibrant sweetness but also brings moisture and brightness to the dessert.
Graham Cracker Crumbs: The buttery, slightly sweet base offers a satisfying contrast to the creamy filling.
Instructions for Making Easy Pineapple Dessert
Now comes the fun part — bringing everything together! Here’s how you’re going to do it:
- Preheat Your Equipment: No oven needed, but chill your mixing bowl and beaters for best whipped texture.
- Combine Ingredients: In a bowl, mix melted butter and graham cracker crumbs until combined. Press into your dish to form the crust.
- Prepare Your Cooking Vessel: Lightly grease your 8×8 dish if you want easier slicing later.
- Assemble the Dish: In another bowl, beat cream cheese until fluffy. Add powdered sugar and vanilla. Fold in whipped topping and crushed pineapple gently.
- Cook to Perfection: No baking here — just smooth the mixture over your crust.
- Finishing Touches: Sprinkle extra graham crumbs on top or garnish with pineapple rings or mint.
- Serve and Enjoy: Chill for at least 4 hours (overnight is best), then slice and serve cold.
Texture & Flavor Secrets
This dessert is all about that creamy-meets-crunchy magic. The silky whipped filling melts in your mouth, while the graham crust adds just the right amount of bite. The tang of pineapple balances the sweetness, and the hint of vanilla rounds it out beautifully.
Cooking Tips & Tricks
Here are a few extra nuggets of wisdom to ensure success:
- Use pineapple in juice, not syrup, for better flavor balance.
- Let the dessert rest in the fridge at least 4 hours to firm up.
- If serving in cups, layer with extra crumbs for texture.
What to Avoid
Even the easiest recipes can go sideways. Here’s how to keep it smooth:
- Don’t overmix the whipped topping — fold gently to keep it airy.
- Avoid using warm cream cheese — let it soften naturally.
- Don’t skip draining the pineapple — excess liquid will make it soggy.
Nutrition Facts
Servings: 9
Calories per serving: 320
Note: These are approximate values.
Preparation Time
Prep Time: 15 minutes
Cook Time: 0 minutes
Total Time: 4 hours 15 minutes (including chill time)
Make-Ahead and Storage Tips
You can absolutely make this the day before your event — in fact, it tastes even better the next day. Store it covered in the fridge for up to 4 days. For longer storage, freeze individual portions and thaw overnight in the fridge.
How to Serve Easy Pineapple Dessert
Serve it in squares on a dessert plate with a dollop of whipped cream or a mint sprig. Or scoop it into pretty glasses for an elegant twist. It pairs beautifully with iced tea or tropical cocktails.
Creative Leftover Transformations
Leftovers? Lucky you. Try these:
- Spoon it into mini tart shells for pineapple cream pies.
- Layer with vanilla pudding and banana slices for a twist on trifle.
- Freeze and serve as a semi-freddo-style treat.
Additional Tips
A few more pearls of dessert wisdom:
- Add toasted coconut for extra tropical flair.
- Use a glass dish for presentation — it shows off the layers.
- Add a splash of lemon juice to brighten the filling.
Make It a Showstopper
Want it to wow? Here’s how:
- Pipe whipped cream rosettes on top before serving.
- Garnish with fresh pineapple wedges and mint.
- Use clear dessert cups and layer like a parfait for visual appeal.
Variations to Try
Shake it up with these tasty twists:
- Tropical Paradise: Add shredded coconut and chopped mango.
- Chocolate Crust: Use chocolate cookie crumbs for a richer base.
- Nutty Crunch: Sprinkle chopped pecans between layers.
- Citrus Burst: Add lemon zest to the cream mixture.
- Berry Bliss: Mix in blueberries or strawberries with the pineapple.
FAQ’s
Q1: Can I use fresh pineapple instead of canned?
A1: Yes, just chop it finely and be sure to drain it well to avoid excess moisture.
Q2: Is this dessert gluten-free?
A2: Not as-is, but you can use gluten-free graham crackers for the crust.
Q3: Can I freeze this dessert?
A3: Absolutely — freeze in individual portions for easy grab-and-go treats.
Q4: What if I don’t have whipped topping?
A4: Fresh whipped cream works beautifully — just whip 1 cup of heavy cream with a bit of sugar.
Q5: Can I make it dairy-free?
A5: Yes, use dairy-free cream cheese and whipped topping alternatives.
Q6: How long does it last in the fridge?
A6: Up to 4 days when stored in an airtight container.
Q7: Can I double the recipe?
A7: Totally! Use a 9×13 dish and double all the ingredients.
Q8: Is it too sweet?
A8: It’s balanced, but you can reduce the powdered sugar if desired.
Q9: What can I use instead of graham crackers?
A9: Try digestive biscuits, vanilla wafers, or even pretzel crumbs.
Q10: Can I add other fruits?
A10: Yes, berries, mango, or even mandarin oranges work well.
Conclusion
There you have it — your new go-to dessert for any season. Light, luscious, and irresistibly tropical, this Easy Pineapple Dessert is as delightful to make as it is to eat. Whether you’re serving it at a party or savoring a slice solo, let me tell you, it’s worth every bite.