
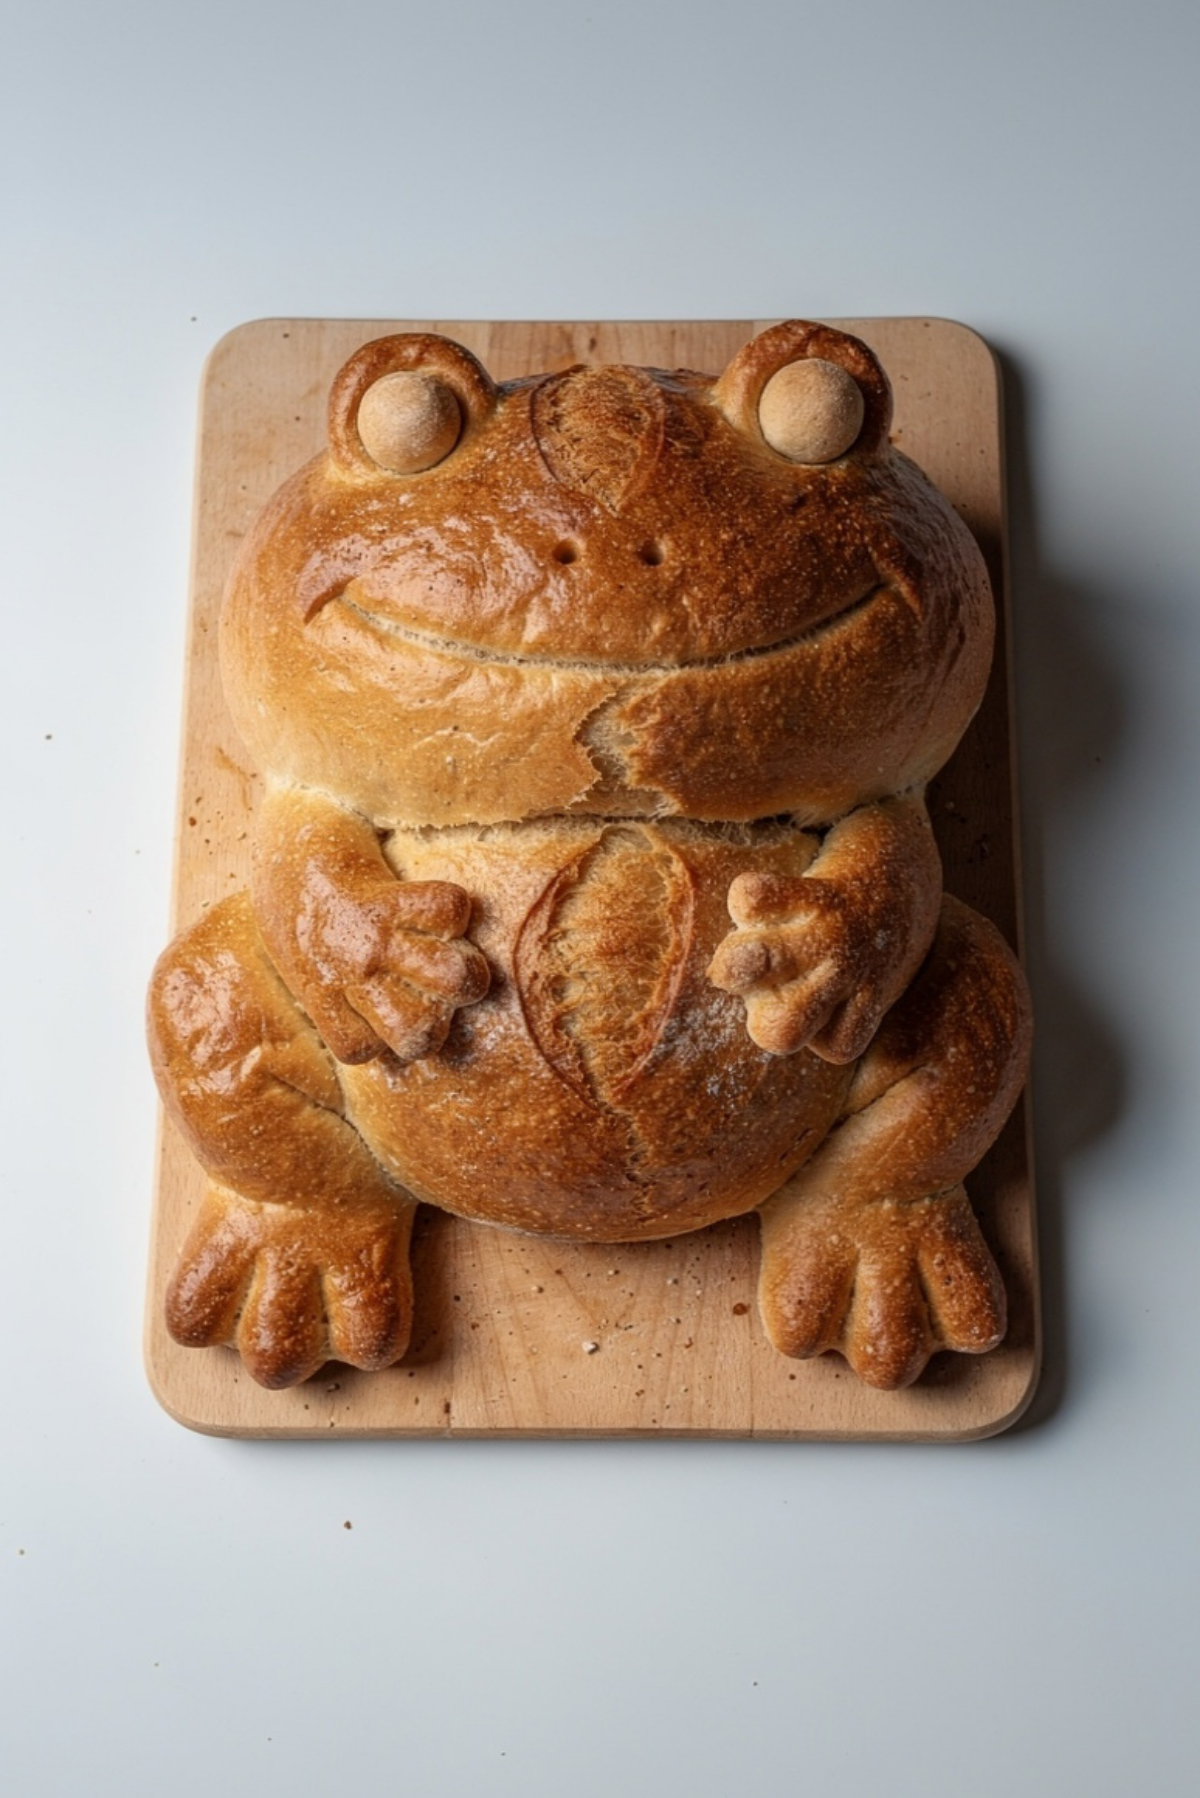
There’s something instantly charming about a loaf of bread shaped like a frog. It brings smiles before the first bite is even taken, making it perfect for family baking days, themed parties, or simply adding a little fun to the kitchen. Beneath its playful appearance, this bread is wonderfully soft, fluffy, and delicious, with a golden crust that makes every slice satisfying. Trust me, you’re going to love this.
The Bread That Turns Baking Into an Adventure
Some recipes are memorable because of their flavor, while others become unforgettable because of the experience. This loaf manages to do both. The frog shape transforms a simple homemade bread into a centerpiece that sparks conversation and excitement.
As the dough rises and takes shape, the process feels creative and rewarding. Then comes the moment when the finished loaf emerges from the oven with its golden crust and whimsical personality.
A Fun Tradition of Shaped Artisan Breads
Decorative breads have been made around the world for centuries. Bakers often shaped dough into animals, flowers, and festive symbols for celebrations and special occasions.
Frog Bread follows this joyful tradition by combining artisan bread techniques with playful design. While modern versions are often made for children and family gatherings, the idea of turning dough into edible art has deep roots in baking history.
Why This Bread Deserves a Place in Your Kitchen
Versatile: Serve it with soups, sandwiches, spreads, or simply enjoy it warm with butter.
Budget-Friendly: Made from basic pantry ingredients that are affordable and easy to find.
Quick and Easy: The shaping looks impressive but is surprisingly simple.
Customizable: You can add herbs, seeds, or different flours to make it your own.
Crowd-Pleasing: Kids and adults alike love the playful frog design.
Make-Ahead Friendly: The dough can be prepared ahead of time and refrigerated.
Great for Leftovers: Leftover slices work beautifully for toast and sandwiches.
Expert Tips for a Perfect Frog Shape
A few small tricks help create a loaf that looks as good as it tastes.
- Use slightly sticky dough for a softer crumb.
- Shape the frog features firmly so they hold during baking.
- Allow enough proofing time for a light texture.
- Use an egg wash for a glossy golden finish.
- Keep decorative details slightly larger since they expand during baking.
Essential Tools for Successful Baking
Before getting started, gather a few helpful tools.
Large Mixing Bowl: For combining and kneading the dough.
Measuring Cups and Spoons: Ensures accurate ingredient measurements.
Baking Sheet: Provides a stable surface for baking.
Parchment Paper: Prevents sticking and makes cleanup easier.
Pastry Brush: Useful for applying the egg wash.
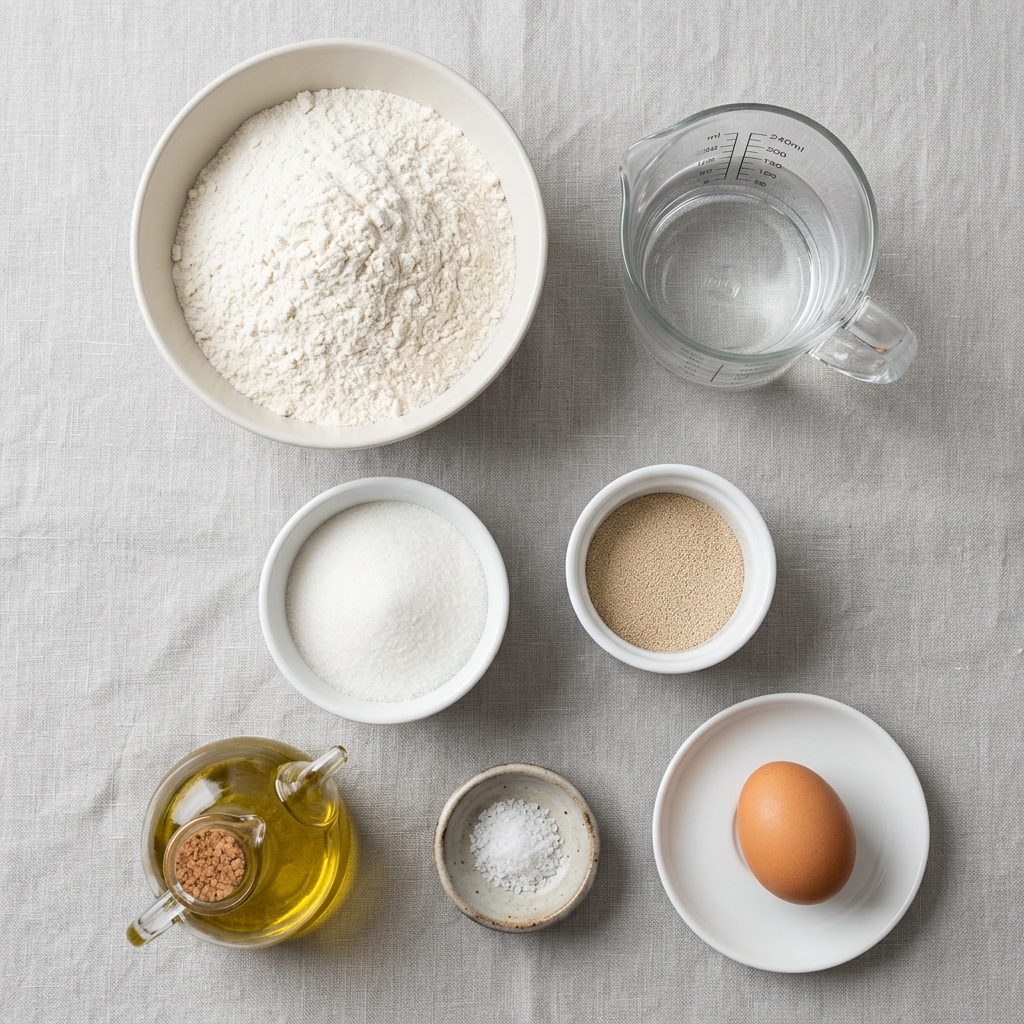
Ingredients You’ll Need for This Playful Bread
Each ingredient plays an important role in creating a soft, flavorful loaf.
- Bread Flour: 4 cups. Provides structure and chewiness.
- Warm Water: 1½ cups. Activates the yeast and hydrates the dough.
- Active Dry Yeast: 2¼ teaspoons. Helps the bread rise.
- Granulated Sugar: 1 tablespoon. Feeds the yeast and adds mild sweetness.
- Salt: 1½ teaspoons. Enhances flavor.
- Olive Oil: 2 tablespoons. Adds softness and moisture.
- Egg: 1 large egg, beaten. Creates a shiny golden crust.
Easy Ingredient Substitutions
Bread Flour: All-purpose flour.
Olive Oil: Melted unsalted butter.
Granulated Sugar: Honey.
Active Dry Yeast: Instant yeast.
Egg: Milk for brushing the loaf.
The Ingredients That Make the Difference
Bread Flour: Gives the loaf its chewy texture and sturdy structure.
Active Dry Yeast: Creates the airy interior that makes homemade bread so satisfying.
Let’s Create Your Frog Bread
Now comes the fun part, bringing the frog to life.
Preheat Your Equipment:
- Preheat the oven to 375°F (190°C).
Combine Ingredients:
- Mix warm water, yeast, and sugar. Let stand for 5 minutes until foamy. Add bread flour, salt, and olive oil.
Prepare Your Cooking Vessel:
- Line a baking sheet with parchment paper.
Assemble the Dish:
- Knead the dough for 8 to 10 minutes until smooth. Let rise for 1 hour. Shape most of the dough into a large oval body. Use small portions to create eyes, legs, and facial details. Place on the prepared baking sheet.
Cook to Perfection:
- Let the shaped dough rise for 20 minutes. Brush with beaten egg and bake for 25 to 30 minutes until golden brown.
Finishing Touches:
- Remove from the oven and cool slightly on a wire rack.
Serve and Enjoy:
- Slice and serve warm with butter, soup, or your favorite spread.
The Texture and Flavor Journey
Fresh from the oven, the crust is lightly crisp while the interior remains soft and fluffy. The flavor is simple, comforting, and versatile enough to complement almost any meal.
The golden exterior adds a gentle richness, while the tender crumb makes every slice enjoyable. Let me tell you, it’s worth every bite.
Helpful Baking Tips and Tricks
- Use warm water, not hot water, to activate the yeast.
- Knead until the dough becomes smooth and elastic.
- Allow enough proofing time for a lighter loaf.
- Cool slightly before slicing for cleaner cuts.
Common Mistakes to Avoid
- Do not use water that is too hot, which can damage the yeast.
- Avoid adding too much flour during kneading.
- Do not skip the second rise.
- Avoid underbaking, which can leave the center doughy.
Nutrition Facts
Servings: 10
Calories per serving: 210
Note: These are approximate values.
Preparation Time
Prep Time: 25 minutes
Cook Time: 30 minutes
Total Time: 55 minutes
Make-Ahead and Storage Tips
The dough can be prepared and refrigerated overnight before shaping. Once baked, store the loaf in an airtight container at room temperature for up to 3 days.
For longer storage, freeze sliced portions for up to 2 months. Thaw at room temperature and warm before serving.
How to Serve
Serve alongside soups, stews, pasta dishes, or salads. It also makes a fun centerpiece for family dinners and children’s parties.
Warm slices spread with butter are especially delicious.
Creative Leftover Transformations
Leftover bread can become something entirely new.
- Turn slices into garlic toast.
- Cube for homemade croutons.
- Make grilled sandwiches.
- Use in bread pudding.
Additional Tips
A little patience during rising makes a huge difference in texture.
If desired, sprinkle sesame seeds over the loaf before baking for added flavor and visual appeal.
Make It a Showstopper
Place the finished loaf on a rustic wooden board and highlight the frog shape with careful scoring before baking.
A glossy egg wash helps emphasize every detail and creates a bakery-quality appearance.
Variations to Try
- Add dried herbs to the dough.
- Sprinkle sesame seeds on top.
- Incorporate shredded cheese into the dough.
- Use whole wheat flour for part of the flour.
- Shape smaller individual frog rolls.
FAQ’s
Q1: Is Frog Bread difficult to make?
A1: Not at all. The shaping is simple and fun.
Q2: Can I use instant yeast?
A2: Yes, instant yeast works very well.
Q3: Can children help shape the frog?
A3: Absolutely. It is a great family baking project.
Q4: Can I freeze the bread?
A4: Yes, baked slices freeze very well.
Q5: Why didn’t my bread rise?
A5: The yeast may have been inactive or the water temperature incorrect.
Q6: Can I make the dough ahead?
A6: Yes, refrigerate overnight before shaping.
Q7: Can I add herbs?
A7: Yes, rosemary, parsley, or thyme work nicely.
Q8: What flour works best?
A8: Bread flour provides the best texture.
Q9: How do I keep the frog shape visible?
A9: Make decorative features slightly larger because they expand during baking.
Q10: What should I serve with it?
A10: Soups, stews, butter, sandwiches, and spreads all pair wonderfully.
Conclusion
Frog Bread transforms an everyday loaf into something playful, memorable, and delicious. Its golden crust, fluffy interior, and charming design make it just as enjoyable to create as it is to eat. Whether you’re baking with family or simply looking for a fun kitchen project, this whimsical loaf is guaranteed to bring smiles to the table.
Print
Frog Bread
Description
A fun and whimsical homemade bread shaped like a frog, featuring a golden crust and a soft, fluffy interior that is perfect for family baking projects.
Ingredients
- 4 cups bread flour
- 1½ cups warm water
- 2¼ teaspoons active dry yeast
- 1 tablespoon granulated sugar
- 1½ teaspoons salt
- 2 tablespoons olive oil
- 1 large egg, beaten
Instructions
- Preheat oven to 375°F (190°C).
- Mix warm water, yeast, and sugar. Let stand for 5 minutes until foamy.
- Add bread flour, salt, and olive oil.
- Knead for 8 to 10 minutes until smooth and elastic.
- Let dough rise for 1 hour until doubled in size.
- Line a baking sheet with parchment paper.
- Shape the dough into a frog using portions of dough for the body, eyes, legs, and facial features.
- Place on prepared baking sheet and let rise for 20 minutes.
- Brush with beaten egg.
- Bake for 25 to 30 minutes until golden brown.
- Cool slightly before serving.
Notes
- Use warm water, not hot water, to activate the yeast properly.
- Allow enough proofing time for the fluffiest texture.
- Make decorative frog features slightly larger since they expand during baking.
- Store leftovers in an airtight container for up to 3 days.