
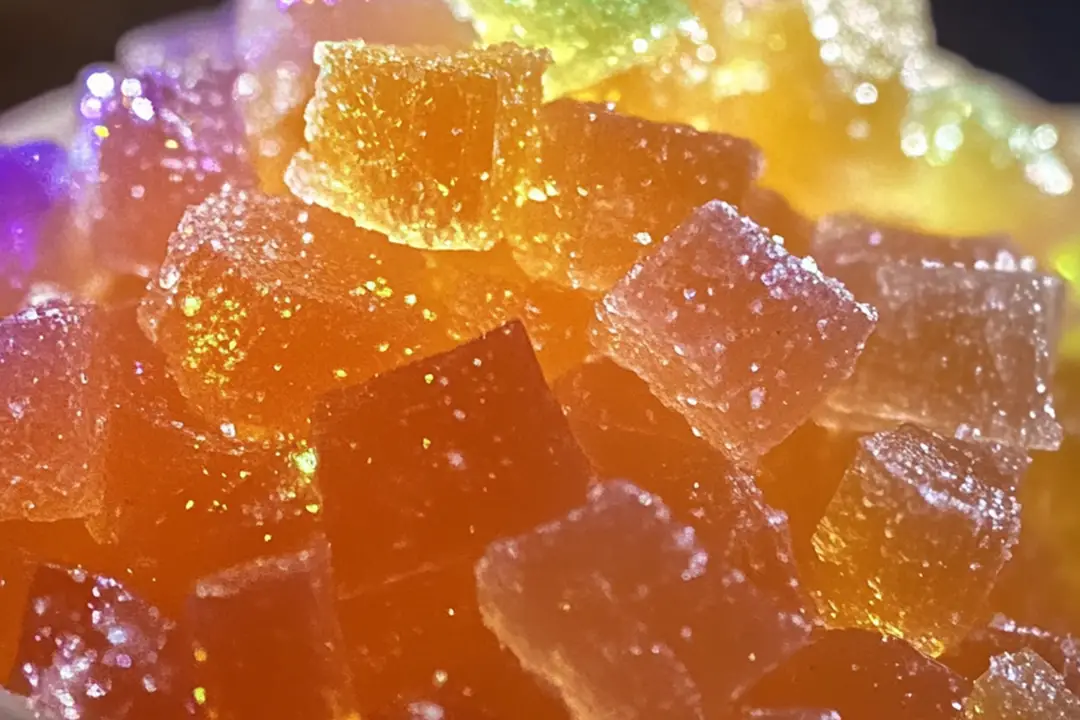
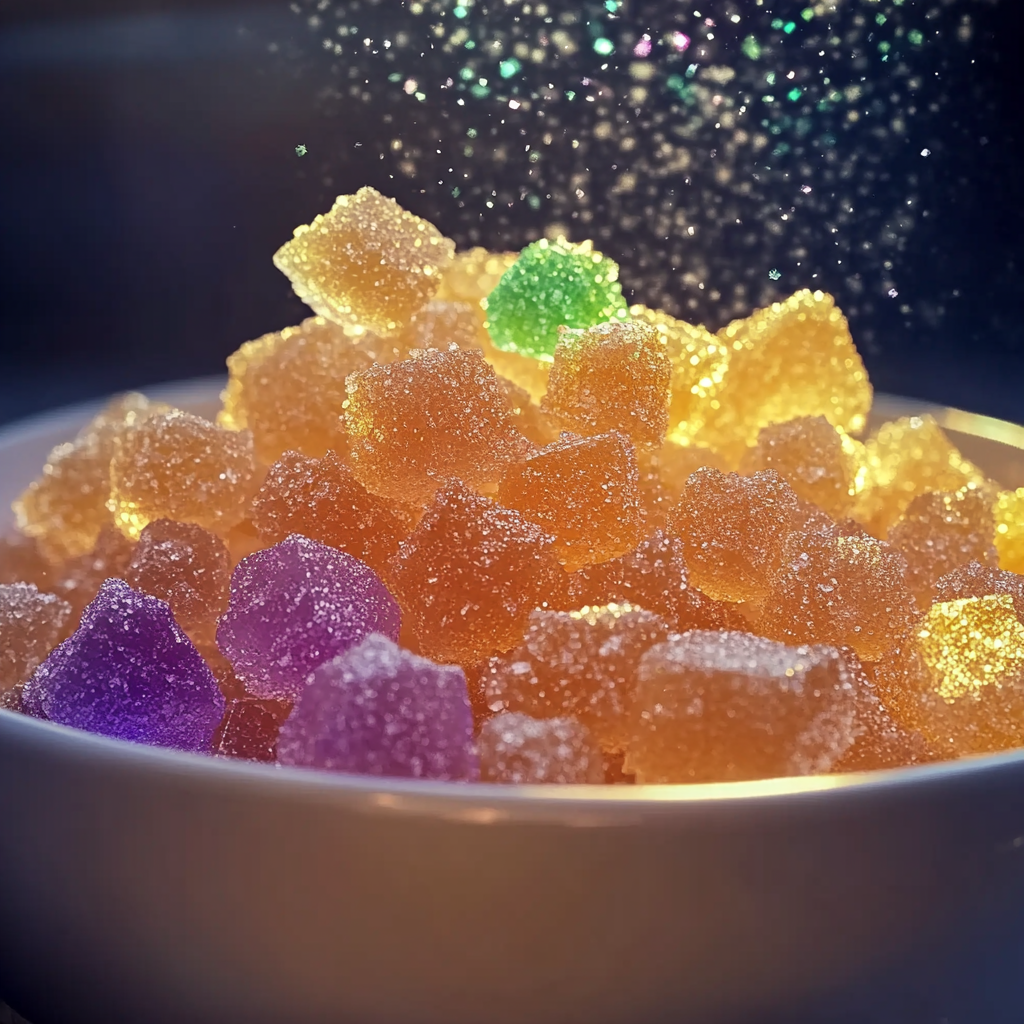
Hey there, sweet tooth! Ready to indulge in a treat that feels a little magical? Let me introduce you to these Mystical Glow Sugar Candy Crystals—they’re vibrant, they’re sweet, and they’ll make your taste buds dance! Imagine biting into a candy that sparkles like a gem, giving off a soft glow in the dark. Intrigued? Trust me, this treat is a game-changer. Whether you’re planning a special gathering or just want something that’s fun and mesmerizing, these candy crystals are sure to steal the show.
Why You’ll Love Mystical Glow Sugar Candy Crystals
This recipe isn’t just about the ingredients—it’s about creating moments. Whether you’re treating yourself, impressing guests, or getting creative in the kitchen, these candy crystals are all about making something spectacular from the comfort of your own home. Here’s why it’s a favorite:
- Versatile: Perfect for parties, gift-giving, or just because you want a fun treat. Imagine the look on your friends’ faces when they see these glowing candies!
- Budget-Friendly: You don’t need a lot of fancy ingredients—just a few simple pantry staples and some love.
- Quick and Easy: If you love getting creative but don’t want to spend hours in the kitchen, this recipe is for you.
- Customizable: Want to add a personal touch? Play around with colors or different flavors to make these candy crystals totally your own.
- Crowd-Pleasing: Trust me, everyone will be talking about these glowing candy crystals. It’s an instant hit!
Ingredients
Here’s the magic of these candy crystals—it’s simple but super impactful! You only need a few ingredients, and with a little bit of patience, you’ll have your very own mystical glowing treats.
Sugar: The base of our candy crystals. It’s what gives the candy that sweet, melt-in-your-mouth feeling.
Water: Helps dissolve the sugar and create the perfect consistency for crystal formation.
Corn Syrup: Adds a bit of extra sweetness and helps the crystals set just right.
Glow Powder or Tonic Water: The secret ingredient! Glow powder (or tonic water if you’re in a pinch) is what gives the candy its mystical glow.
Food Coloring (optional): Want to make your candies pop with vibrant colors? Add a drop of food coloring to give it that extra visual punch.
(Note: the full ingredients list, including measurements, is provided in the recipe card directly below.)
Instructions
Let’s dive into the steps to create these glowing candy crystals:
Step 1: Prepare Your Gear
Before anything else, grab your candy thermometer and set up a baking sheet lined with parchment paper. You’re going to need a clean surface to transfer your glowing crystals onto once they’re done.
Step 2: Make Your Candy Mixture
In a saucepan, combine sugar, water, and corn syrup. Stir it all together and bring it to a boil over medium-high heat. Keep an eye on it and let it boil until it reaches 300°F (hard crack stage). Be patient—this step is where the magic happens!
Step 3: Add the Glow
Once the mixture reaches the right temperature, remove it from the heat. Now comes the fun part! Carefully stir in the glow powder (or tonic water if you’re using that instead). The glow powder will dissolve into the candy and give it that otherworldly shine. Add your food coloring here if you want to add some sparkle to the mix!
Step 4: Pour and Set
Next, pour the hot candy mixture onto your prepared baking sheet. Spread it out into a thin layer, but don’t worry about perfection—this part is all about getting that beautiful, crackly texture when it cools. Let it set for about 30 minutes.
Step 5: Break into Crystals
Once the candy has cooled and hardened, it’s time to break it into crystal-like chunks. Use your hands (or a hammer if you’re feeling dramatic!) to crack the candy into sparkling, sugar-filled pieces.
Step 6: Enjoy the Glow
Admire your work! These glowing candy crystals are perfect as a fun treat on their own or can be used to decorate cakes, cupcakes, or even cocktails.
Nutrition Facts
Servings: 8 (approximately 2 tablespoons per serving)
Calories per serving: 100 kcal
Preparation Time
Prep Time: 10 minutes
Cook Time: 15 minutes
Total Time: 25 minutes
How to Serve Mystical Glow Sugar Candy Crystals
These glowing candy crystals are as versatile as they are beautiful. Here are a few serving ideas to elevate your candy game:
- As a Party Favor: Package them up in cute little bags or jars for a whimsical gift.
- On Desserts: Sprinkle them on top of cakes, cupcakes, or ice cream for a dazzling finish.
- In Drinks: Drop a few crystals in a glass of tonic water for a glowing, sparkling cocktail.
- As a Fun Snack: Treat yourself by nibbling on these unique candies after a long day. They’re not just tasty—they’re an experience!
Additional Tips
Here are some extra tips to help you get the most out of this recipe:
- Don’t Rush the Cooling Process: Let the candy cool completely to ensure it forms those perfect crystals.
- Use Food-Safe Glow Powder: Make sure you’re using glow powder that’s edible and safe for consumption.
- Double the Batch: If you’re making this for a big event, go ahead and double the recipe—it’s always better to have more than enough glowing crystals!
FAQ Section
Q1: Can I substitute glow powder with anything else?
A1: You can use tonic water if glow powder isn’t available! It will still give you that glowing effect under UV light.
Q2: Can I make this recipe ahead of time?
A2: Yes! These candy crystals store well. Just keep them in an airtight container to preserve their shine and crunch.
Q3: How do I store leftovers?
A3: Store leftovers in an airtight container at room temperature. They’ll stay fresh for up to a week!
Q4: Can I freeze this dish?
A4: This recipe is best enjoyed fresh, as freezing can cause the candy to lose its texture.
Q5: What’s the best way to reheat this dish?
A5: You don’t need to reheat these candy crystals, as they’re meant to be enjoyed as a crunchy treat straight from the container.
Q6: Can I double the recipe?
A6: Absolutely! If you’re making these for a party, doubling the recipe is a great idea.
Q7: Can I use other colors for the glow?
A7: Yes! Feel free to experiment with different food colors. Each color will look stunning when it’s glowing!
Q8: Can I add flavors to the candy?
A8: Definitely! A few drops of flavored extract (like vanilla or mint) will add an extra layer of fun to the taste.
Q9: Can I use this candy for decorations?
A9: Yes! These glowing crystals make an amazing addition to cakes, cupcakes, or even as a table centerpiece.
Q10: Are these candies safe for kids?
A10: Yes! As long as you’re using food-safe ingredients, these candies are totally kid-friendly.
Conclusion
And there you have it—the mystical, glowing sugar candy crystals that will leave everyone in awe. Whether you’re sharing them with friends, using them for a creative dessert, or just enjoying the glow for yourself, this recipe is sure to bring some sparkle to your day. Don’t be afraid to get creative with it and have fun! You’ve got this, and trust me—these glowing candies will be the talk of the town. Enjoy!
Print
Mystical Glow Sugar Candy Crystals
- Prep Time: 10 minutes
- Cook Time: 10 minutes
- Total Time: 40 minutes (including cooling time)
- Yield: 1 batch (about 20–30 candy crystals, depending on size) 1x
- Category: Candy, Dessert
- Method: Stovetop
- Cuisine: American, Whimsical
- Diet: Vegetarian
Description
These Mystical Glow Sugar Candy Crystals are a magical treat that’s perfect for adding a whimsical touch to your desserts, cocktails, or just enjoying on their own. With a sparkling, glowing appearance and a sweet, sugar-filled crunch, they are a delightful edible decoration!
Ingredients
- 2 cups granulated sugar
- 1/2 cup water
- 1/4 teaspoon cream of tartar
- 1/2 teaspoon flavor extract (vanilla, strawberry, or lemon)
- Gel food coloring (blue, pink, purple, or any glow-in-the-dark color)
- 1/2 teaspoon glowing edible glitter or dust (optional, for extra glow effect)
Instructions
- In a medium saucepan, combine the sugar, water, and cream of tartar. Heat over medium heat while stirring until the sugar dissolves completely.
- Increase the heat to high and bring the mixture to a boil. Let it simmer for 5-7 minutes, or until it reaches 300°F (150°C) on a candy thermometer. This is the hard crack stage.
- Remove the syrup from heat and carefully stir in the flavor extract of your choice.
- Add a few drops of food coloring and mix until you get your desired color. For extra sparkle, you can also add edible glitter or dust to create a glowing effect.
- Pour the syrup onto a parchment-lined baking sheet, spreading it out into an even layer. Let it cool for a few minutes before gently scoring the surface with a knife to create sections.
- Allow the candy to cool completely for about 30 minutes. Once cooled, break the candy into crystalline chunks or shards.
- Store the Mystical Glow Sugar Candy Crystals in an airtight container at room temperature. They can be enjoyed as a crunchy candy treat or used as a magical garnish for other desserts or drinks.
Notes
- Be careful when handling hot sugar syrup, as it can cause burns. Use a candy thermometer for accurate temperature control.
- These candy crystals are best used fresh, as they can lose their glow over time if left exposed to light.
- To make the crystals glow more, store them in a dark container or wrap them with glow-in-the-dark paper before use.
- For variations, try using different food coloring to create a rainbow effect.
Nutrition
- Serving Size: 1 candy crystal
- Calories: 30 kcal
- Sugar: 7g
- Sodium: 0mg
- Fat: 0g
- Saturated Fat: 0g
- Unsaturated Fat: 0g
- Trans Fat: 0g
- Carbohydrates: 7g
- Fiber: 0g
- Protein: 0g
- Cholesterol: 0g