
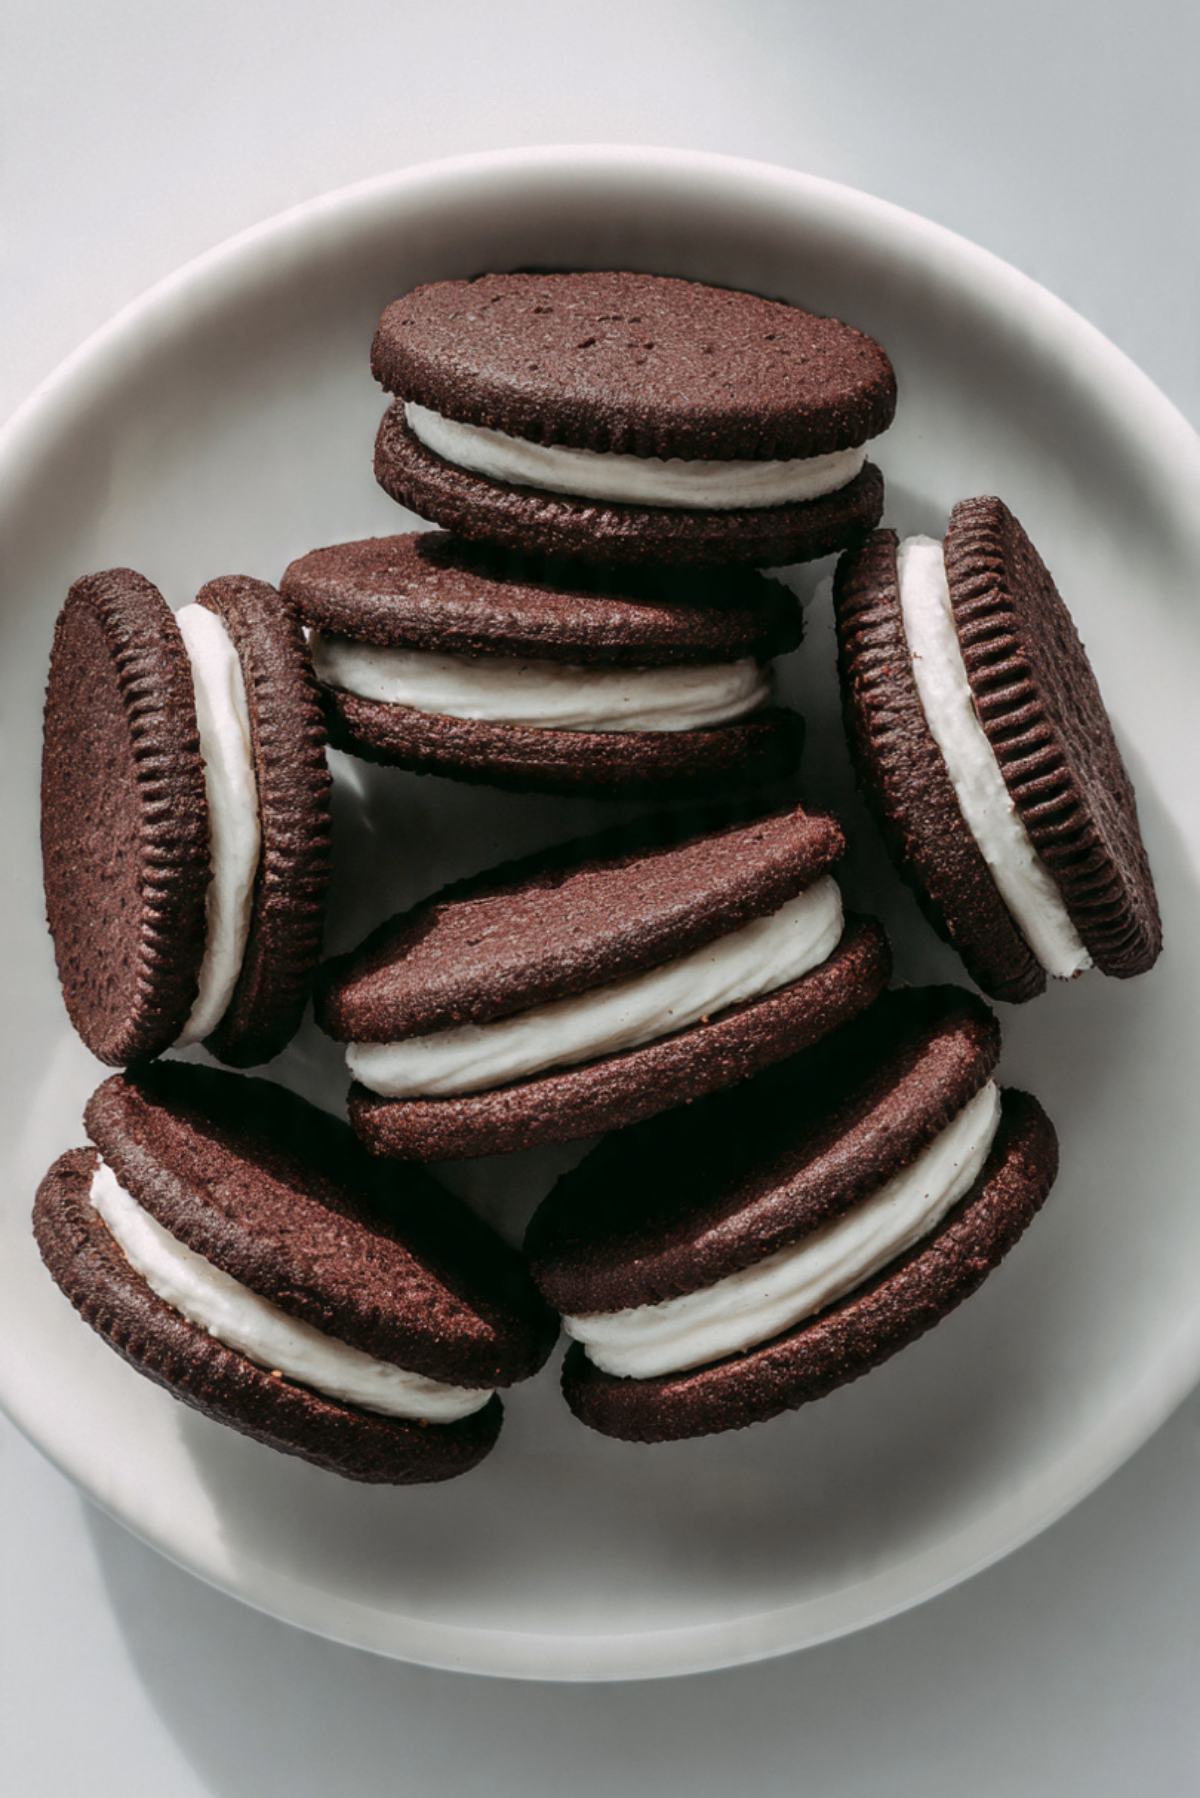
There is something magical about recreating a classic treat right in your own kitchen, and these homemade Oreo cookies bring that magic to life. The moment you twist one open and see that creamy center against the deep chocolate cookies, it just feels nostalgic. I remember making these for the first time and thinking, why didn’t I try this sooner? The aroma of cocoa baking in the oven alone is enough to pull everyone into the kitchen. Trust me, you’re going to love this.
Why These Cookies Are Hard to Resist
It starts with the texture. The cookies are crisp on the outside with just the right snap, while the filling is smooth, creamy, and slightly sweet. Then comes the flavor, rich cocoa with a hint of vanilla that balances everything perfectly. This one’s a total game-changer if you enjoy classic cookies but want that homemade touch.
The Story Behind This Iconic Treat
Chocolate sandwich cookies have been around for decades and have become one of the most loved snacks worldwide. Making them at home gives you full control over the flavor and texture, and honestly, it adds a special kind of satisfaction. It feels like bringing a familiar favorite into your own kitchen with a personal twist.
Why You’ll Love Making These at Home
Let me tell you why this recipe deserves a spot in your baking routine.
Versatile: Perfect for snacks, desserts, or even gifting.
Budget-Friendly: Uses simple baking staples you probably already have.
Quick and Easy: Straightforward steps that are easy to follow.
Customizable: Adjust the sweetness or filling thickness to your liking.
Crowd-Pleasing: Everyone loves chocolate cookies with creamy filling.
Make-Ahead Friendly: You can prepare the dough in advance.
Great for Leftovers: They store well and stay delicious for days.
Pro Tips for Perfect Cookies
Before we get baking, here are a few tips that really make a difference.
- Chill the dough slightly for easier handling
- Roll the dough evenly for uniform cookies
- Do not overbake to keep the perfect crisp texture
- Let cookies cool completely before adding filling
Tools That Make Baking Easier
Having the right tools makes everything smoother.
Mixing Bowl: For combining ingredients evenly
Electric Mixer: Helps achieve a smooth dough and creamy filling
Rolling Pin: For flattening dough evenly
Baking Sheet: Ensures even baking
Cookie Cutter: Keeps shapes consistent
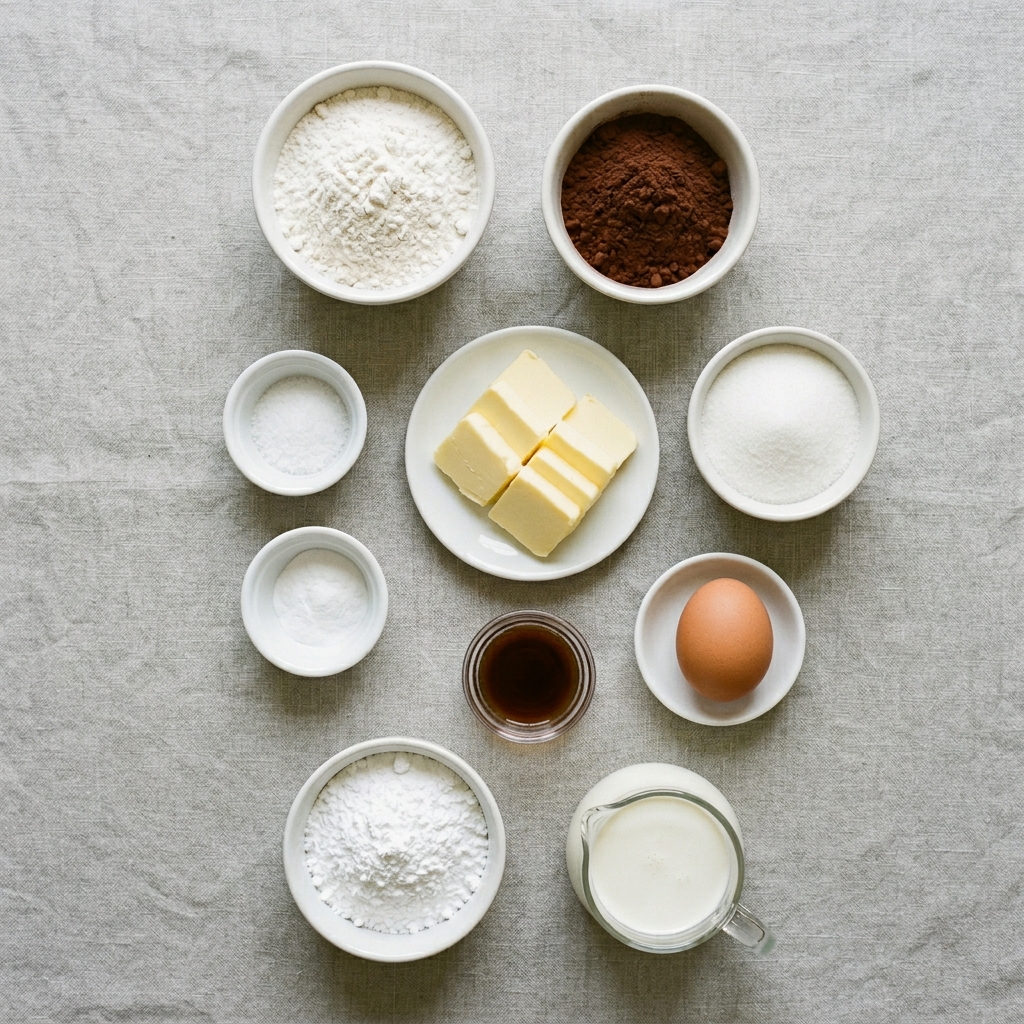
Ingredients That Make These Cookies Special
This is where the magic really begins.
- All-purpose flour: 1 ½ cups, provides structure
- Cocoa powder: ½ cup, gives rich chocolate flavor
- Baking soda: ½ teaspoon, helps cookies rise slightly
- Salt: ¼ teaspoon, balances sweetness
- Butter: ½ cup softened, adds richness
- Granulated sugar: ¾ cup, sweetens the cookies
- Egg: 1 large, binds the dough
- Vanilla extract: 1 teaspoon, enhances flavor
- Powdered sugar: 1 cup, for the creamy filling
- Cream or milk: 2 tablespoons, smooths the filling
- Butter (for filling): ¼ cup softened, creates creamy texture
Easy Ingredient Swaps
Sometimes you want flexibility, and that works here too.
Butter: Margarine
Cream or milk: Plant based milk
Cocoa powder: Dark cocoa for deeper flavor
Highlighting the Stars
Cocoa powder: This is what gives the cookies their deep chocolate taste and color.
Butter: It creates that rich, smooth filling that ties everything together.
Let’s Bake These Together
And now let’s dive into the fun part where everything comes to life.
- Preheat Your Equipment: Preheat oven to 180°C
- Combine Ingredients: Mix flour, cocoa powder, baking soda, and salt in a bowl
- Prepare Your Cooking Vessel: Cream butter and sugar, then add egg and vanilla
- Assemble the Dish: Combine dry and wet ingredients to form dough
- Cook to Perfection: Roll out dough, cut cookies, and bake for 8 to 10 minutes
- Finishing Touches: Mix filling ingredients until smooth and spread between cookies
- Serve and Enjoy: Assemble sandwiches and enjoy fresh or store for later
Texture and Flavor You’ll Crave
The cookies have that perfect crisp bite, followed by a smooth and creamy filling that melts gently. The chocolate flavor is bold but balanced, making every bite feel indulgent without being overwhelming.
Helpful Baking Tips
- Chill dough if it feels too soft
- Use parchment paper for easy baking
- Space cookies evenly on the tray
What to Avoid
- Overmixing the dough
- Baking too long
- Adding filling while cookies are warm
Nutrition Facts
Servings: 12 cookies
Calories per serving: 180
Note: These are approximate values.
Preparation Time
Prep Time: 20 minutes
Cook Time: 10 minutes
Total Time: 30 minutes
Make Ahead and Storage Tips
You can make the dough ahead and refrigerate it for up to two days. Store finished cookies in an airtight container for up to five days. They also freeze well if you want to keep them longer.
How to Serve
Serve with a glass of milk, crumble over ice cream, or enjoy as a sweet snack anytime.
Creative Leftover Ideas
Turn leftover cookies into a dessert topping, crush them into a base for cheesecakes, or mix into milkshakes.
Additional Tips
A pinch of salt in the filling can enhance the flavor even more. Small adjustments make a big difference.
Make It a Showstopper
Stack the cookies neatly or display them on a simple plate to highlight their classic look.
Variations to Try
Add flavored filling like chocolate or mint, dip cookies in melted chocolate, or make mini versions for bite sized treats.
FAQ’s
Q1: Can I make them softer?
Yes, bake slightly less for a softer texture.
Q2: Can I use store bought filling?
Yes, but homemade tastes better.
Q3: Can I freeze the dough?
Yes, wrap tightly and freeze.
Q4: How do I keep them crisp?
Store in an airtight container.
Q5: Can I make them gluten free?
Use a gluten free flour blend.
Q6: Can I reduce sugar?
Yes, slightly adjust to taste.
Q7: Can I add flavors?
Yes, try mint or coffee extract.
Q8: Why are my cookies hard?
They may be overbaked.
Q9: Can I double the recipe?
Yes, easily.
Q10: How thick should the filling be?
Adjust to your preference.
Conclusion
These homemade Oreo cookies bring together nostalgia and creativity in the best way. With their crisp chocolate layers and creamy filling, they are a joy to make and even better to eat. Let me tell you, it’s worth every bite.
Print
Homemade Oreo Cookies
Description
Classic chocolate sandwich cookies with a creamy vanilla filling made fresh at home.
Ingredients
- 1 1/2 cups all-purpose flour
- 1/2 cup cocoa powder
- 1/2 teaspoon baking soda
- 1/4 teaspoon salt
- 1/2 cup butter, softened
- 3/4 cup granulated sugar
- 1 large egg
- 1 teaspoon vanilla extract
- 1 cup powdered sugar
- 2 tablespoons cream or milk
- 1/4 cup butter, softened (for filling)
Instructions
- Preheat oven to 180°C.
- Mix flour, cocoa powder, baking soda, and salt.
- Cream butter and sugar, then add egg and vanilla.
- Combine dry and wet ingredients to form dough.
- Roll out dough, cut cookies, and bake for 8 to 10 minutes.
- Mix filling ingredients until smooth.
- Spread filling between cookies and assemble.
Notes
- Chill dough if too soft
- Do not overbake
- Cool cookies before filling