
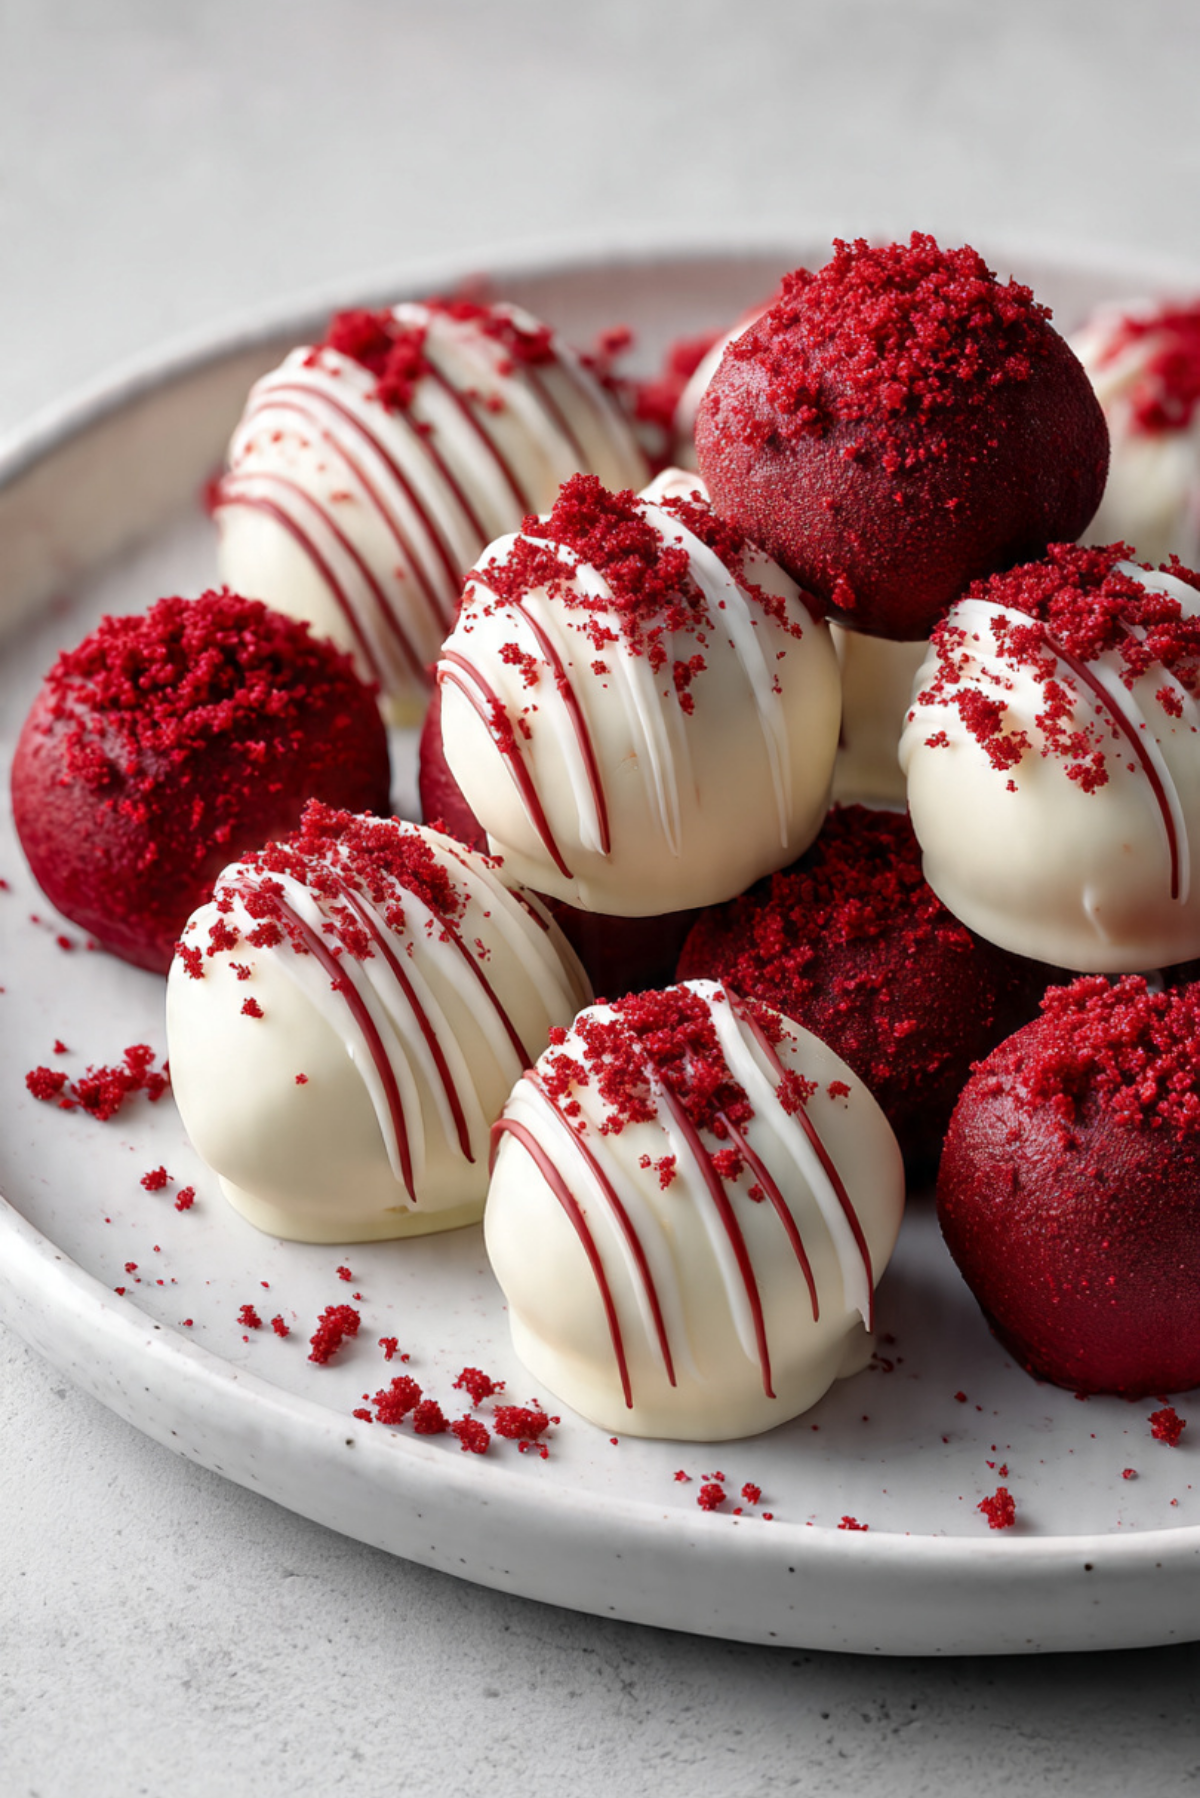
Imagine sinking your teeth into a bite-sized dessert that’s rich, creamy, and melts in your mouth. Red velvet cake balls are exactly that kind of magic. With their vibrant red color, smooth white chocolate coating, and soft, decadent center, these little treats are the perfect combination of beauty and indulgence. Whether you’re hosting a party or just need a sweet fix, these cake balls deliver elegance and flavor in every bite.
How These Little Beauties Came to Be
Red velvet cake has always had a special place in dessert lovers’ hearts — its velvety texture, hint of cocoa, and dramatic hue make it unforgettable. So, when I had a leftover slice of cake one day, I decided to turn it into something new. I crumbled it up, mixed in a bit of cream cheese frosting, rolled it into balls, and dipped them in white chocolate. One taste later, I knew this wasn’t just a happy accident. These cake balls were a revelation.
A Peek Into Their Sweet Roots
Red velvet itself traces back to early 20th-century America, believed to have Southern origins. Its signature red hue was once a result of natural cocoa reacting with acidic ingredients, though today we use food coloring for that bold, dramatic pop. Cake balls, on the other hand, are a modern twist — a way to use up leftover cake while creating something that looks like it came from a high-end bakery. Combining the two? A sweet evolution worth celebrating.
Why You’ll Want These on Repeat
These red velvet cake balls check every box — taste, texture, and charm. And they’re surprisingly easy to make at home.
Versatile: Perfect for holidays, parties, or a personal treat with coffee.
Budget-Friendly: Made from basic pantry staples or leftover cake.
Quick and Easy: No baking needed if using leftover cake — just mix, roll, and dip.
Customizable: Change the coating, add sprinkles, or drizzle chocolate.
Crowd-Pleasing: Sweet, cute, and loved by kids and adults alike.
Make-Ahead Friendly: Prep a day before and chill until ready to serve.
Great for Leftovers: Use extra cake or frosting from other desserts.
Tips for a Bakery-Worthy Finish
Creating these treats at home is easier than you think, especially with a few tricks up your sleeve:
- Chill the balls before dipping to help them hold their shape.
- Use a fork or toothpick to dip and tap off excess coating.
- Let them dry on parchment paper for easy cleanup.
- Add crushed red velvet crumbs or sprinkles before the coating sets for a polished look.
Essential Tools for Red Velvet Perfection
This is a no-fuss dessert, but a few tools make the process smoother:
Mixing Bowl: For combining cake and frosting evenly.
Baking Sheet: To chill and set the cake balls.
Parchment Paper: Prevents sticking during setting.
Fork or Toothpick: For dipping into melted chocolate.
Microwave-Safe Bowl: To melt chocolate easily.
Spoon or Scoop: To portion out evenly sized balls.
Gather Your Ingredients
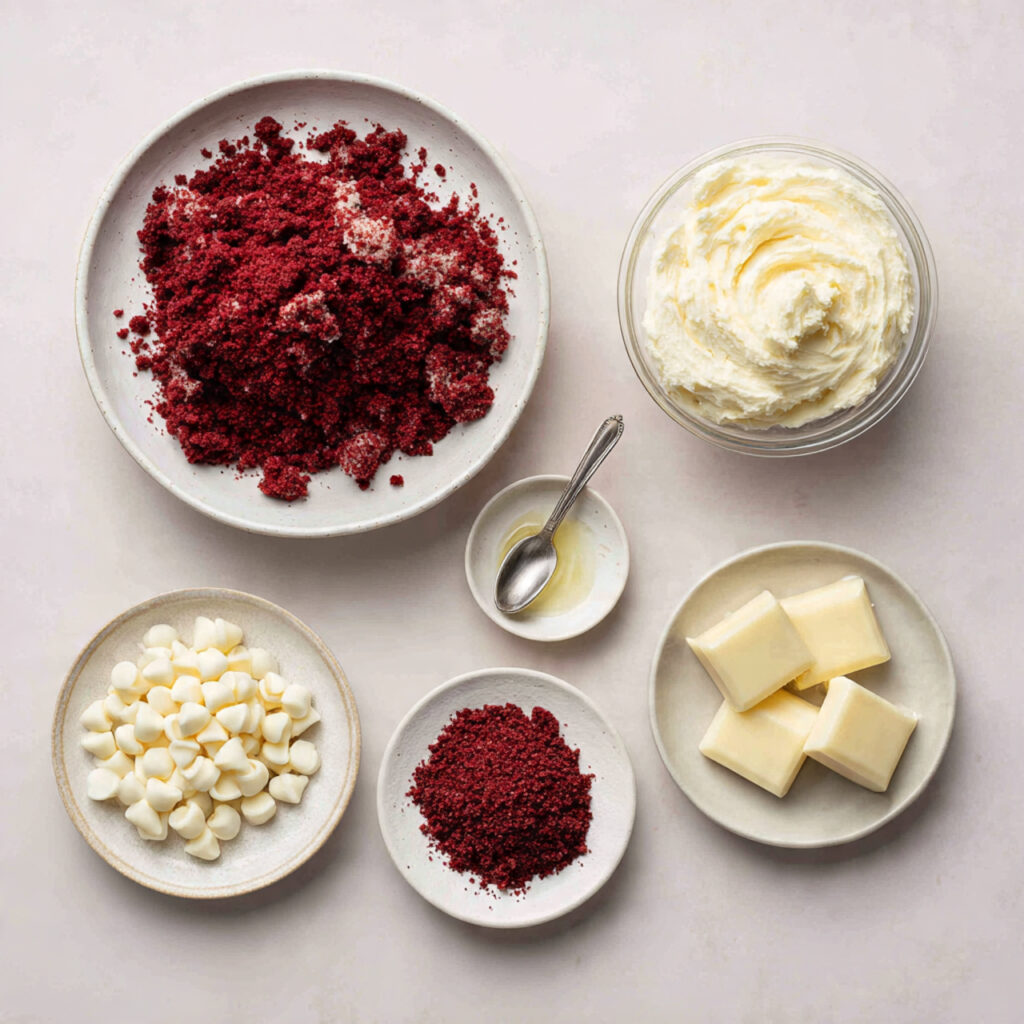
These rich, colorful bites need just a handful of ingredients that work in harmony to bring out that signature red velvet charm.
- Red velvet cake: 3 cups crumbled (store-bought or homemade). This forms the moist, cocoa-flavored base.
- Cream cheese frosting: ¾ cup. Binds the crumbs and adds creamy tang.
- White chocolate chips: 2 cups. Melted for coating the cake balls in a sweet shell.
- Red velvet crumbs or sprinkles: Optional. For a decorative topping.
- Coconut oil or shortening (optional): 1 teaspoon. Helps smooth out the melted chocolate.
Smart Swaps That Still Work
Out of something? No worries. Try these easy ingredient replacements:
Cream cheese frosting: Swap with buttercream or mascarpone frosting.
White chocolate chips: Use milk or dark chocolate if you prefer a richer coating.
Coconut oil: Vegetable shortening or neutral oil works just as well.
Key Ingredients That Make These Shine
Red Velvet Cake: Soft, slightly cocoa-flavored, and deeply colored, this cake is the soul of the dessert.
White Chocolate Chips: Sweet, creamy, and perfect for creating that signature glossy shell.
Step-by-Step to Cake Ball Bliss
Ready to roll? Let’s walk through it together.
- Preheat Your Equipment: No actual preheating here, but clear a space in your fridge to chill the cake balls.
- Combine Ingredients: In a large bowl, mix crumbled red velvet cake with cream cheese frosting until well combined and dough-like.
- Prepare Your Cooking Vessel: Line a baking sheet with parchment paper for easy setup and cleanup.
- Assemble the Dish: Roll the mixture into 1-inch balls and place on the baking sheet.
- Cook to Perfection: Chill the balls in the fridge for at least 30 minutes to firm up.
- Finishing Touches: Melt the white chocolate with coconut oil. Dip each ball, then place back on the sheet. Top with red crumbs or sprinkles.
- Serve and Enjoy: Once set, serve chilled or at room temperature for a perfect bite.
Texture & Flavor Secrets
Each bite gives you a soft, moist center wrapped in a creamy chocolate shell that crackles gently before giving way to velvety richness. The cake inside is tender and tangy from the frosting, while the white chocolate adds a sweet, buttery contrast.
Pro Tips for Easy Success
These little treats come together easily with the right tips:
- Chill before dipping to prevent them falling apart.
- Add a drop of food coloring to white chocolate for a pink hue.
- Use gloves when rolling for cleaner hands and smoother finish.
What To Watch Out For
Mistakes happen, but these are easy to avoid:
- Don’t overmix: You want the mixture to stick but not become mushy.
- Avoid hot chocolate coating: It’ll melt the balls — let it cool slightly before dipping.
- Don’t skip chilling: It helps maintain shape and smooth finish.
Nutrition Facts
Servings: 24 cake balls
Calories per serving: 120
Note: These are approximate values.
Prep & Chill Time
Prep Time: 20 minutes
Cook Time: 0 minutes
Total Time: 50 minutes (including chilling)
Make Them Ahead and Save Time
Red velvet cake balls are perfect for prepping ahead. Roll and chill the cake balls a day in advance. Dip them the next day, or store fully coated ones in the fridge for up to 5 days. You can even freeze them before coating and dip when ready to serve.
Serve Them Sweet and Simple
Pile them up on a dessert tray, nestle them in mini cupcake liners, or skewer on sticks for red velvet pops. They’re perfect for birthdays, Valentine’s Day, or just an afternoon treat with coffee or milk.
Leftover Ideas You’ll Love
Turn extras into creative delights:
- Crumble over ice cream for a red velvet sundae.
- Blend into milkshakes for a dessert twist.
- Chop and mix into cookie dough for a surprise inside.
Extra Tips to Keep Things Smooth
- Use room temp frosting for easy mixing.
- Work quickly once the chocolate is melted.
- Store in airtight containers to keep them fresh longer.
Make Them Look Bakery-Worthy
Presentation is everything. Arrange cake balls in even rows on a white platter. Garnish with edible glitter or drizzle extra chocolate over the top for drama. Use matching paper liners for a boutique-style display.
Fun Twists on the Classic
- Chocolate-Dipped Red Velvet: Use dark chocolate for a bold contrast.
- Stuffed Cake Balls: Hide a mini marshmallow or chocolate chip inside.
- Nutty Delight: Roll in crushed pecans or pistachios before the coating sets.
- Festive Flair: Color the white chocolate pink or red for holidays.
- Cream Cheese Core: Add a tiny cube of cream cheese in the center for a creamy surprise.
FAQ’s
Q1: Can I use box mix red velvet cake?
Yes, boxed cake works great. Just make sure it’s fully cooled before crumbling.
Q2: How long do red velvet cake balls last?
Up to 5 days in the fridge, or freeze up to 1 month before coating.
Q3: Can I use store-bought frosting?
Absolutely. Just make sure it’s soft enough to mix easily.
Q4: Why did my balls fall apart during dipping?
They may not have chilled long enough. Let them firm up before dipping.
Q5: Can I color the coating?
Yes, add oil-based food coloring to the melted chocolate for vibrant shades.
Q6: What chocolate works best?
White chocolate chips or candy melts give the smoothest finish.
Q7: Can I make them nut-free?
Yes, just avoid adding nuts or nut-based coatings.
Q8: How do I keep them from sweating after refrigerating?
Let them come to room temp gradually before serving.
Q9: Are they gluten-free?
Only if you use gluten-free cake and ingredients.
Q10: Can I serve these at room temp?
Yes, they’re delicious either chilled or room temperature.
Conclusion
Red velvet cake balls bring together everything you love about cake — flavor, texture, and fun — into a bite-sized treat that’s perfect for sharing or savoring solo. Let me tell you, they’re worth every bite. So grab that cake, roll up your sleeves, and make magic happen.
Print
Red Velvet Cake Balls
- Prep Time: 20 minutes
- Cook Time: 0 minutes
- Total Time: 50 minutes
- Yield: 24 cake balls 1x
- Category: Dessert
- Method: No-Bake
- Cuisine: American
- Diet: Vegetarian
Description
Bite-sized red velvet cake balls coated in creamy white chocolate, these treats are soft, rich, and perfect for parties or personal indulgence.
Ingredients
- 3 cups crumbled red velvet cake
- 3/4 cup cream cheese frosting
- 2 cups white chocolate chips
- 1 teaspoon coconut oil or shortening (optional)
- Red velvet crumbs or sprinkles (optional, for garnish)
Instructions
- In a mixing bowl, combine the crumbled red velvet cake and cream cheese frosting until the mixture is dough-like.
- Roll into 1-inch balls and place them on a baking sheet lined with parchment paper.
- Chill the cake balls in the refrigerator for 30 minutes to firm up.
- Melt the white chocolate chips with coconut oil until smooth.
- Dip each cake ball into the melted chocolate, then place them back on the baking sheet.
- Garnish with red velvet crumbs or sprinkles before the coating sets.
- Let the coating harden, then serve chilled or at room temperature.
Notes
- Chill cake balls thoroughly before dipping to prevent breakage.
- Use a fork or toothpick for smoother dipping and tapping off excess coating.
- Store in the fridge for up to 5 days in an airtight container.
Nutrition
- Serving Size: 1 cake ball
- Calories: 120
- Sugar: 14g
- Sodium: 85mg
- Fat: 6g
- Saturated Fat: 4g
- Unsaturated Fat: 1g
- Trans Fat: 0g
- Carbohydrates: 15g
- Fiber: 0g
- Protein: 1g
- Cholesterol: 10mg